How to convert carpeted stairs to wood treads: a 5-step DIY
Convert old worn-out carpeted stairs to wood treads DIY for a beautiful finish that will last for years to come. Plus, this stair riser project will cost a fraction of the price to pay a pro!

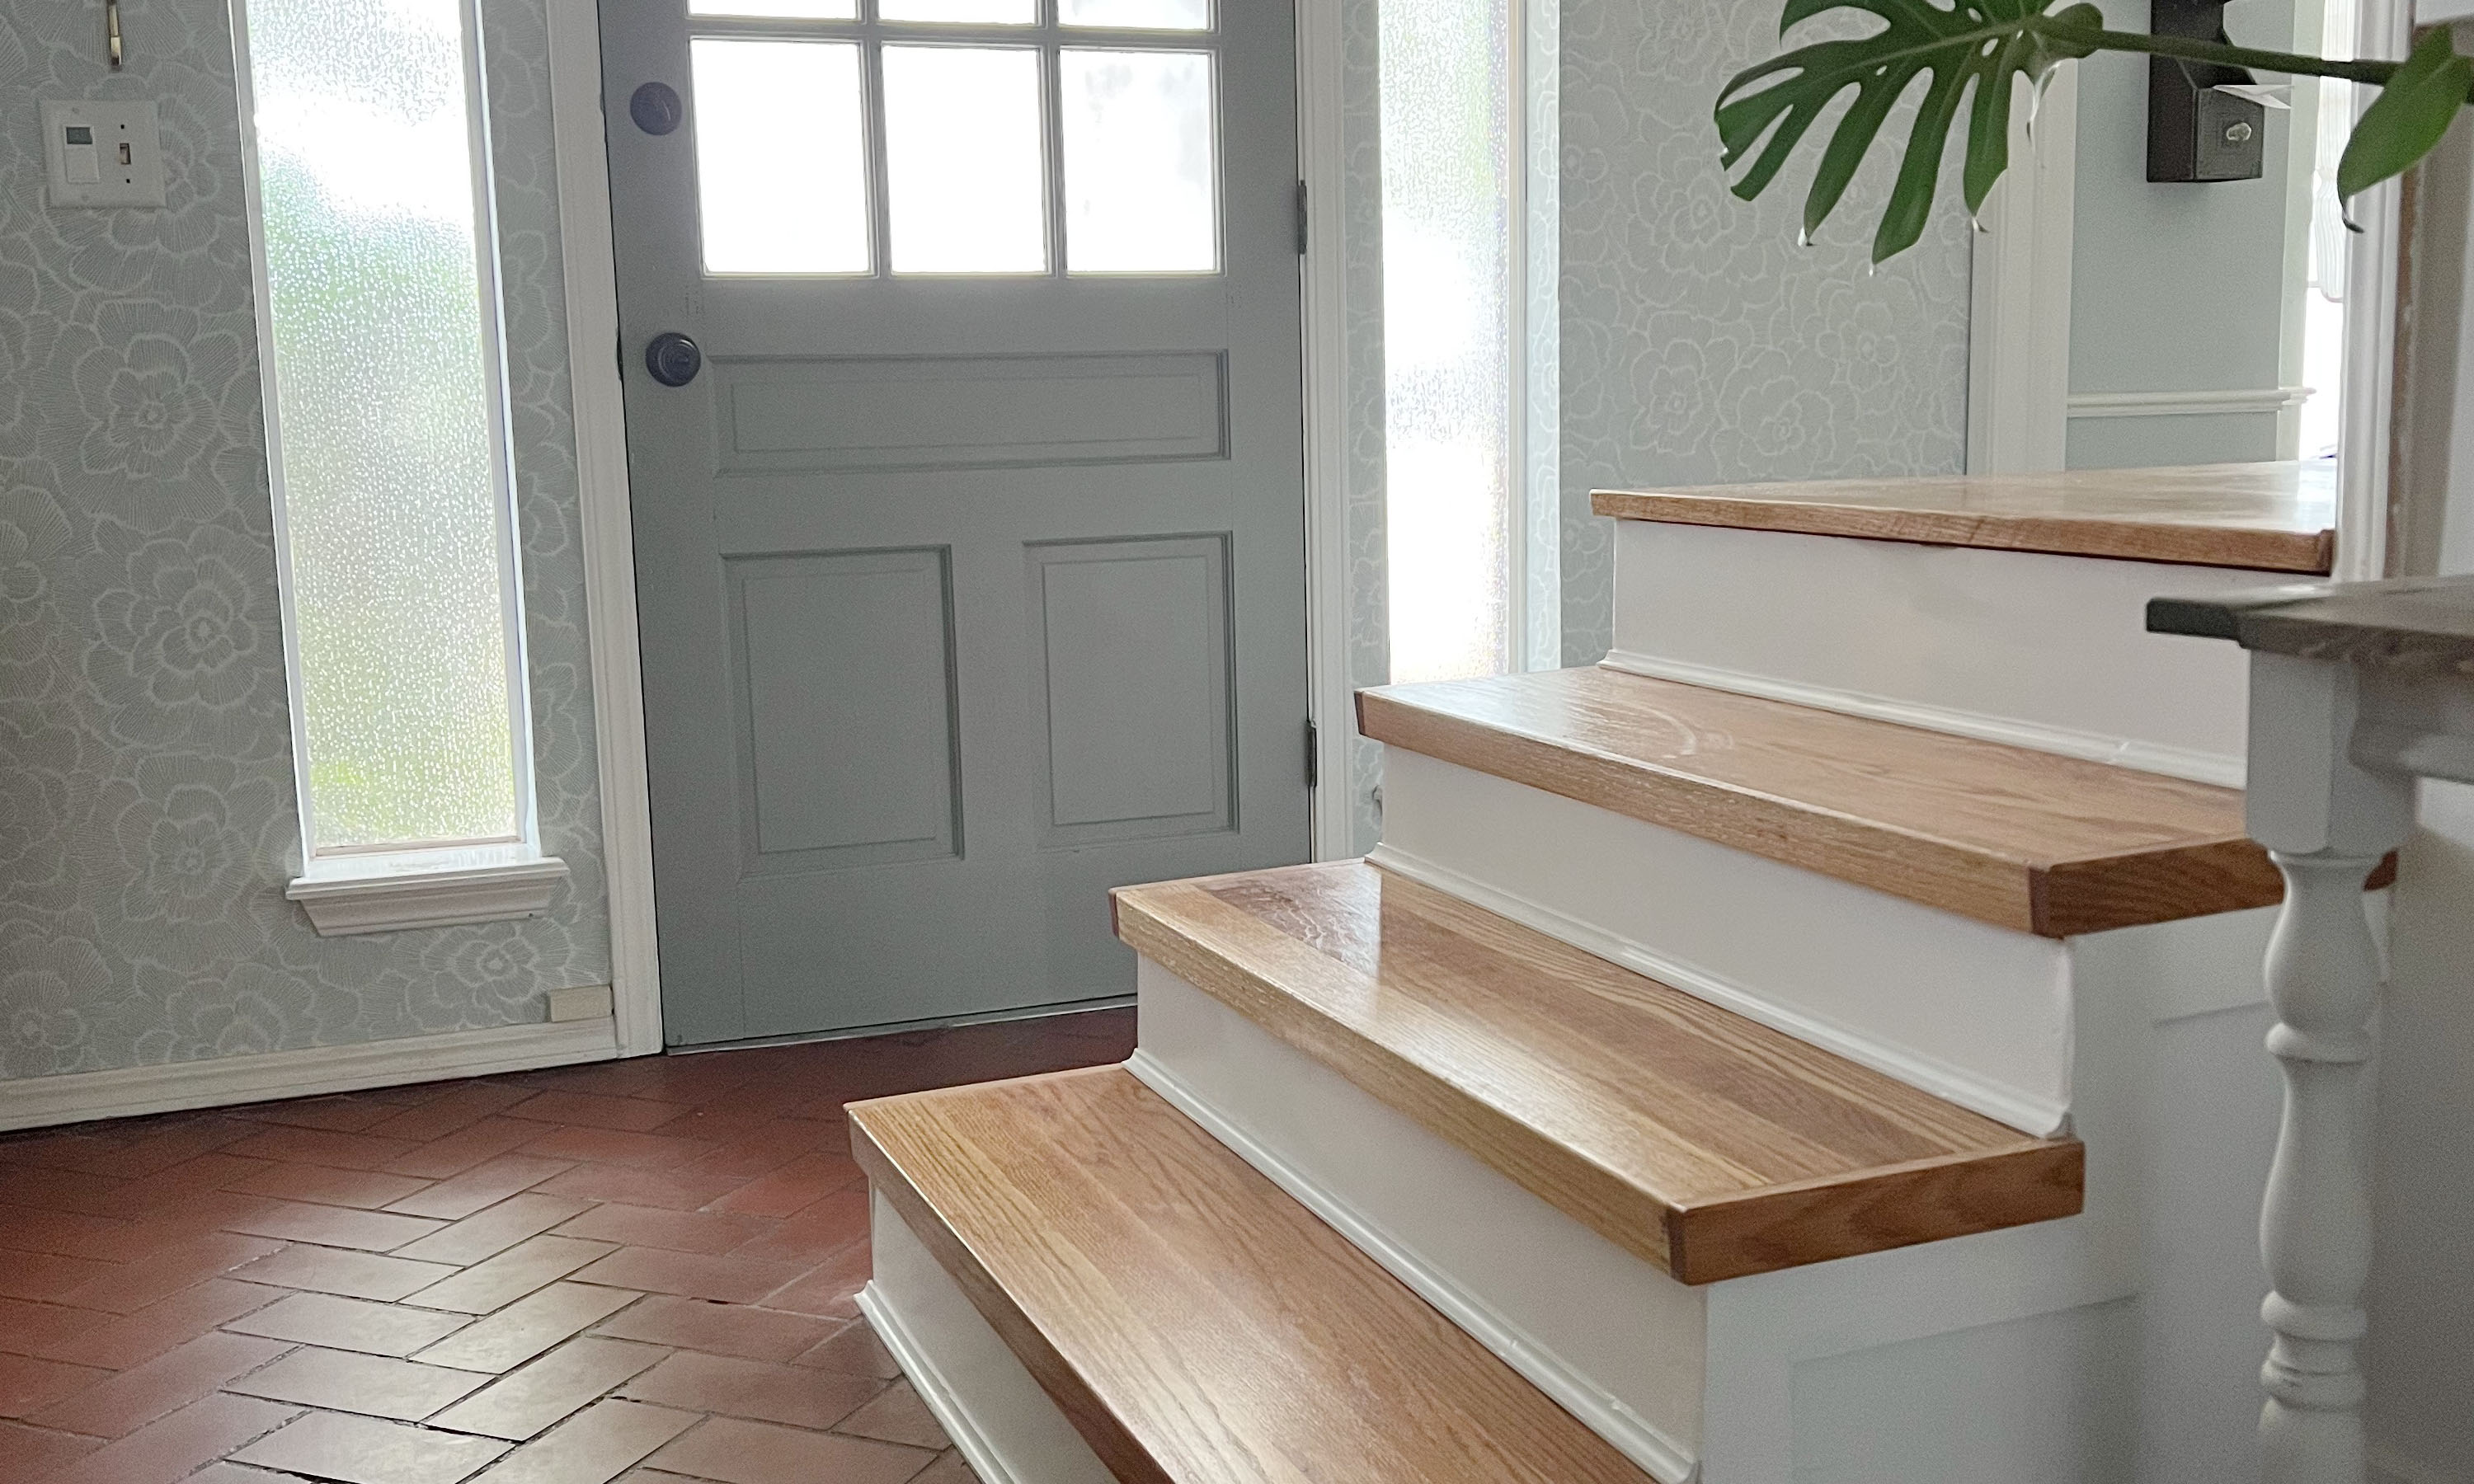
If you have installed carpet on your stairs you know it can wear quickly, especially if your staircase is a high-traffic area. The previous owners of our home had installed white carpet on our staircase that leads to the second floor where all the bedrooms are. We use it every day, multiple times a day. It was stained, matted down, and showed EVERYTHING.
Also, our stairs are the first thing you see when you walk through the front door. We wanted the first view of our home to look clean and inviting. Wood treads, if done properly, will last for years and hold up to the wear and tear of everyday family life so this proved a worthy DIY project.
- Total cost: Total cost to replace average size staircase with wood treads: $800 - 1,000
- DIY level: Intermediate to Experienced
How to convert carpeted stairs to wood treads
By removing the old carpet and replacing it with stained wood treads we could accomplish the desire to have a beautiful space that would stand the test of time. If you’re an experienced DIYer, this project is for you!
You will need:
1. Pry bar
2. Pliers
3. Wood conditioner: I used Miniwax
4. Wood stain: I used Minwax in Weathered Oak
5. Polyurethane: I used this in the finish Warm Satin
6. Wood treads: I used Brown Oak Stair Treads Matching tread trim pieces
7. Risers: these primed risers were great
8. Wood glue: you can find it easily on Amazon
9. Wood filler
10. My favorite detail sander
11. Finishing trim
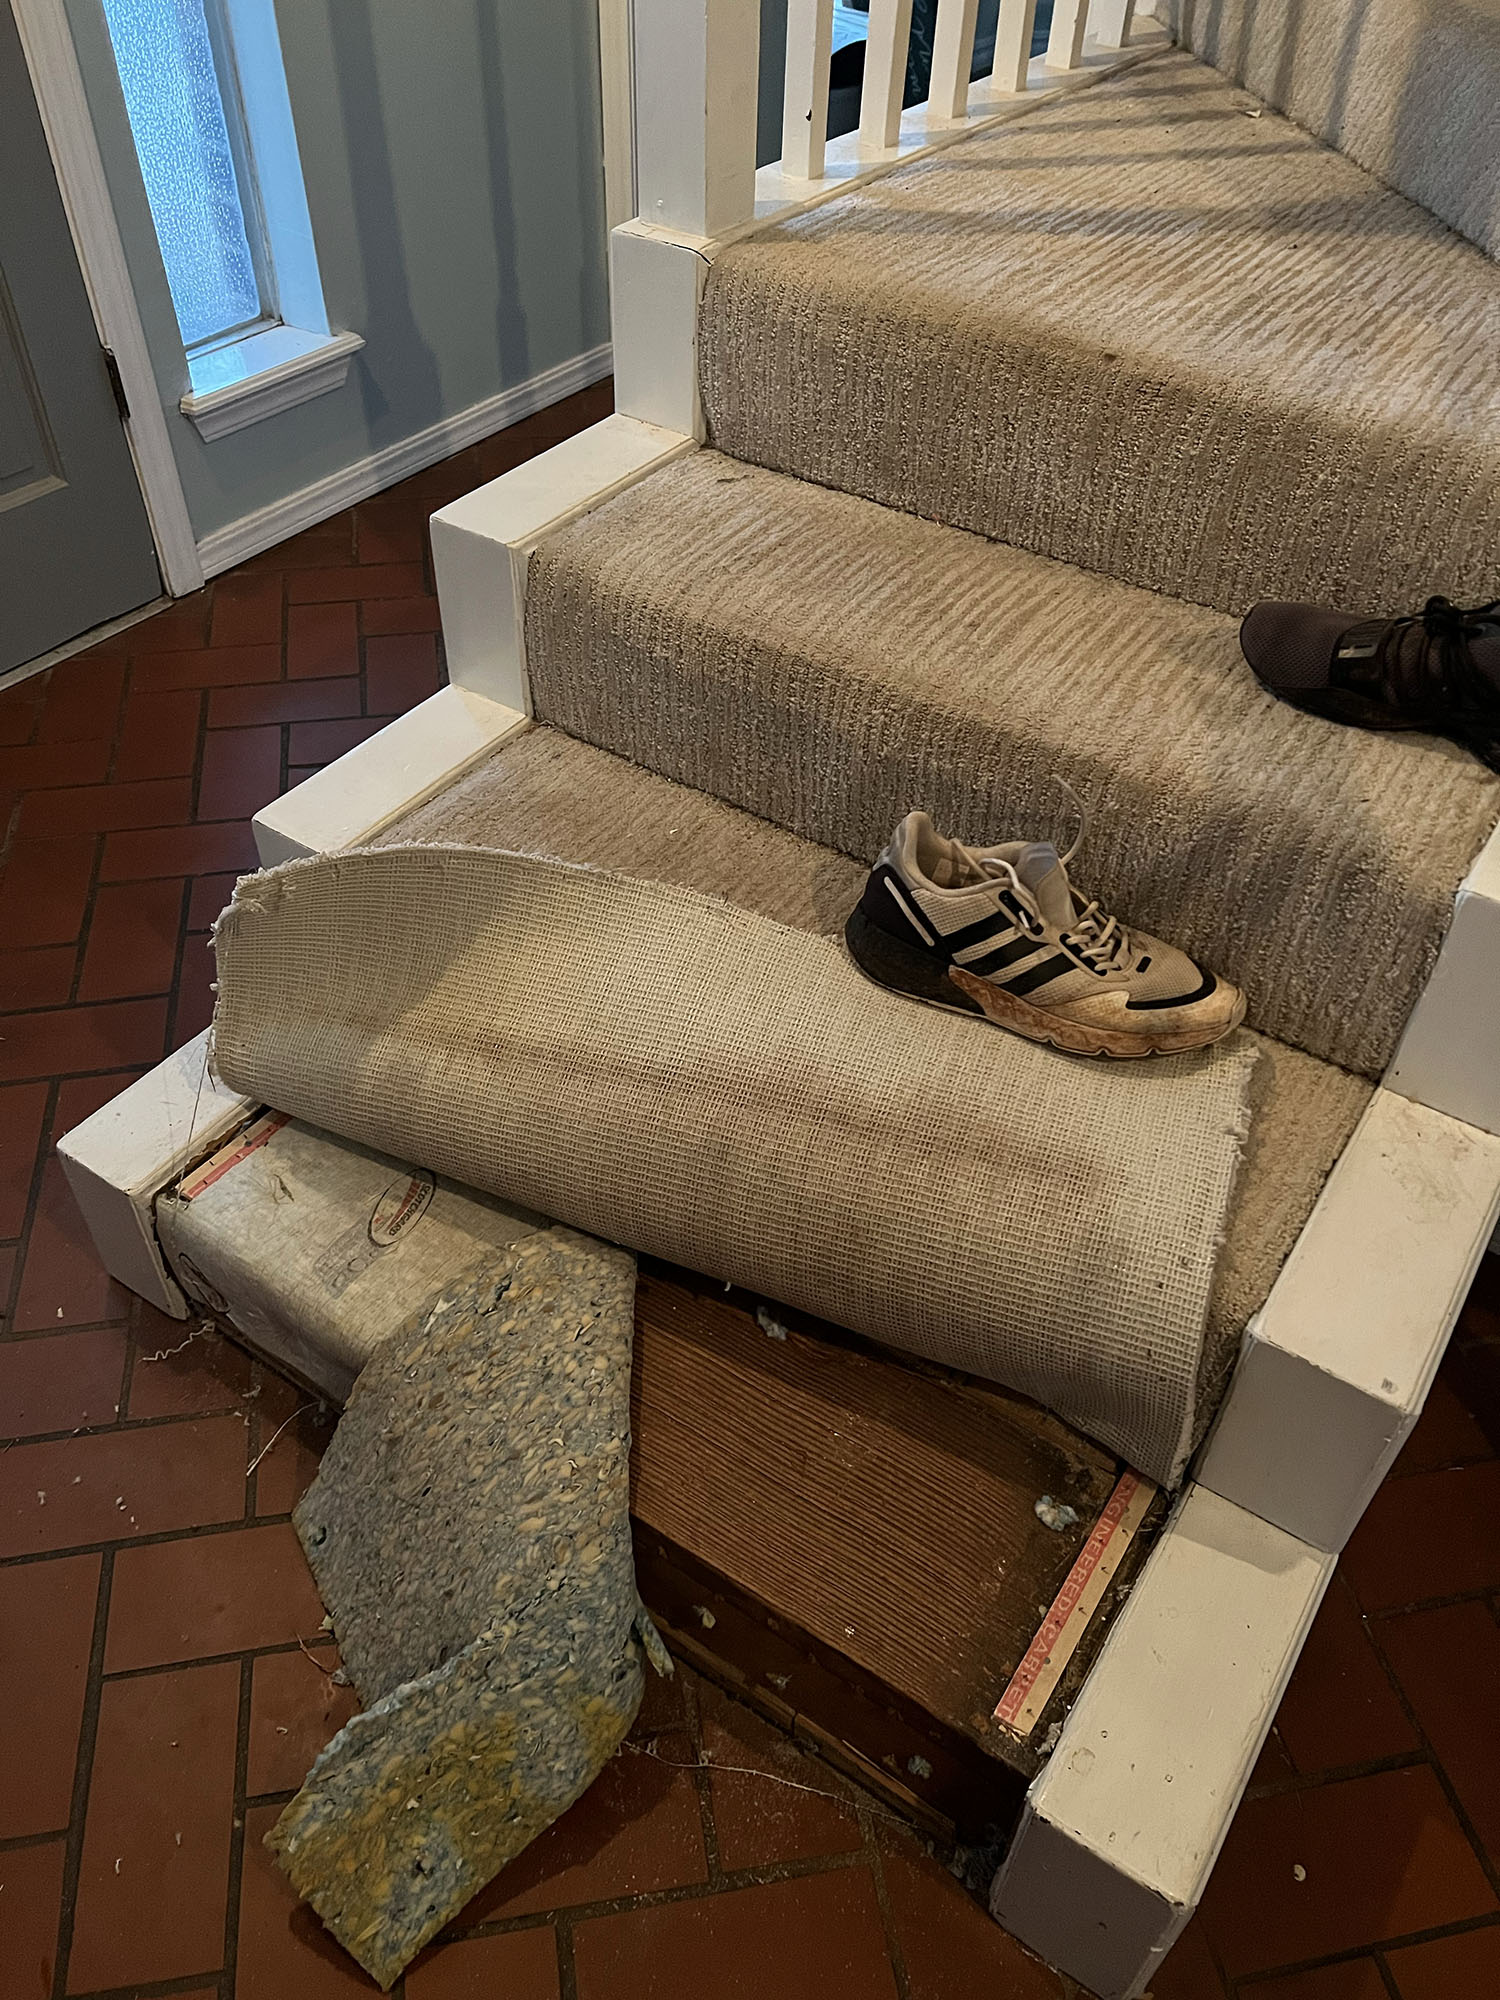
Removing carpet and padding from stairs.
1. Removing the carpet
You’ll start by removing the old carpet from the stairs. You may need to use a pry bar to pull the carpet away from the tack strips. Once the carpet has been removed, use the pry bar to remove the tack strips. Take pliers and remove any staples or nails left behind from the old carpet.
Take your sander with a medium grit sandpaper and sand down the bare wood where the tack strips and staples were. Thoroughly clean the dust and debris from the stairs to prepare for the risers and treads.
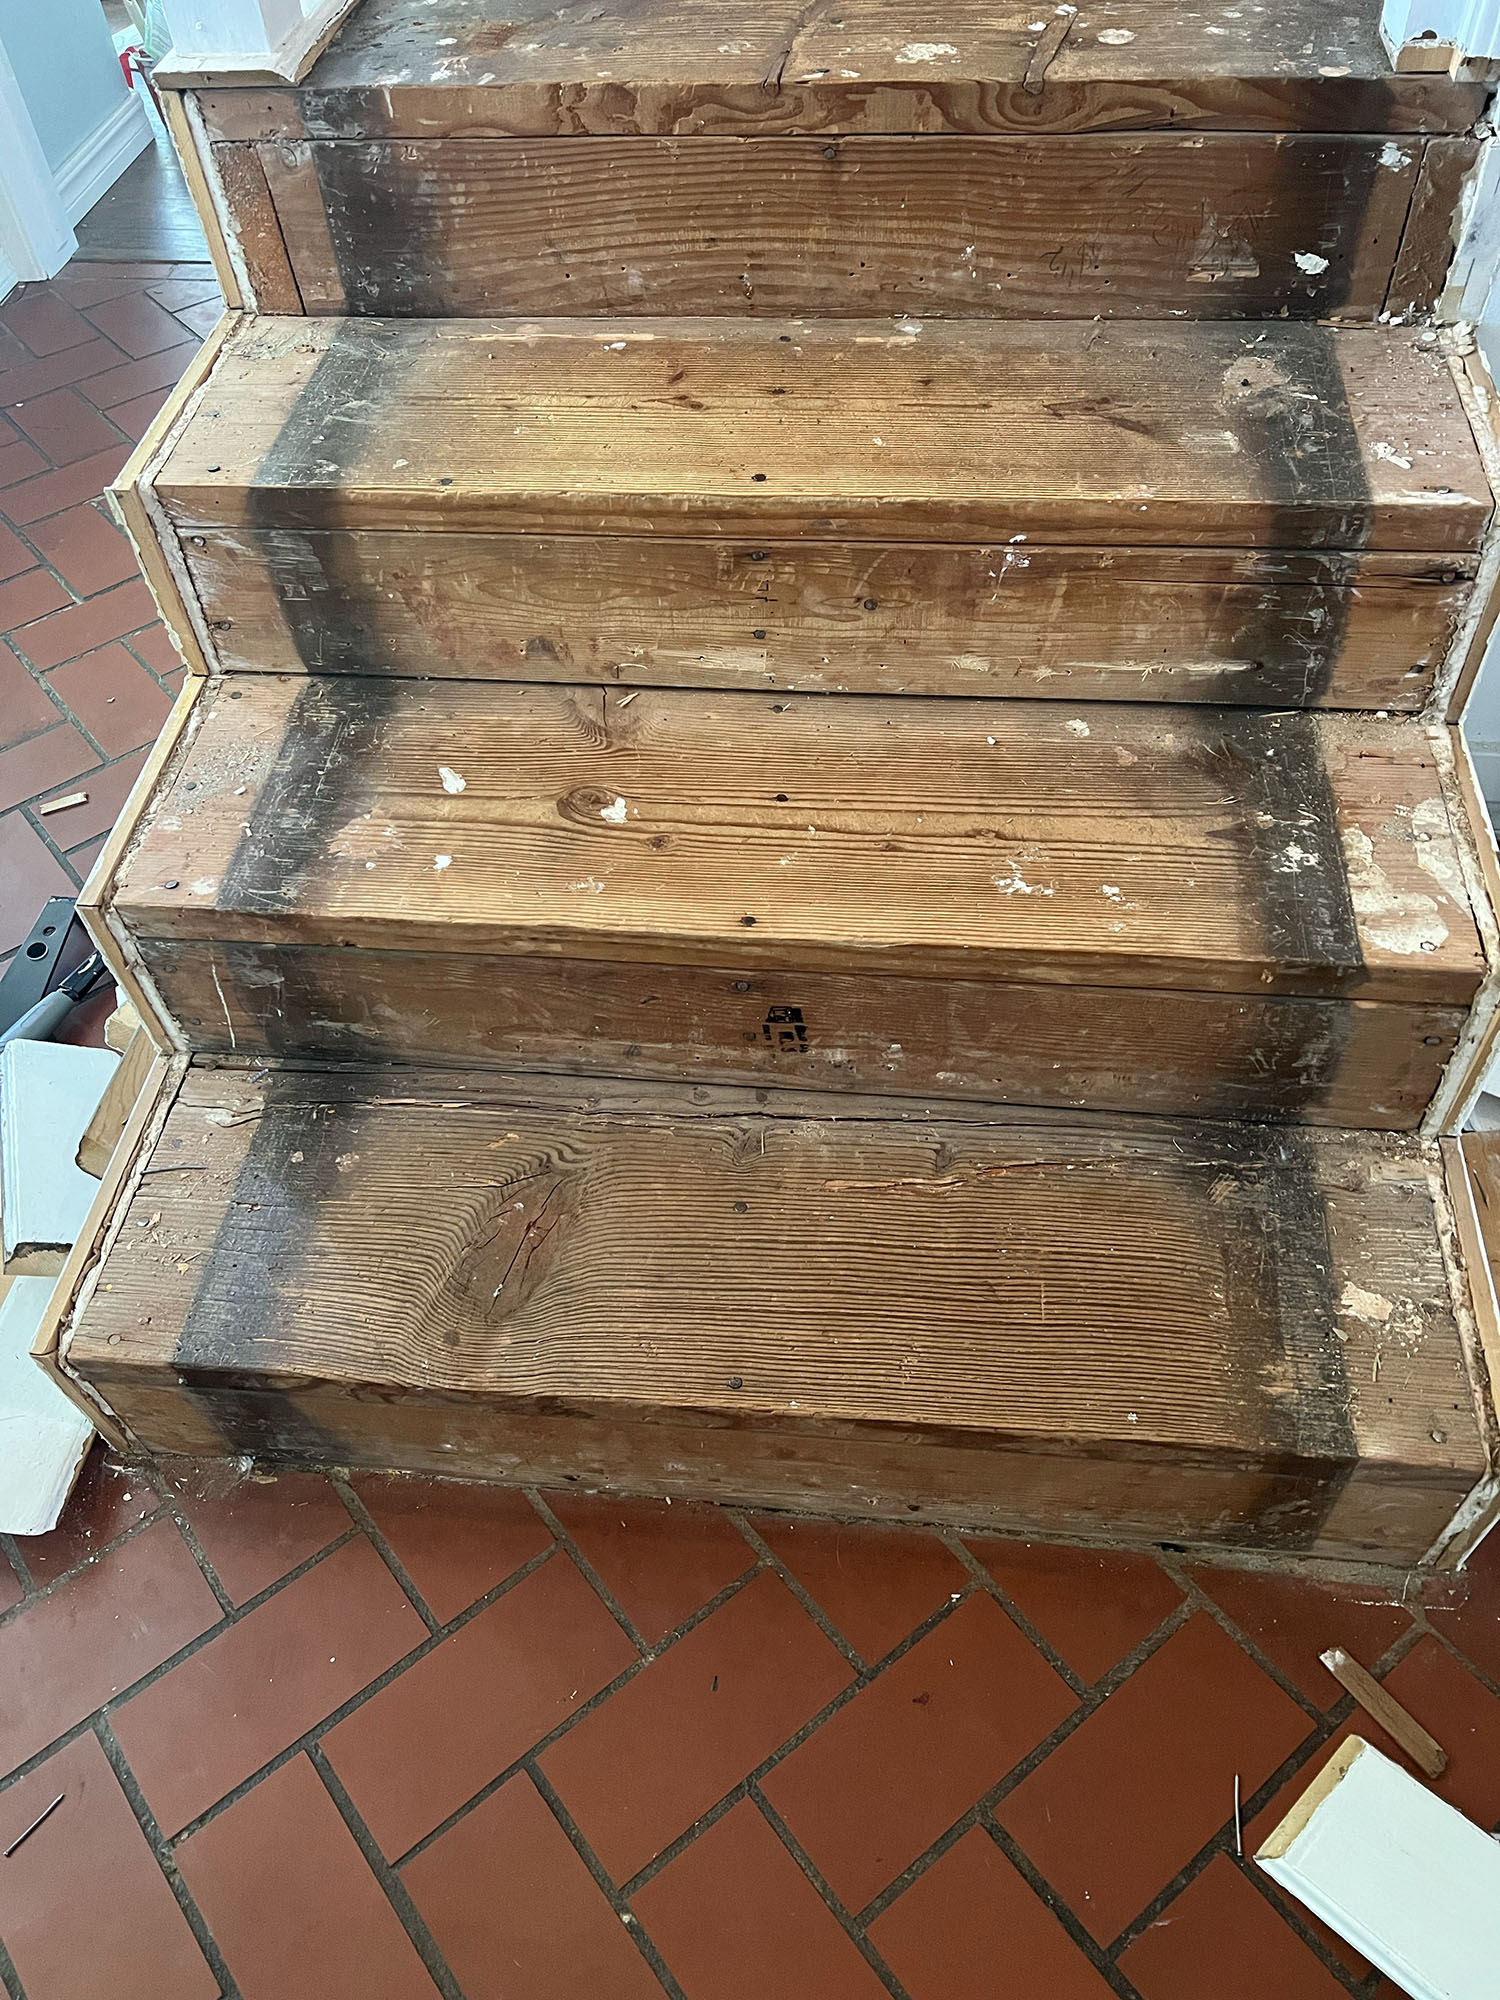
Stairs with carpet removed.
2. Trimming out a floating staircase
If your staircase has walls on either side then you won’t need to worry about trimming out the sides. If your staircase is floating or comes out from the wall like ours, you might need to add trim to the sides. I recommend doing this before installing your treads and risers. This way your risers and treads come over the trim and hide the seams. We saved the side trim for last making it more difficult to make the cuts and hide the seams without taking extra steps.
3. Stain and topcoat the treads
The next step is to prepare your wood treads. Start by using a wood conditioner on the bare wood. This will allow your stain to go on even for a uniform look. Follow the directions on your preferred can of stain for how to apply it. We opted for one coat of Minwax stain. When dried we followed the coat of stain with two coats of polyurethane, sanding in between coats. Two coats will give the finish more durability.
Get small space home decor ideas, celeb inspiration, DIY tips and more, straight to your inbox!
At this point you can decide whether to paint your risers or wait until they’ve been installed and paint the entire staircase. We chose to wait and painted them last.
4. Installing the treads and risers
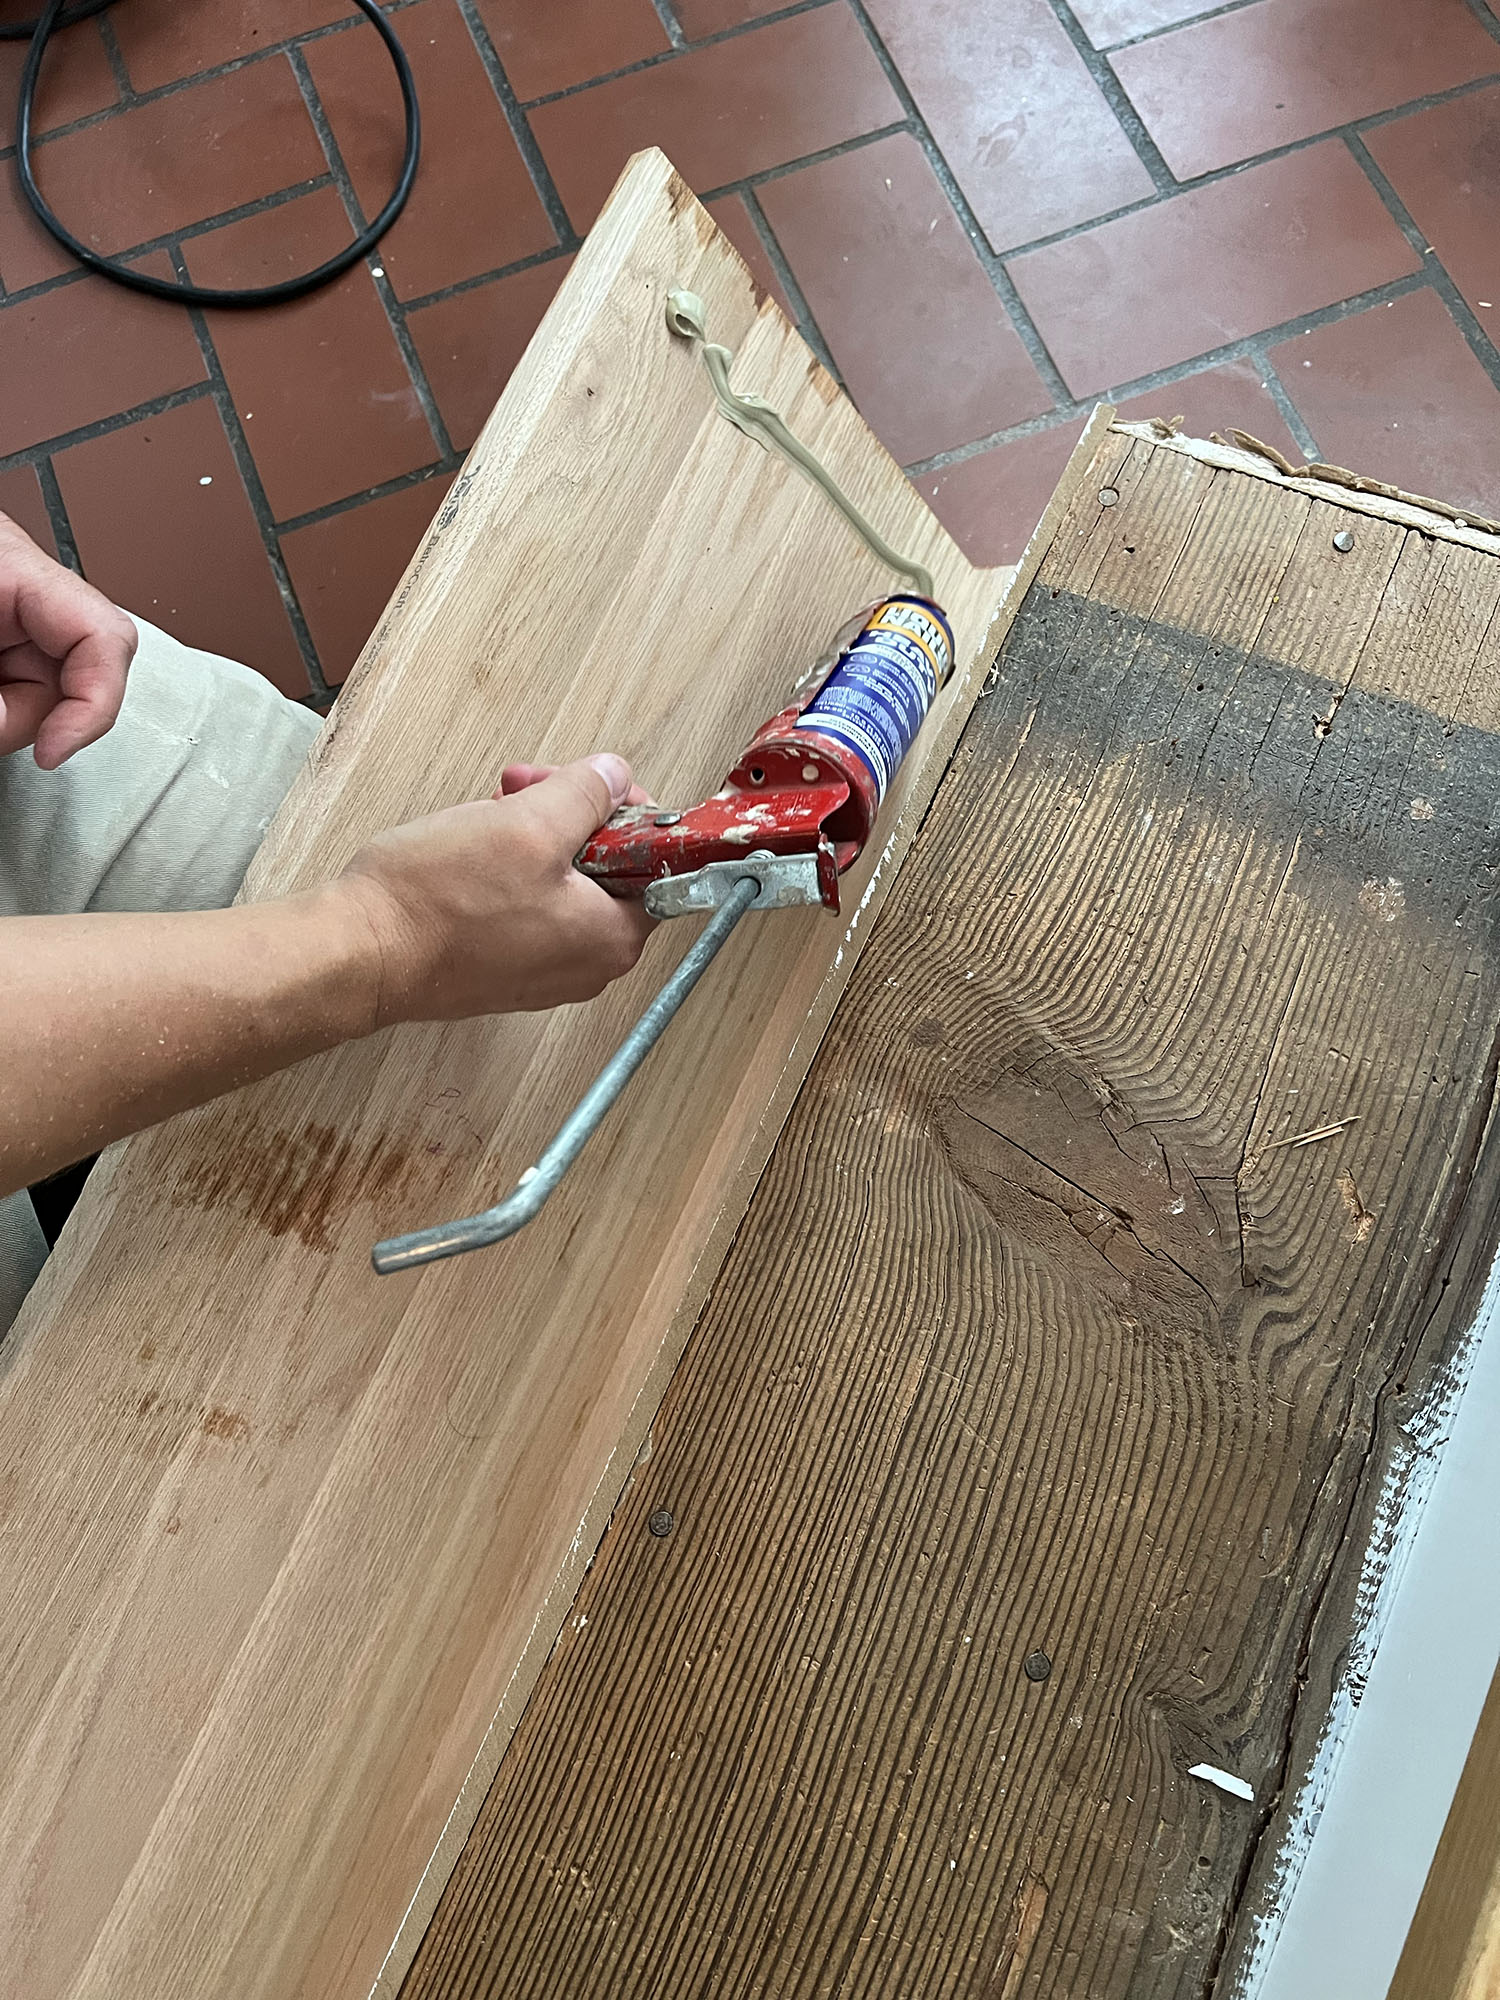
Applying wood glue on stair tread.
Now you’re ready to begin installing your treads and risers. Start from the bottom stair and work your way up going one riser and tread at a time. Measure the height and length of your stair and cut your tread and riser accordingly.
Top tip: I suggest doing this for each individual stair, especially if you live in an older home. Our home is 50 years old and has settled so that nothing is square and even. We found that each stair measured slightly differently.
Attach your bottom riser first using a heavy-duty wood glue. Once the riser is in place, install your tread on the top of the stair, also using the wood glue. Using wood glue instead of nails keeps you from having to patch the holes and gives it a clean look. Keep moving in this way until you’ve installed all the risers and treads.
If you have a floating staircase you may want to use the matching tread trim pieces on the sides of the stairs to cover any gaps and give it a clean look. These will need to be stained in the same way the treads were.
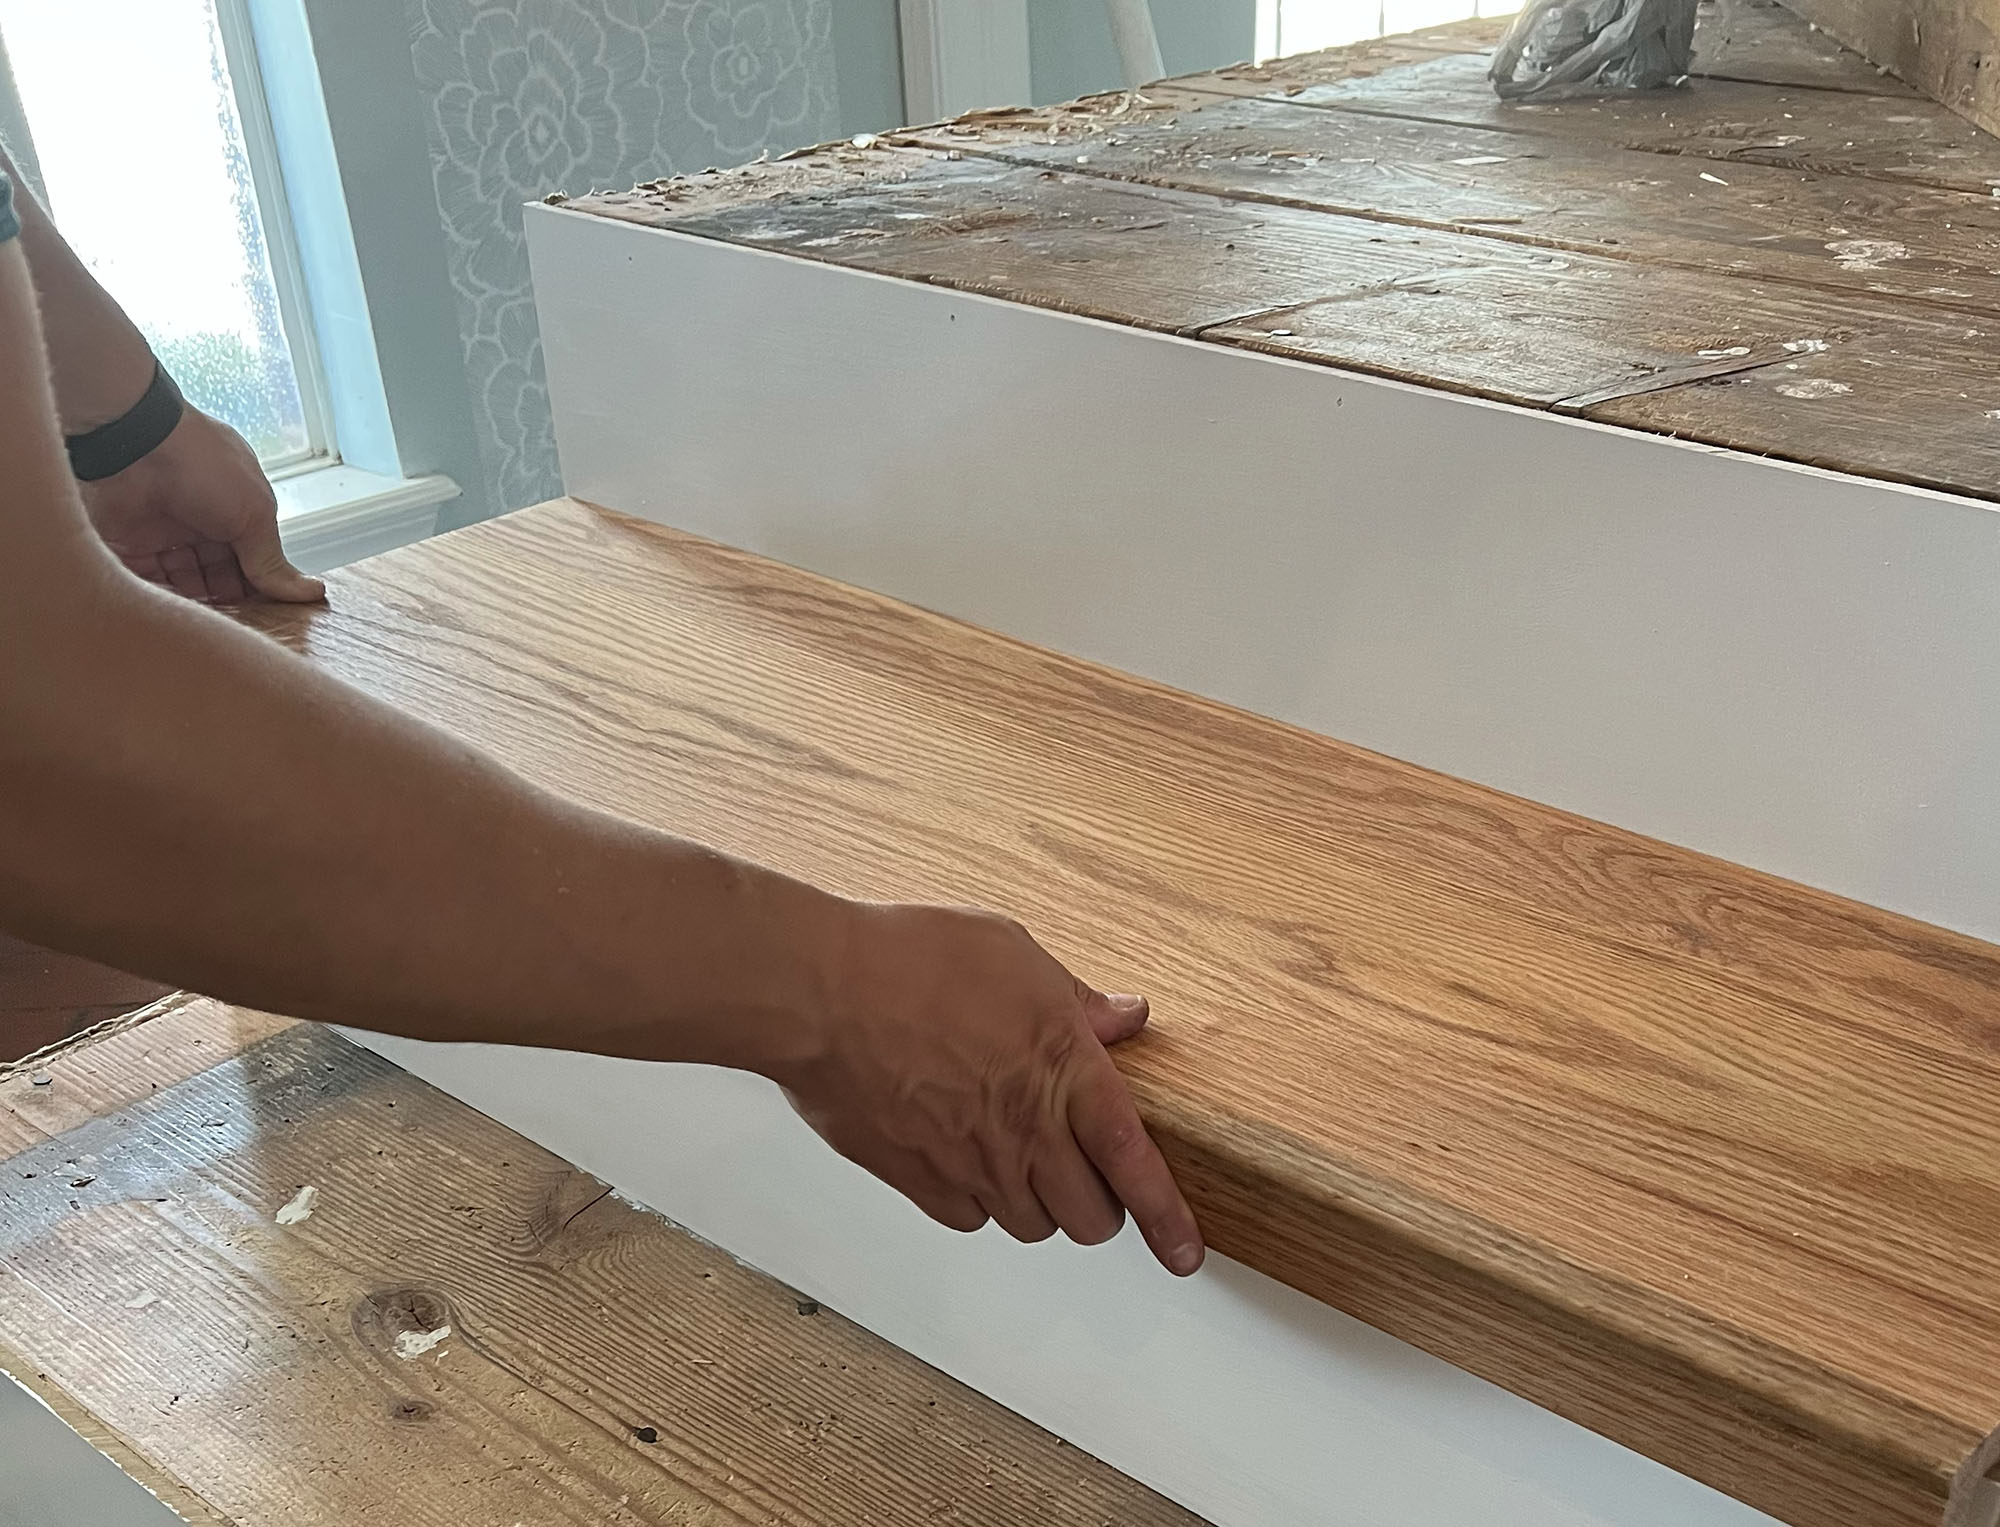
Installing wood tread on stair.
5. Finishing touches
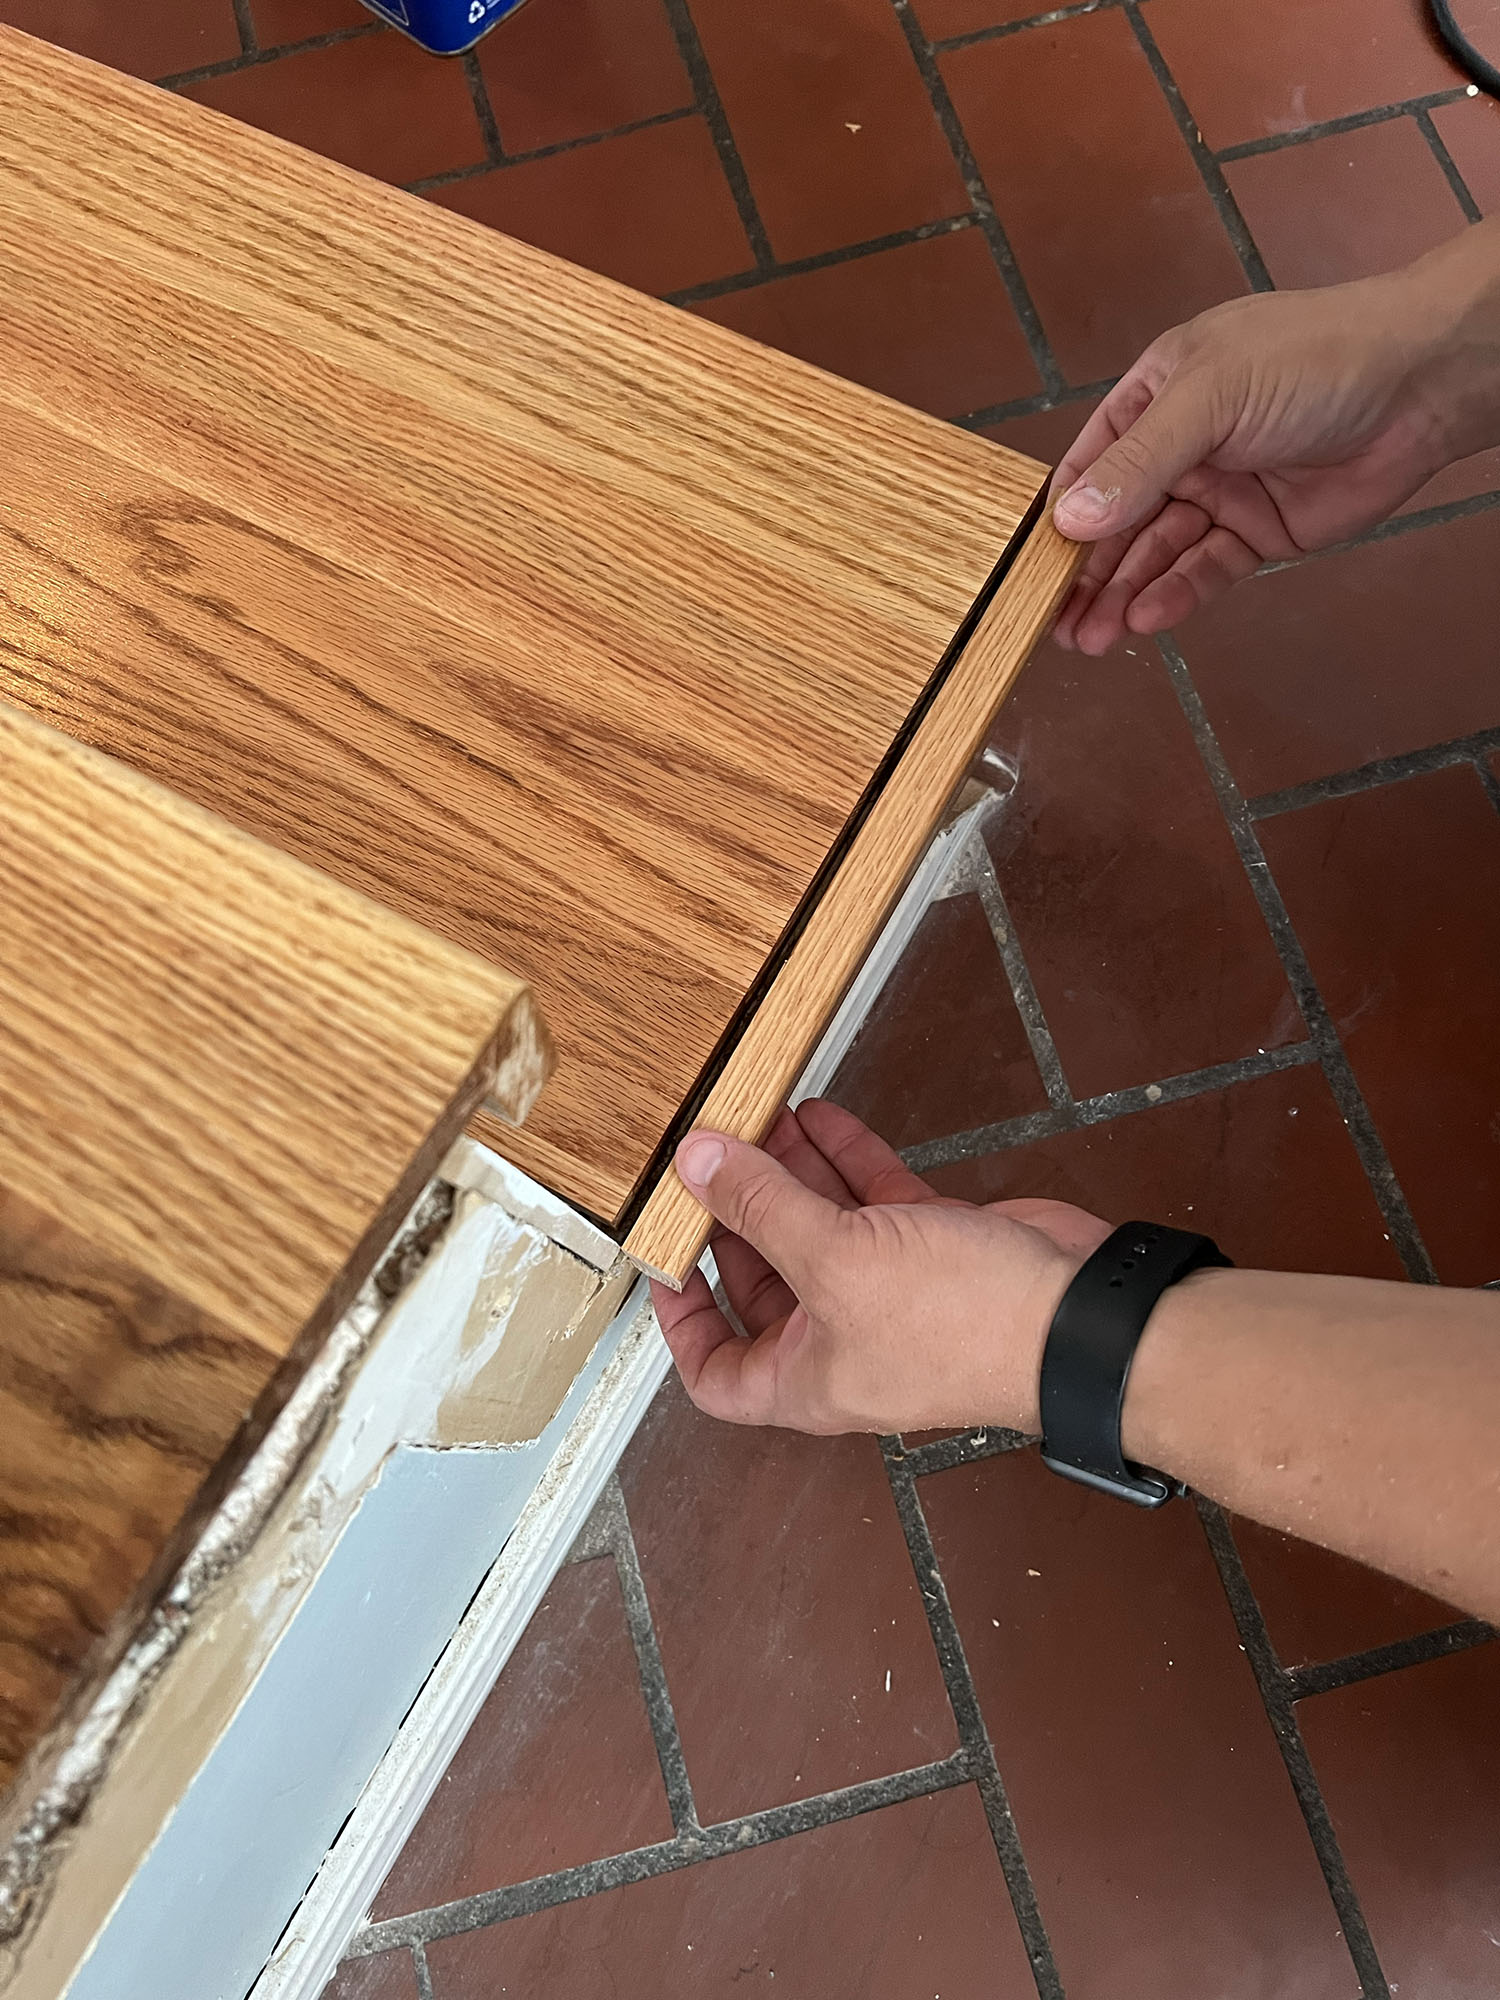
Installing stair trim piece.
With everything installed you’re ready for the final touches to complete your converted stairs to wood treads project – with a pro finish. If you haven’t painted your risers yet, you will want to complete that step now. Use wood filler, caulk and/or decorative trim to fill in any unwanted seams or gaps between the wall and the treads or the risers and the treads.
The results:
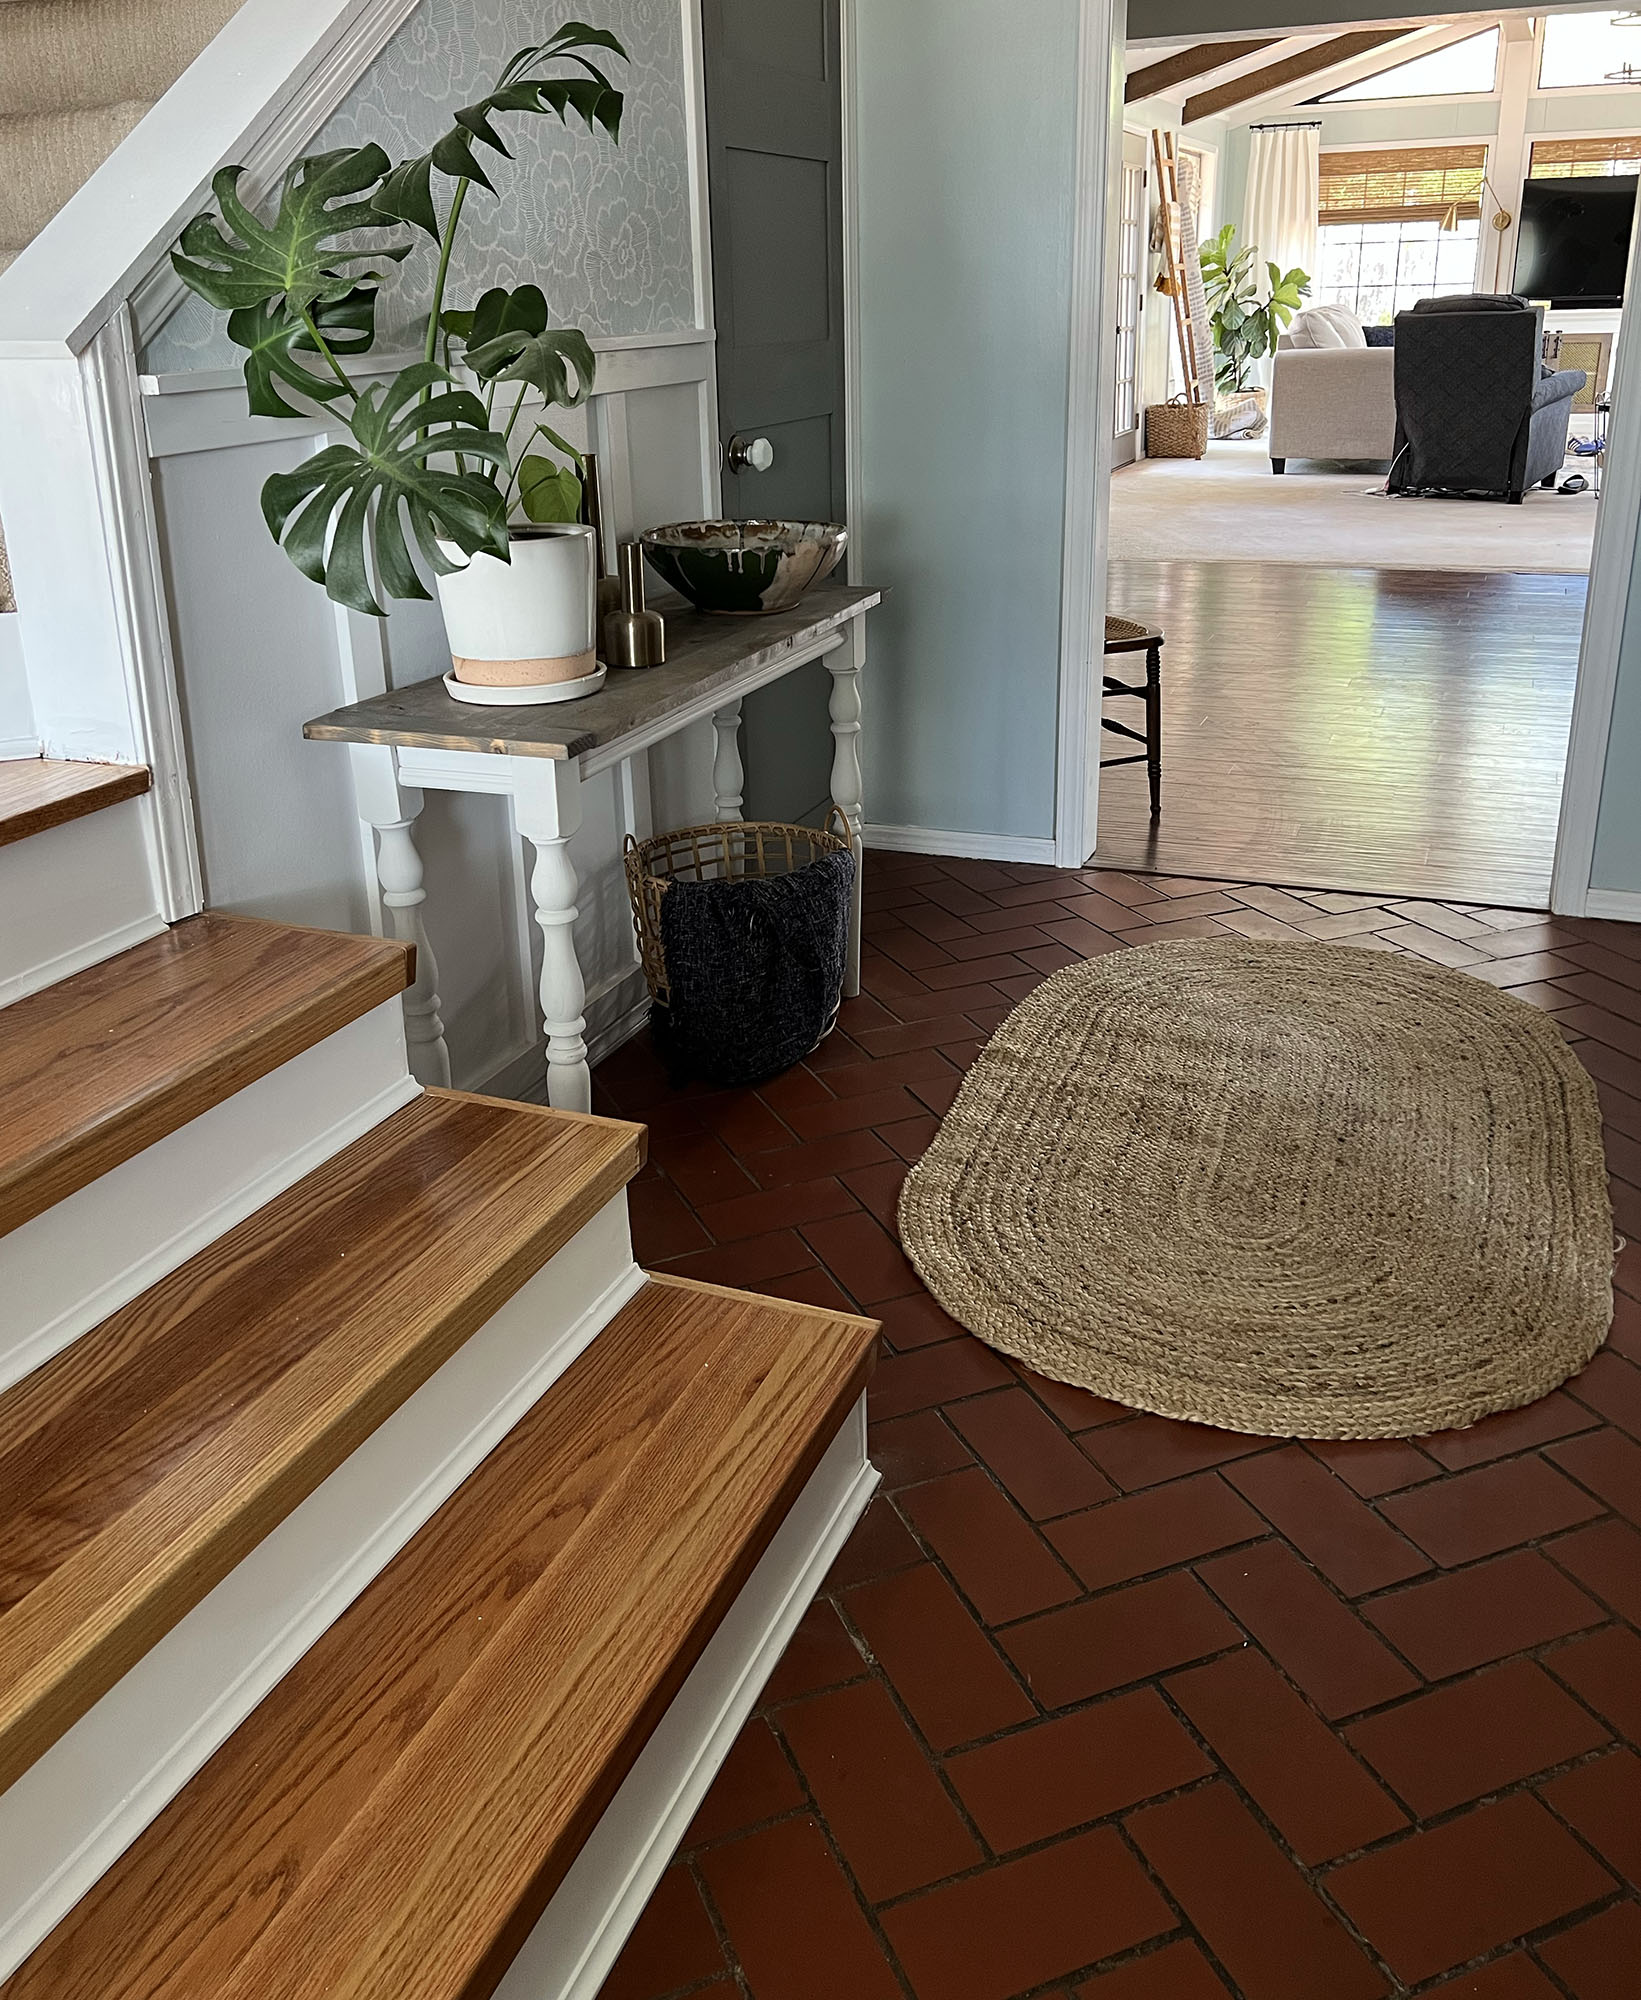
Wood stairs in entryway.
Now you’re ready to step back and enjoy your beautiful new staircase!

Dori Turner writes blog posts and feature articles on affordable design and DIY from her home in the heart of Oklahoma. She has a passion for teaching others how they can transform their home on a budget.