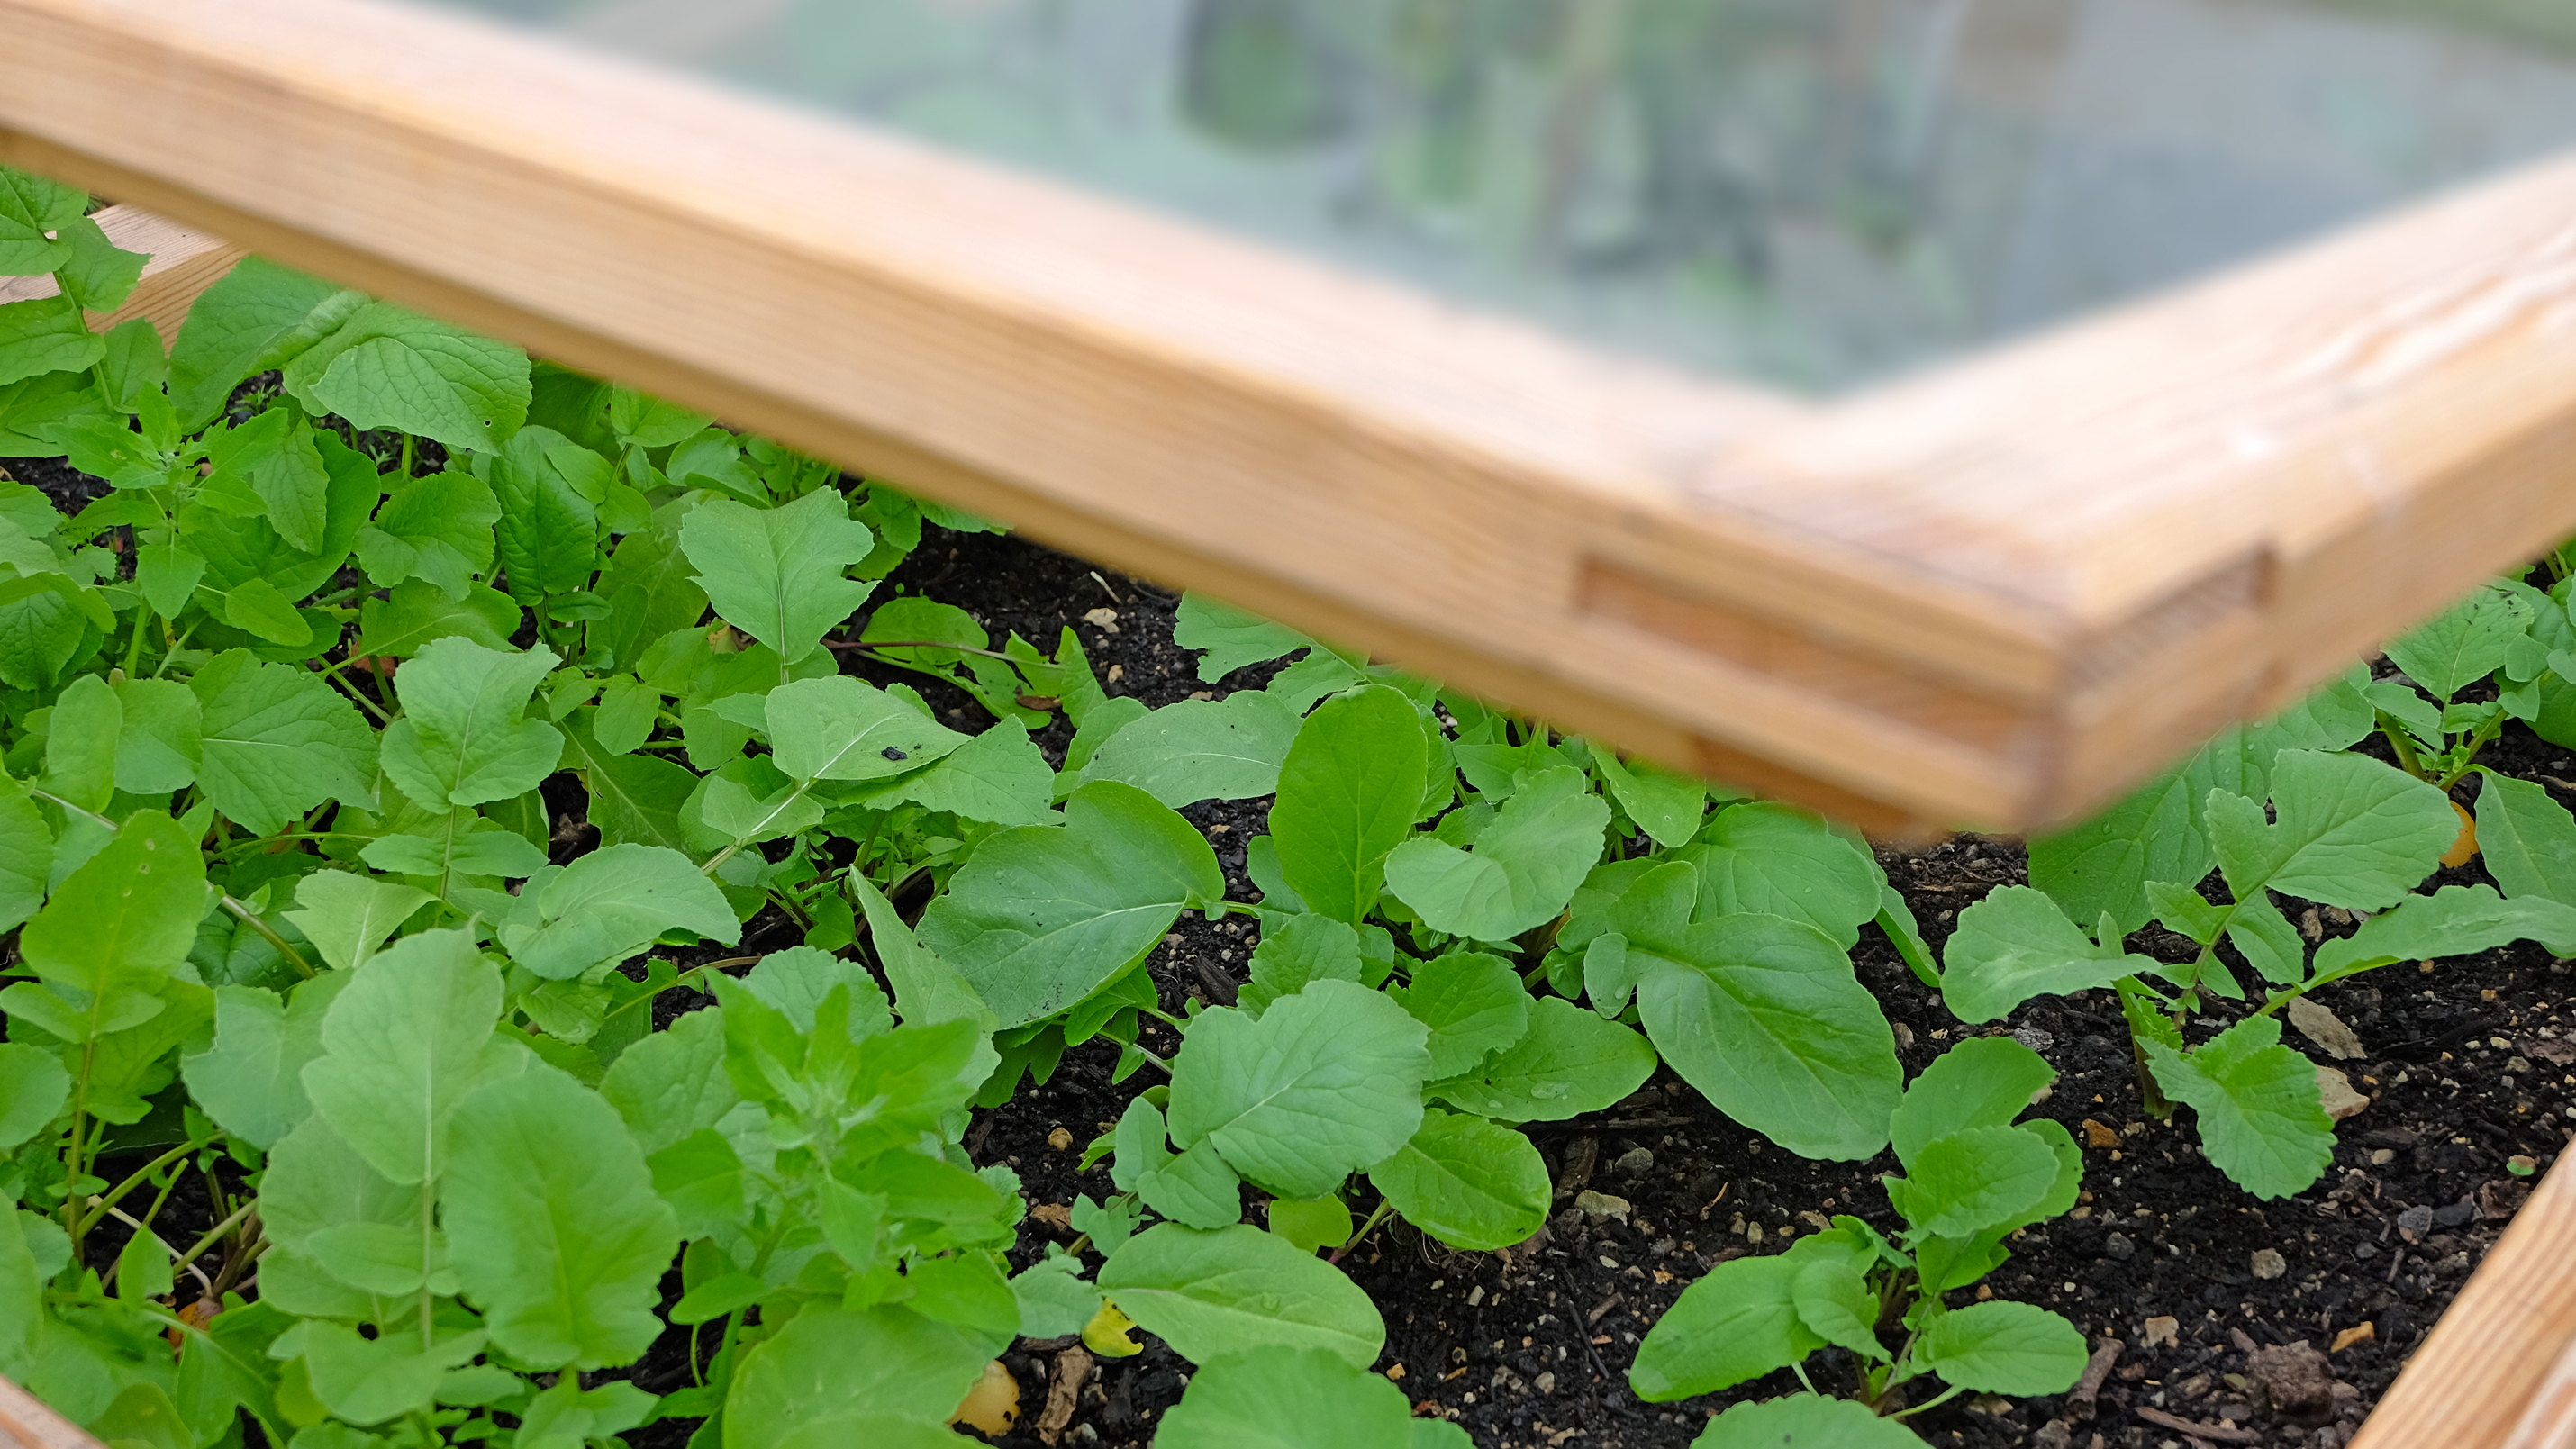
DIY cold frame : how to make one out of pallet wood
This DIY cold frame project is suitable even for beginners and is cheap

Get small space home decor ideas, celeb inspiration, DIY tips and more, straight to your inbox!
You are now subscribed
Your newsletter sign-up was successful
A DIY cold frame is a fairly simple weekend garden project that can help with everything from seed propagation to protecting tender plants from frost during winter. A cold frame is typically a shallow rectangular structure with a transparent lid that lets in light while keeping out rain/snow/frost.
The method we use assumes you don't have any materials ready to hand. You'll find DIY tutorials that use an old window as a starting point for building your cold frame, but old windows aren't that easy to come by, so in this tutorial we're using polycarbonate sheeting instead. If you can find an old window with a wood frame (we have seen some on Ebay), that makes the job a lot easier, because the window will determine the size of your cold frame.
Find more garden ideas in our gallery.
If you want a visual guide to how to make your cold frame, then watch this simple video by GrowVeg.
1. Choose the wood
You will need two types of wood: pallet boards and battens about an inch thick. The battens will hold your frame together and are to be used to making the lid, plus extra battens can be attached to the sides of your cold frame to prop the lid open.
You can get pressure-treated wood for extra longevity, but it will be more expensive. You can also treat the wood you've got with oil to aid longevity.
2. Make the frame
You'll need four boards for each side of the frame, plus an extra board cut diagonally in half for the sloping sides.
Get small space home decor ideas, celeb inspiration, DIY tips and more, straight to your inbox!
Push the boards together and nail them to the battens (cut to the desired size) – this is much easier if you're using a drill. Essentially, you're making an internal bracket in each corner of the frame, with each batten holding together two sides of the frame.
If all your boards are the same length, you can make a square frame, and if you really don't have any cutting tools, you can just have a flat cold frame without the slanting sides. However, the slant does allow for more light to get in, which is better for your plants.
3. Make the lid
Now, make the lid. If you already have an old window, make sure any fixtures have been removed from it. If you have battens and polycarbonate sheeting, sandwich the sheet (cut to size) between two identical lid frames; nail together at the corners.
4. Attach the lid with hinges
Now, attach the lid using strong metal butt hinges at the back. Larger cold frame will need four hinges, smaller ones will be fine with two.
5. Attach extra battens to prop up the lid
Now, attach a short batten to the inside of the front of your cold frame, just underneath the edge, in order to be able to prop the lid open. Then, do the same with long battens on either side of the cold frame; they should run the length of the sides and be attached with a single nail each at the front. Slide them up to prop up your cold frame lid.
Anna is a professional writer with many years of experience. She has a passion for contemporary home decor and gardening. She covers a range of topics, from practical advice to interior and garden design.