This DIY oversized wall art cost a fraction of a store bought piece - here's how to make it
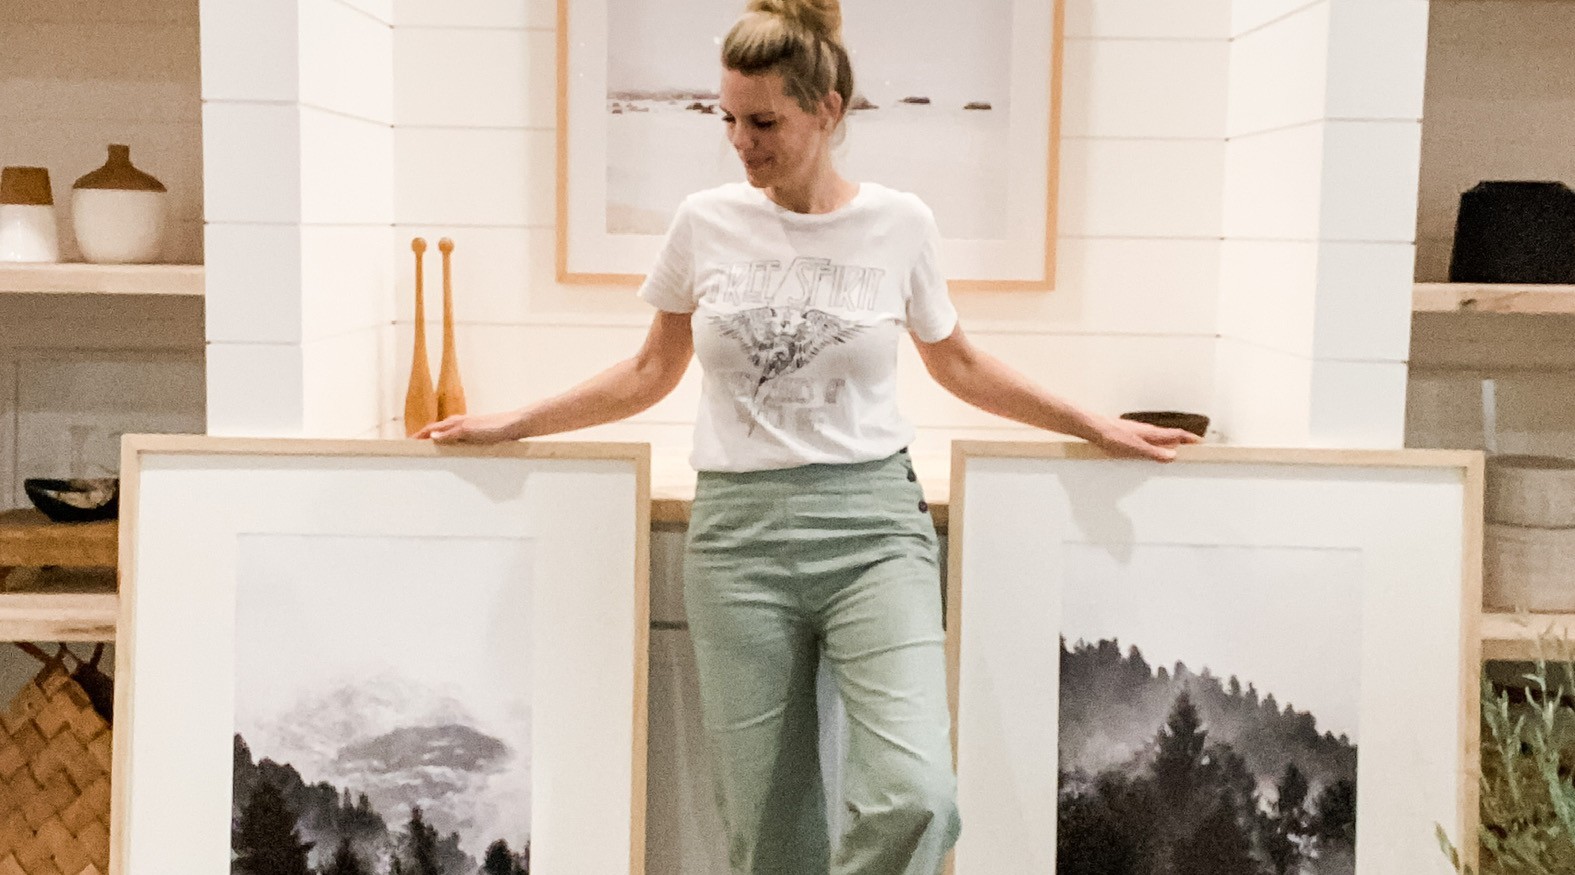
DIYer Brooke Waite made three extra-large wall art frames for just $183, art included.

Get small space home decor ideas, celeb inspiration, DIY tips and more, straight to your inbox!
You are now subscribed
Your newsletter sign-up was successful
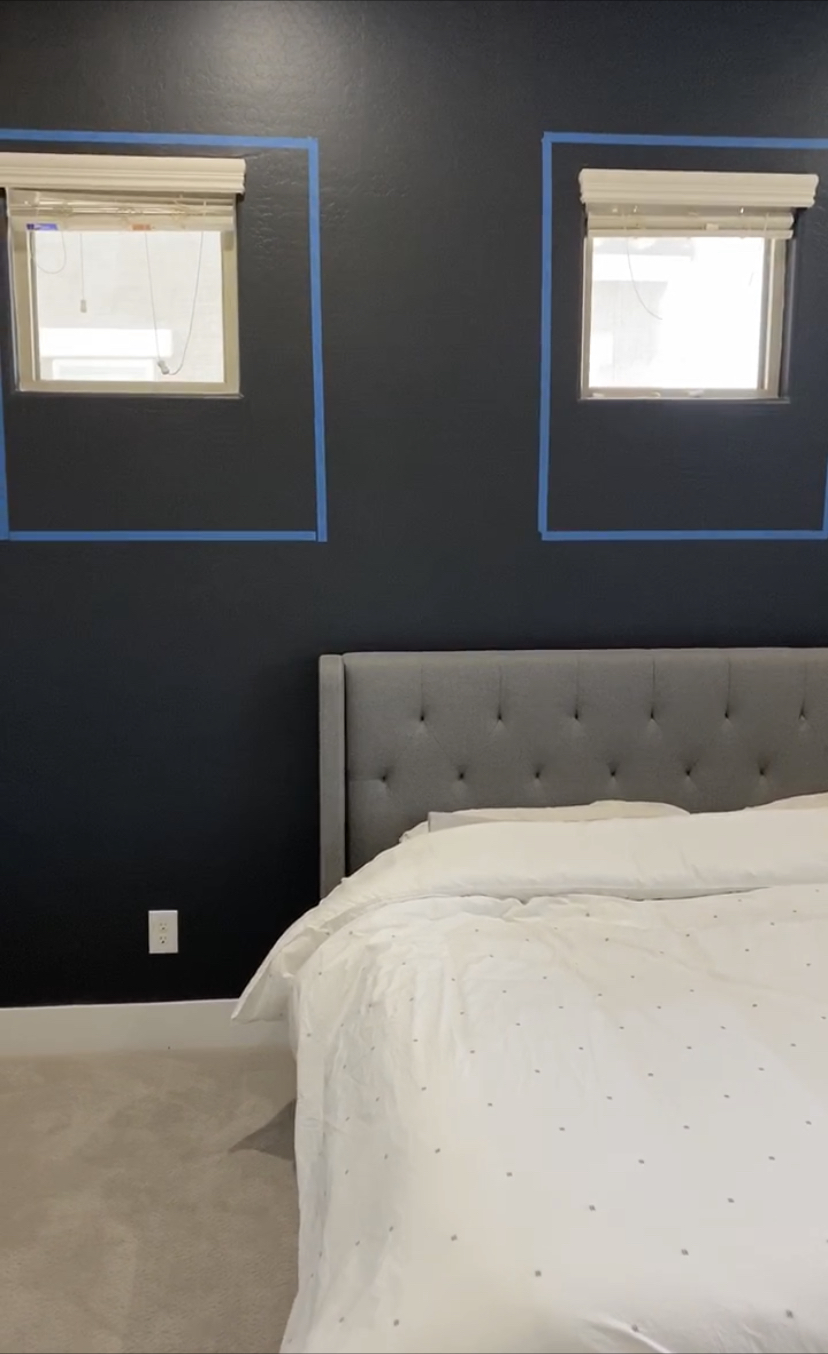
Necessity is the mother of invention, so they say. In my case, I needed to come up with a solution for the worst design element in our primary bedroom: the tiny windows above the bed. There was no way to hang art above the bed or design around them so I decided to cover them up!
In order to cover the windows and keep the art looking intentional I knew that I needed to go BIG and cover the entire wall with art.
If you've ever shopped for oversized wall art, though, you know it doesn't come cheap. Even if you source it from a budget-friendly spot like your local Homegoods or Target, prices for art rise quickly once it starts getting large. Since I needed three pieces of artwork, I decided that I'd make this a DIY project instead of spending the hundreds (or even thousands) of dollars it would take for me to purchase large-enough art ready-made.
- Keep reading: 23 wall decor ideas to fill every blank canvas
DIY oversized wall art: How to
Here's how I made my frames, where I got my art, and a cost breakdown for the project.
Step 1: Cut wood for the frames
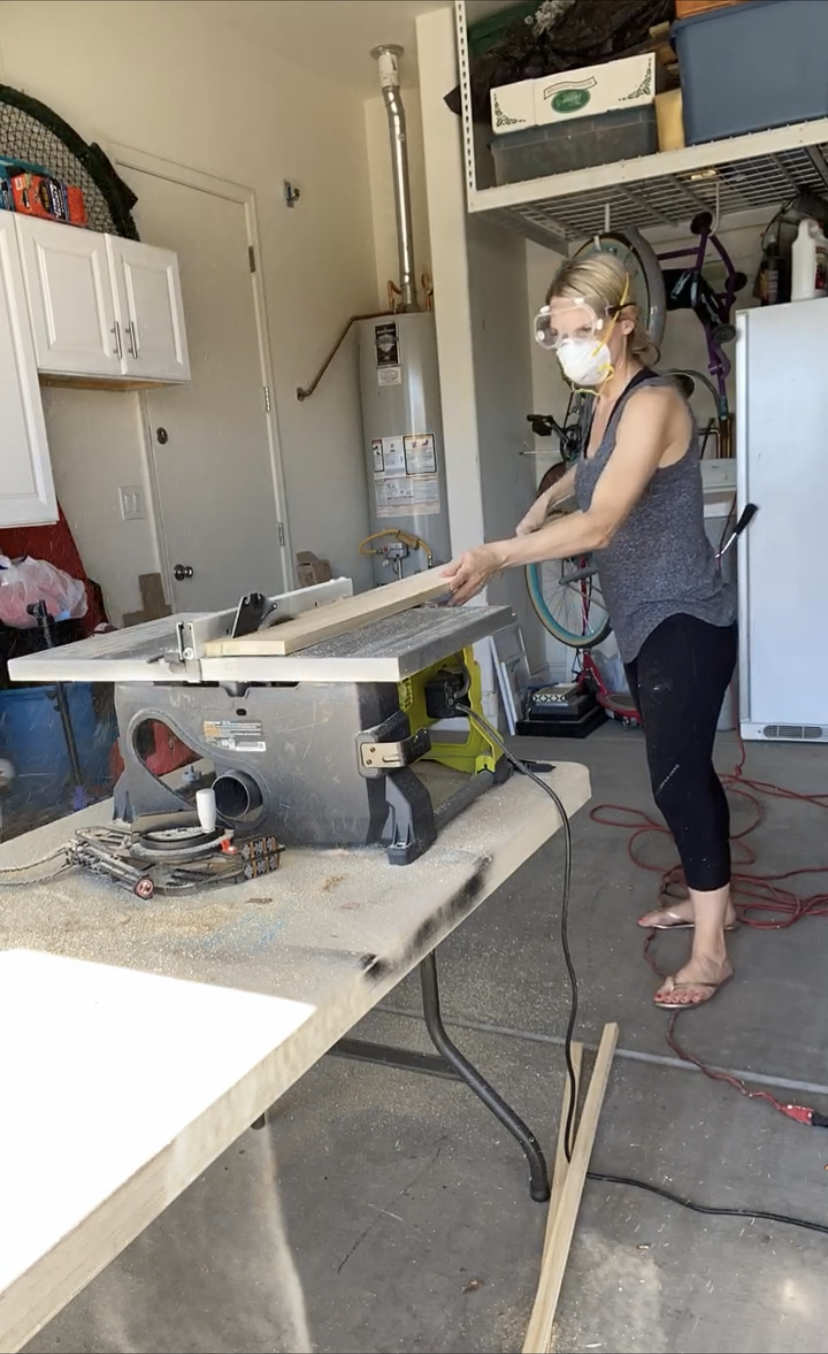
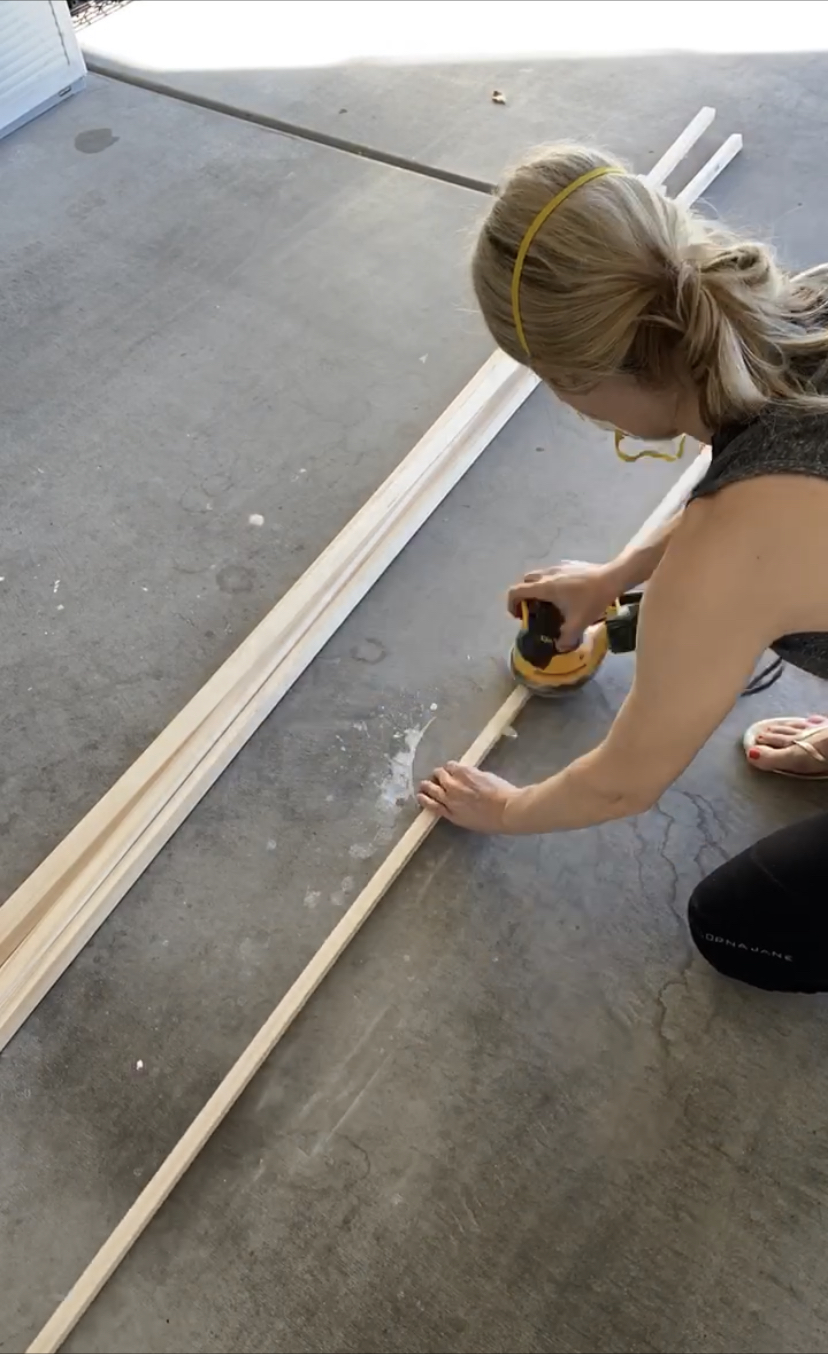
To make my frames, I picked up a 8’ piece of 1"x4" select pine and ripped it down with my table saw into 1” sections. I then sanded the sections with my orbital sander to remove any saw marks.
Step 2: Add a groove to hold art in place
In order for the foam board and art mat to stay in the frame, I needed to create a “notch” for them to sit in. I lowered the blade of my table saw to just cut a ¼” groove into two sides of the piece of wood.
Step 3: Nail the frame together
I mitered the edges of my wood pieces with a miter saw (you can also use a hand saw and miter box for this job). This creates 45 degree angles at the ends of the wood pieces so they fit neatly together.
Get small space home decor ideas, celeb inspiration, DIY tips and more, straight to your inbox!
Then, I applied wood glue to the ends of the wood pieces, and used my brad nailer to secure them together. When I flipped the frame over, I had the perfect notch to hold my foam, mat, and art in place. Before I added my art I applied a coat of satin Polycrylic to protect the wood.
Ste 4: Mount the art in the frame
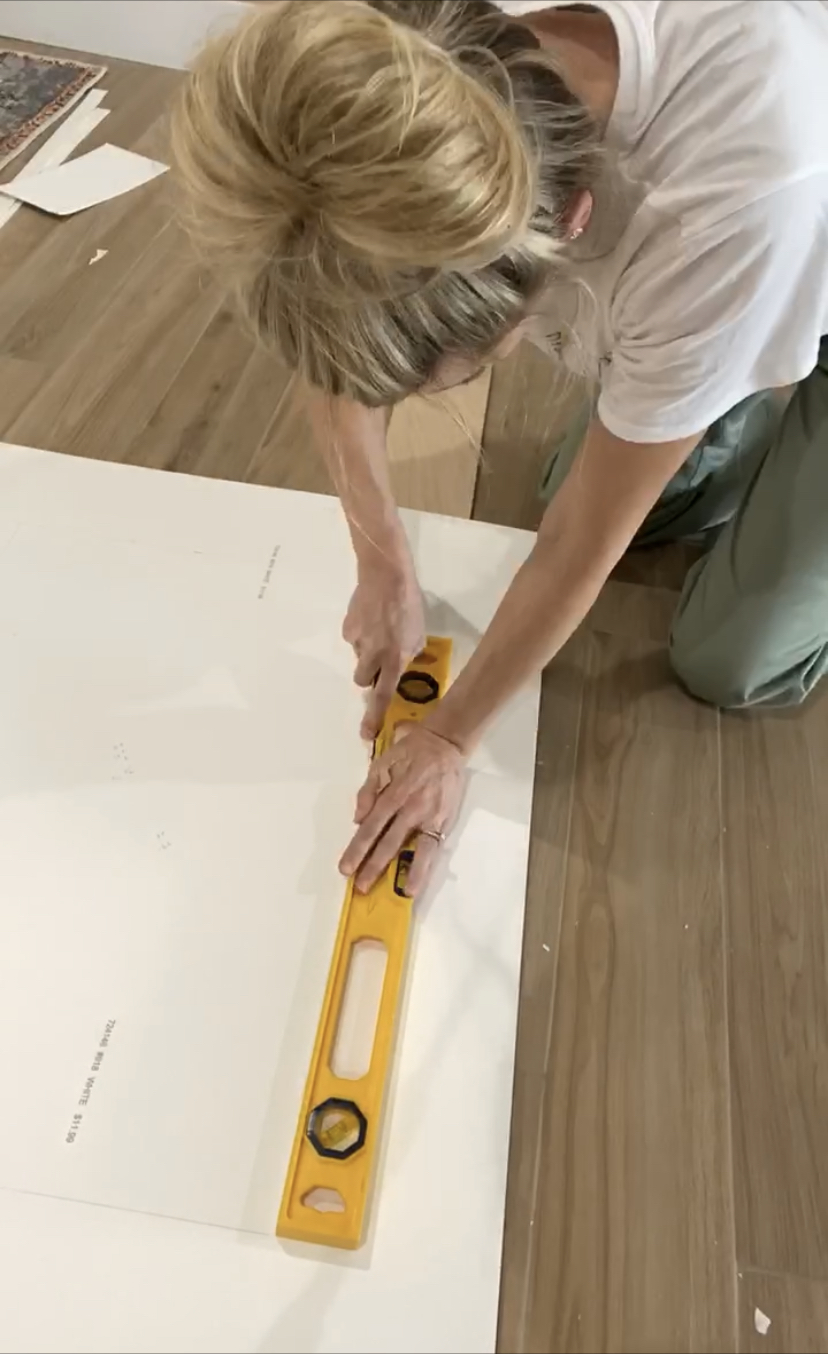
I bought a large piece of foam board and white mat board at Hobby Lobby, sized to perfectly fit my 32x40 frame. The foam board will help to keep the mat and art stabilized and set in place within the frame.
I opted to not use glass as I was afraid the art would be too heavy and cutting a piece of acrylic this large was just not cost effective. In the end, this art is sans glass and I love it that way. No glare when I’m taking pictures and they are super lightweight...win-win!
I found the art on Etsy and was able to download the prints the same day and had them printed in a 20"x30" size using Mpix. I cut my own mat using a sharp X-acto knife and a level.
Lastly, I used picture turn buttons on the back of the frame to keep everything secure inside the frame.
That's it!
DIY oversized wall art: Cost breakdown
Here is the cost breakdown for the project:
- Select pine 1x4x8 $7
- Etsy prints (set of 3) $12
- 32x40 foam board $8
- 32x40 mat board $12
- Print enlargement $10
- Picture turn buttons $7
- Polycrylic $5
Total: $61
Not bad for an oversized custom piece of art!! I wouldn’t have been able to find art this size for less than $61 at any retailer. At this price, building two more for this wall was an easy decision.
If you would to see more budget friendly projects like this, follow me on IG @brookewaitehome
I'm a mom of three with a passion for interior design and DIY! I am currently renovating a farmhouse along with my husband and running an Airbnb in our hometown. I would define my style as loving clean lines with a good mixture of old and new. I love a modern cottage look and have been very interested in vintage pieces as of late. When I’m not spending time with my family or dreaming up another home project, I love to read, eat good food, and binge-watch crime shows on Netflix!
