How to revive an old patio furniture set with spray paint, on a shoestring budget
DIYer Jessica Nickerson used spray paint to bring a used metal patio furniture set, from Facebook Marketplace, back to life. Giving her front yard a speedy facelift, for next to nothing

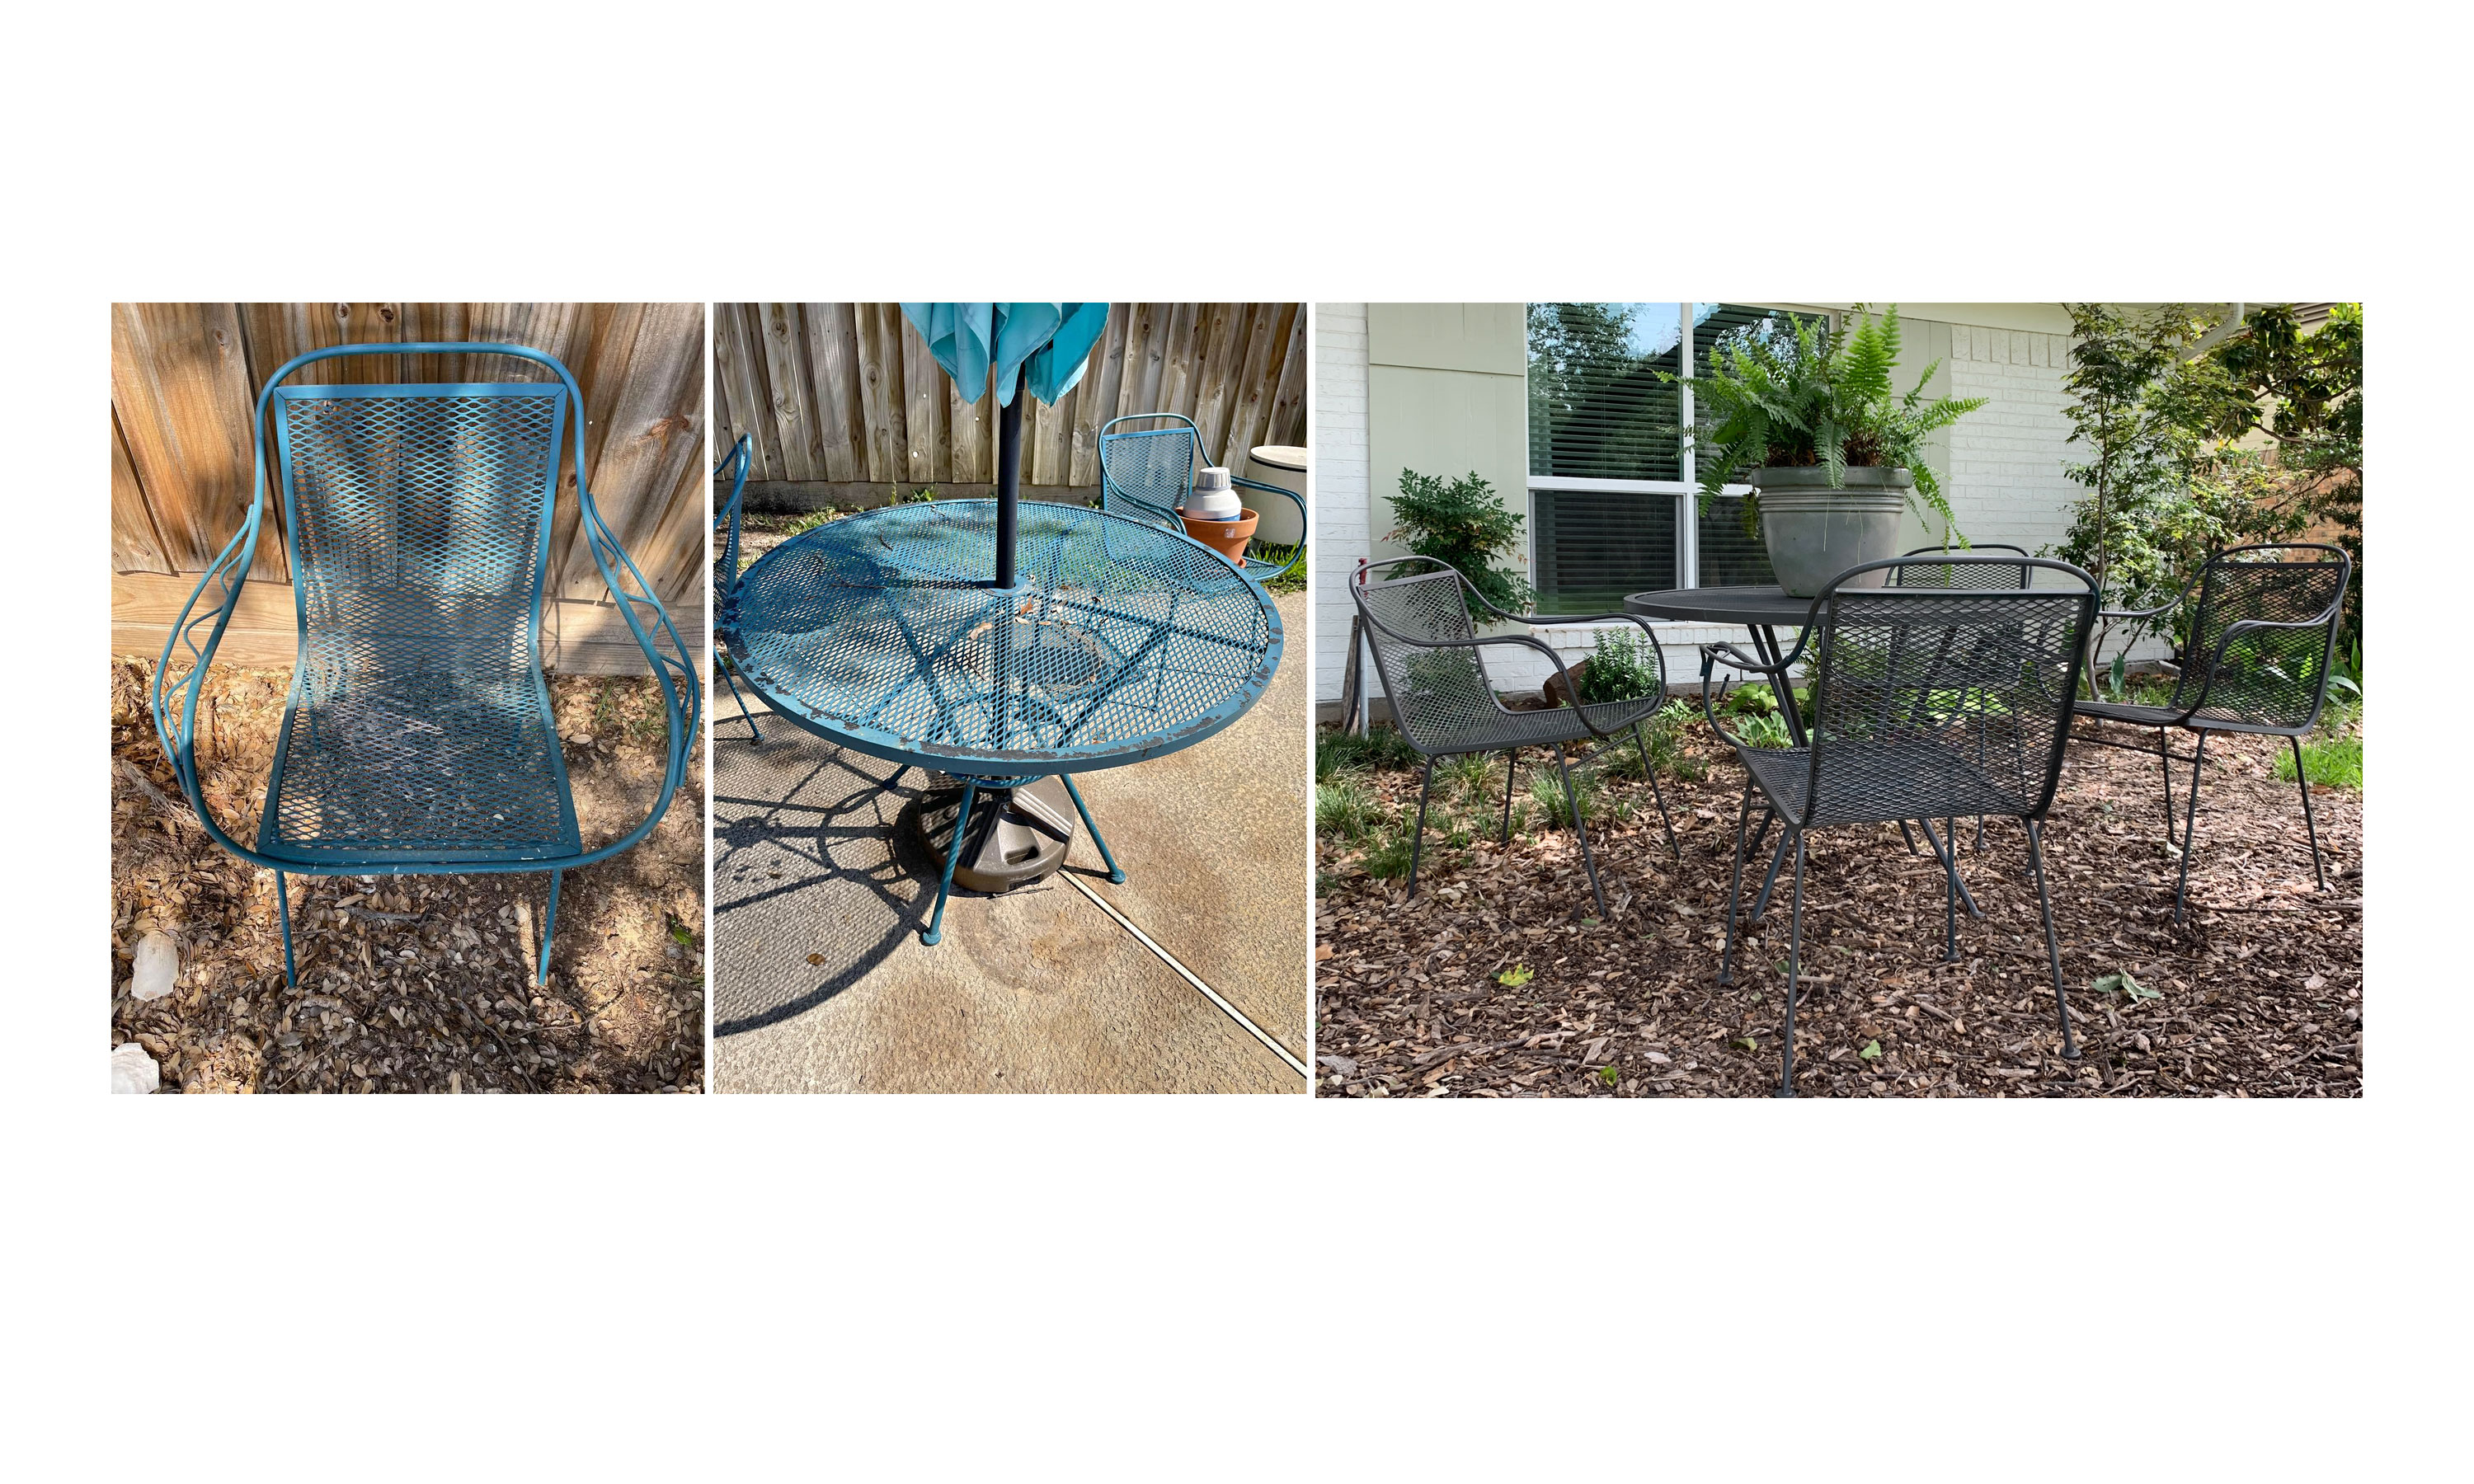
Every yard, back or front, needs gorgeous patio furniture to go with it, right? But if your favorite outdoor furniture stores have all sold out, or if they are all beyond budget, you might feel stuck and a little like that idyllic entertainment space is a distant dream.
When Jessica Nickerson of House Homemade wanted to spruce up her front yard space, she wanted a simple edit that wasn't going to be costly or time-consuming.
Nickerson says 'I’ve been picturing a table and chairs in the mulch, under our live oak out front for a while. I wanted somewhere for more people to gather. Somewhere my two girls could have a snack with friends or we could sit with paperwork or a book.'
Project detail
- DIY level: Novice
- Time: Weekend
- Budget: Low
Finding the patio set to upgrade
Nickerson started by scouring Facebook Marketplace and found the perfect contender for a cheap DIY project that was going to deliver both aesthetically and functionally.
'I had been looking on and off for a few months. I wanted a simple style but something heavy and long lasting with a decent price tag and relatively close to home.'
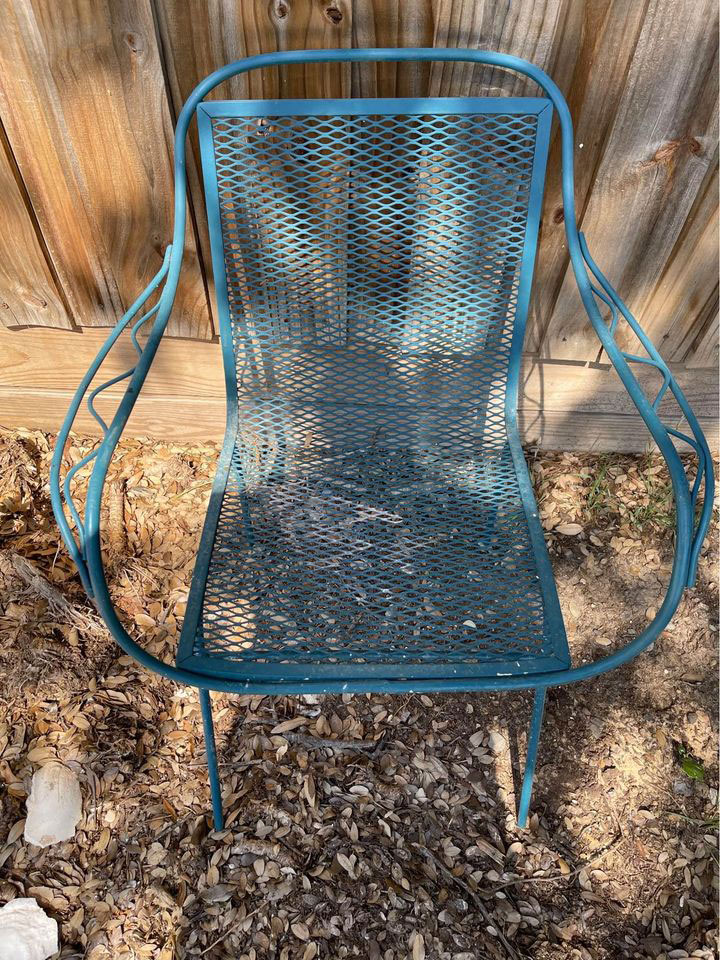
I found the perfect set on Facebook Marketplace for $150, and bonus – the people happened to live IN OUR NEIGHBORHOOD!!' A rare case I'm sure many of us agree.
Nickerson adds 'I didn't want to make this patio space fussy. It's a table sitting in mulch. I don’t want to buy cushions or bring out throw blankets or pillows. I want it to be an easy, unstyled but beautiful spot that adds to our life, not our workload. It'll withstand the elements and need paint touch-ups every now and then; that amount of maintenance sounds like a breath of fresh air.'
Get small space home decor ideas, celeb inspiration, DIY tips and more, straight to your inbox!
Prep and spray painting
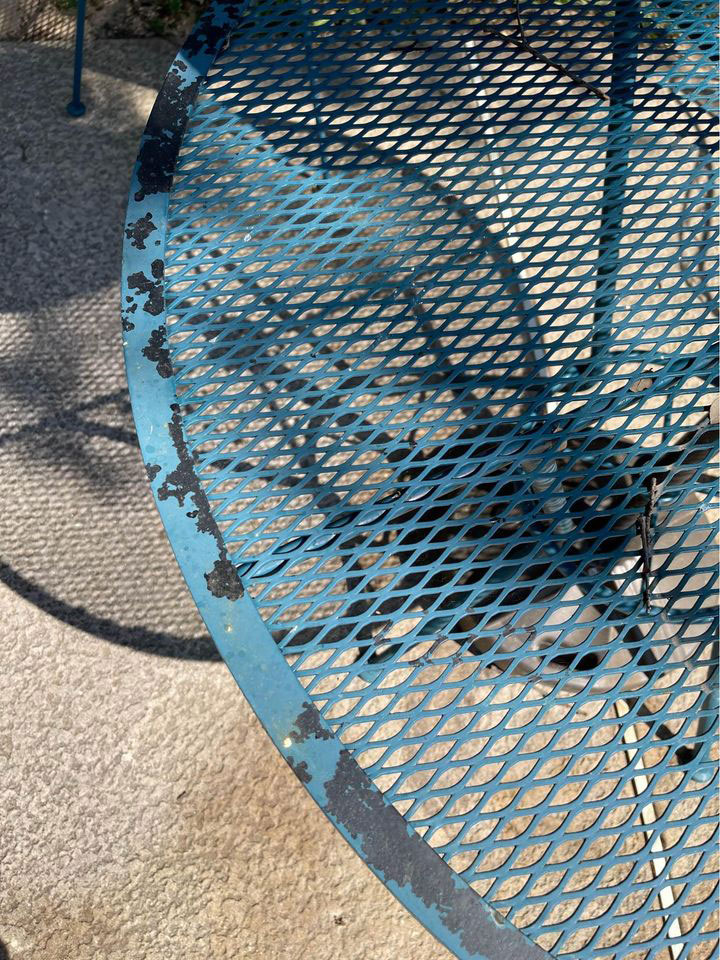
As when you're painting any type of metal outdoor furniture, prep is key for a good finish. Try to remove any visible flakes and scrub/hose down the pieces as Nickerson did. If your set is particularly dirty, use a little detergent with hot water and ensure they dry off before you start your paint job.
Selecting the right tools
As Nickerson says, using spray paint will make this so simple and the colors and finishes available now will help you create a patio set sure to compete with even the best metal garden furniture picks out there... Nickerson used Fusion all in one paint in gray, but there are alternatives also to suit your preference.
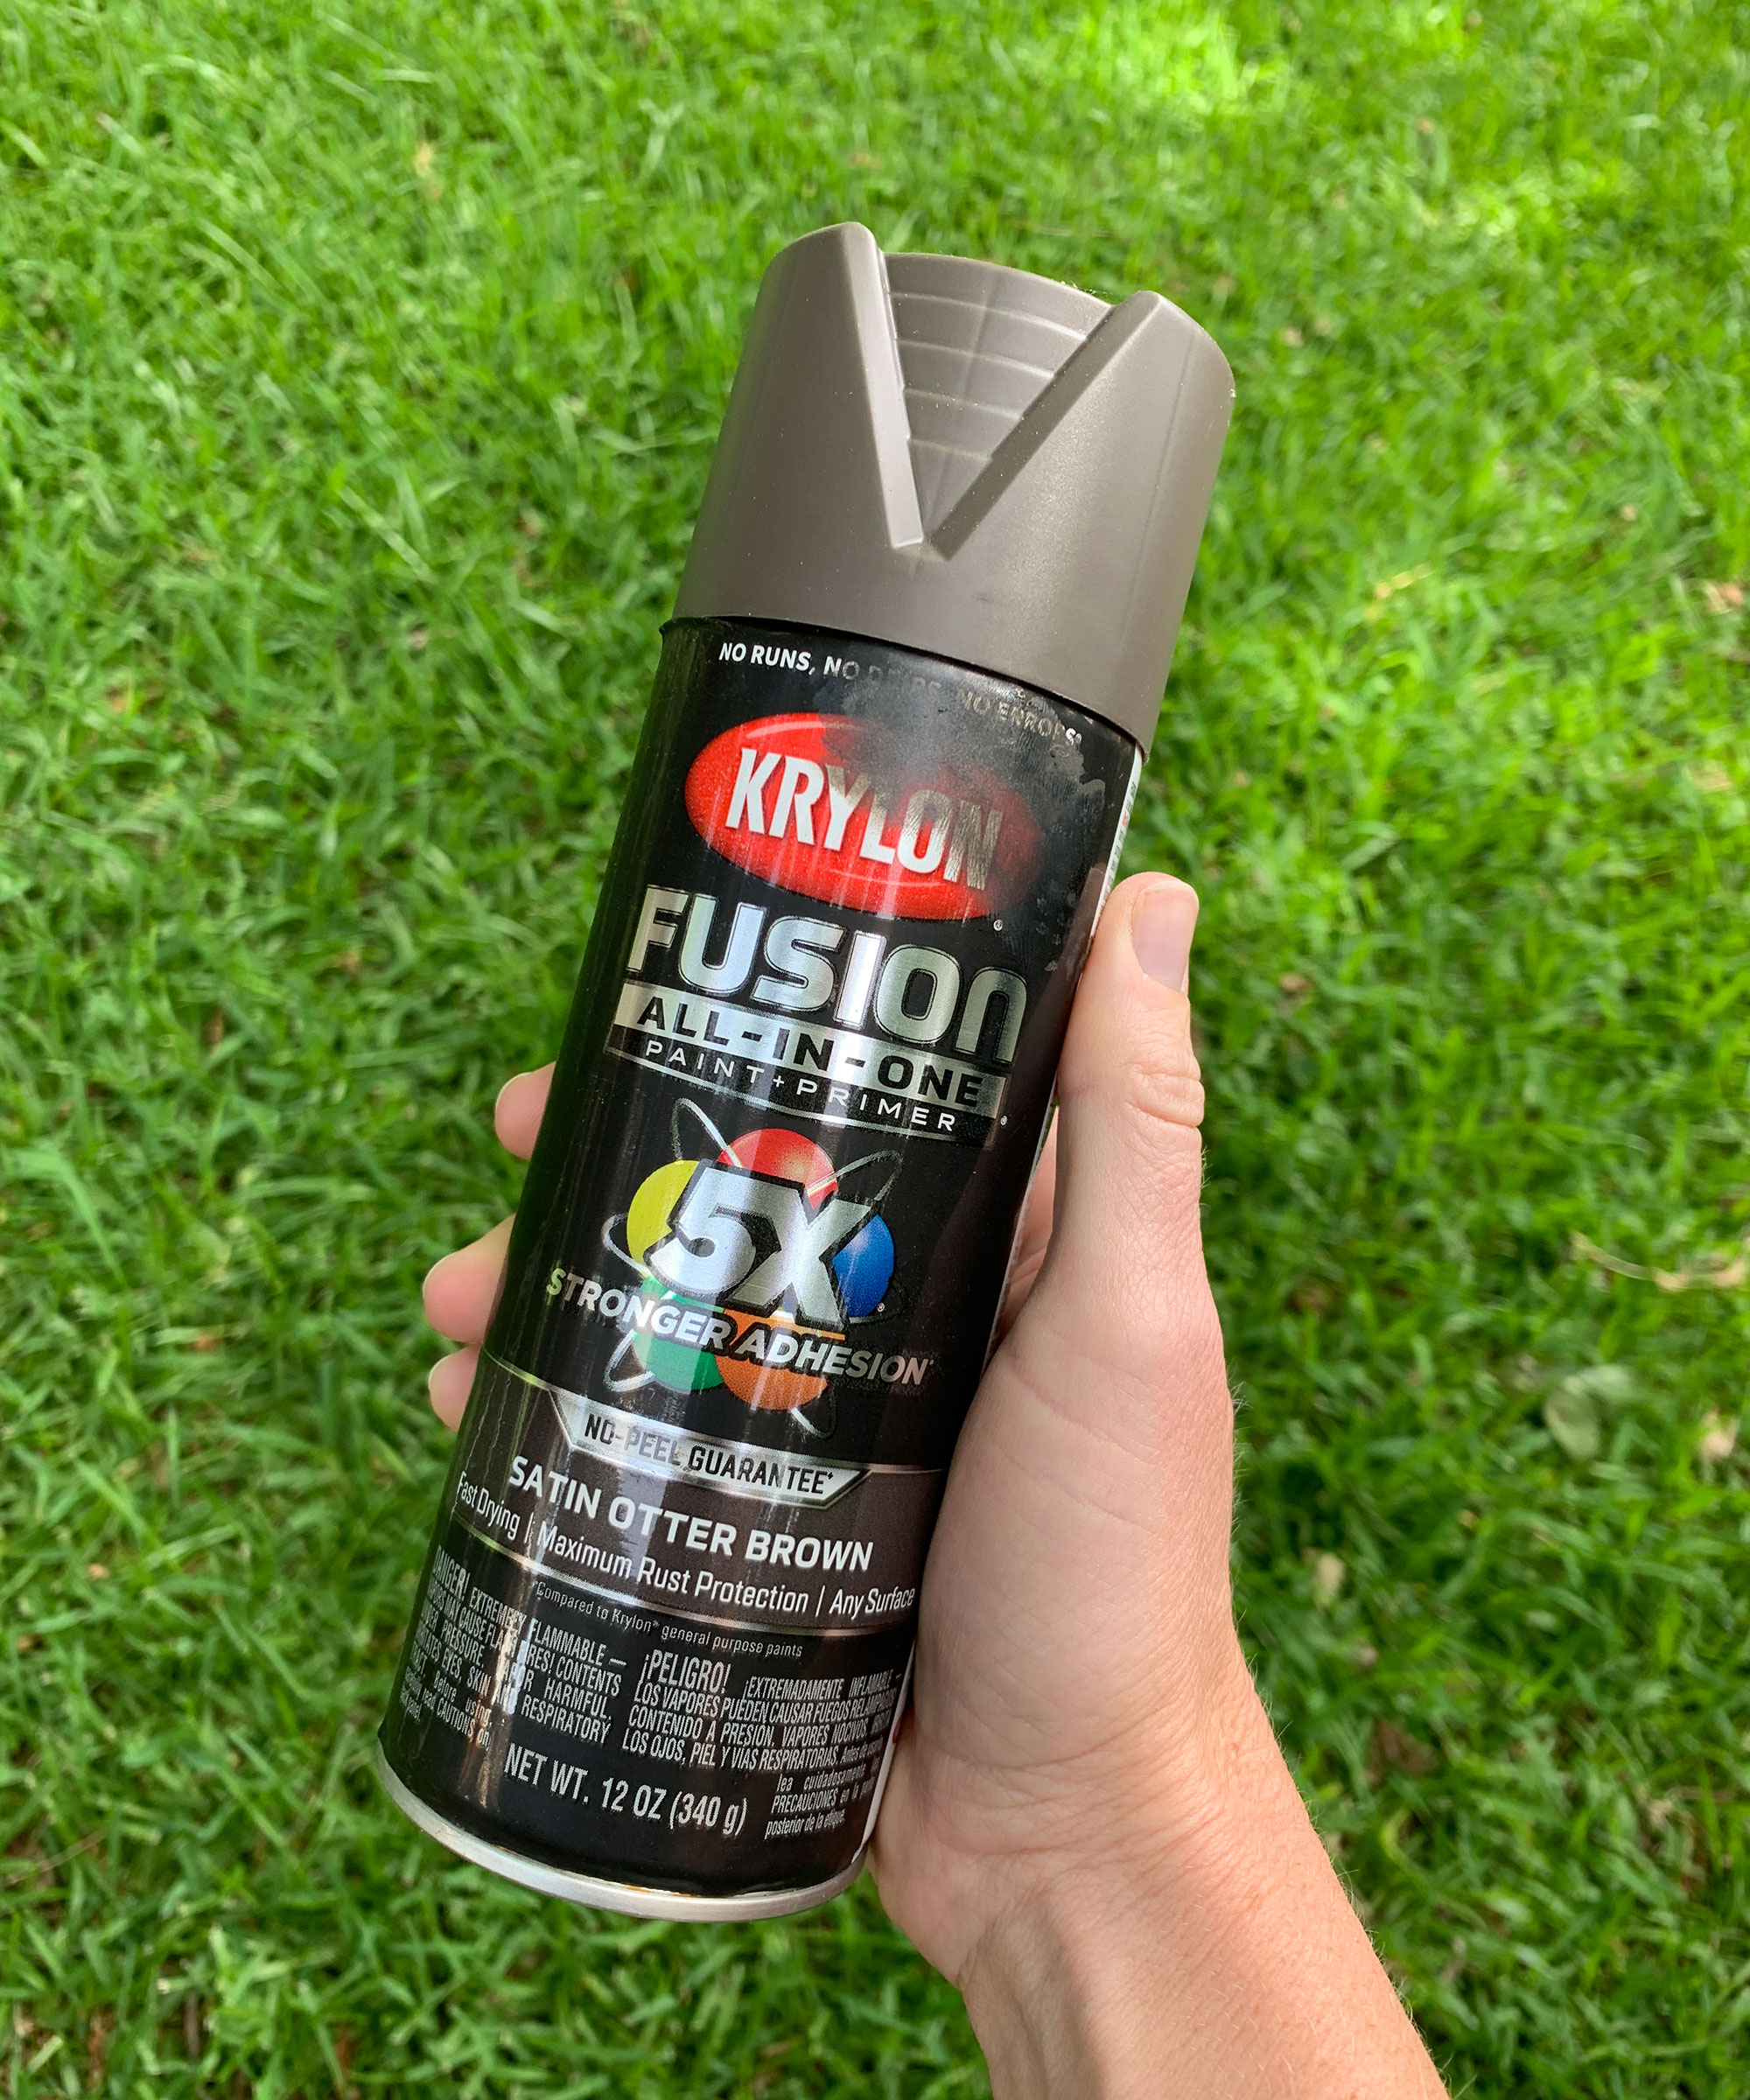
'I bought four cans of paint' says Nickerson. 'A good estimate is to buy one can per chair. You can always return the extra.'
Spray painting technique
Nickerson adds 'This is a great kind of spray paint project for beginners. With exception to the frames, there aren’t any solid surfaces so you don’t have to worry as much about an uneven finish. Just make sure you spray the lattice mesh parts from all sides and the bottom. This way bits of the old color don't peek through from certain angles.'
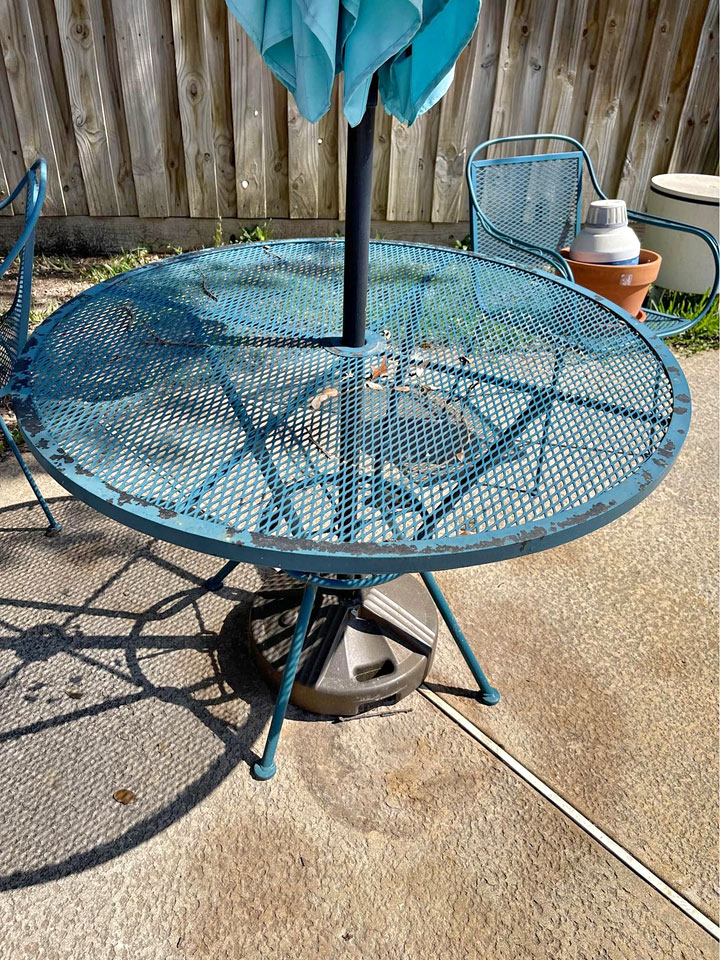
Nickerson went for a warm gray color. 'I wanted them to be neutral next to our light colored house and green shutters.' She adds.
The results:
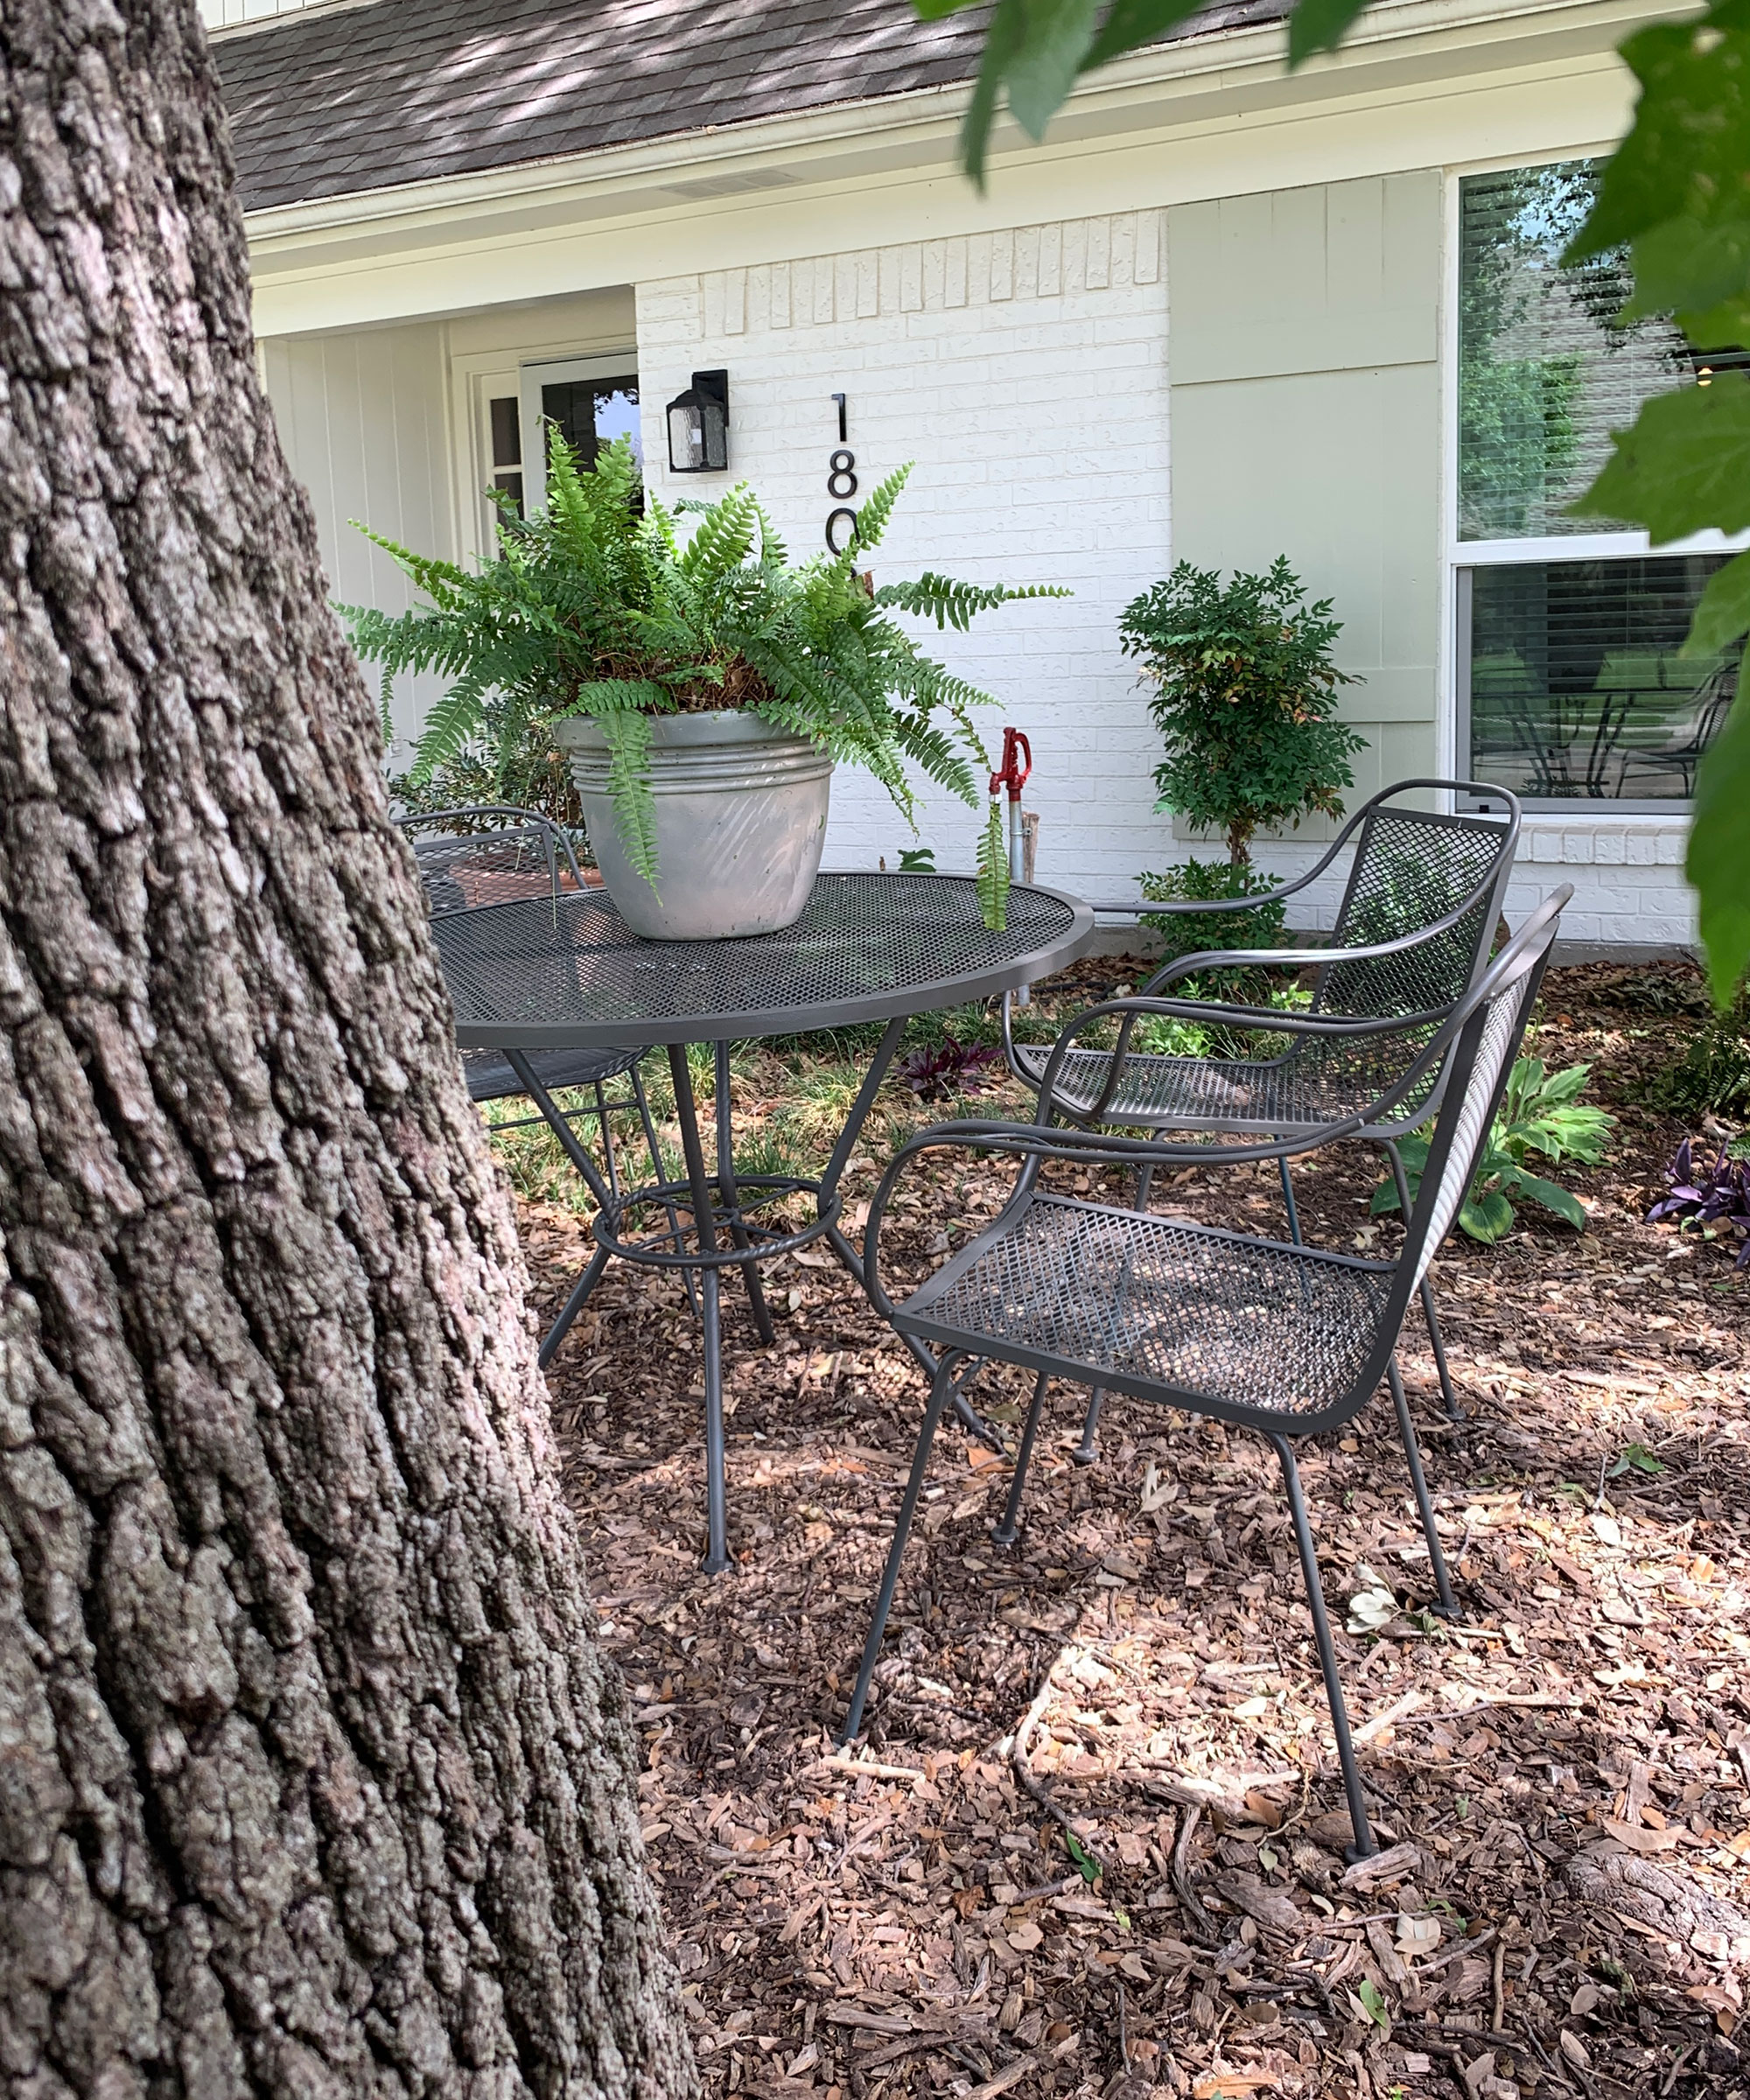
'As soon as they were dry I hauled them around front and enjoyed the cottagey charm they add to the yard. I'll list the chairs that were previously there on Facebook Marketplace, so the whole project will have cost about $125 including the spray paint.' Says Nickerson.
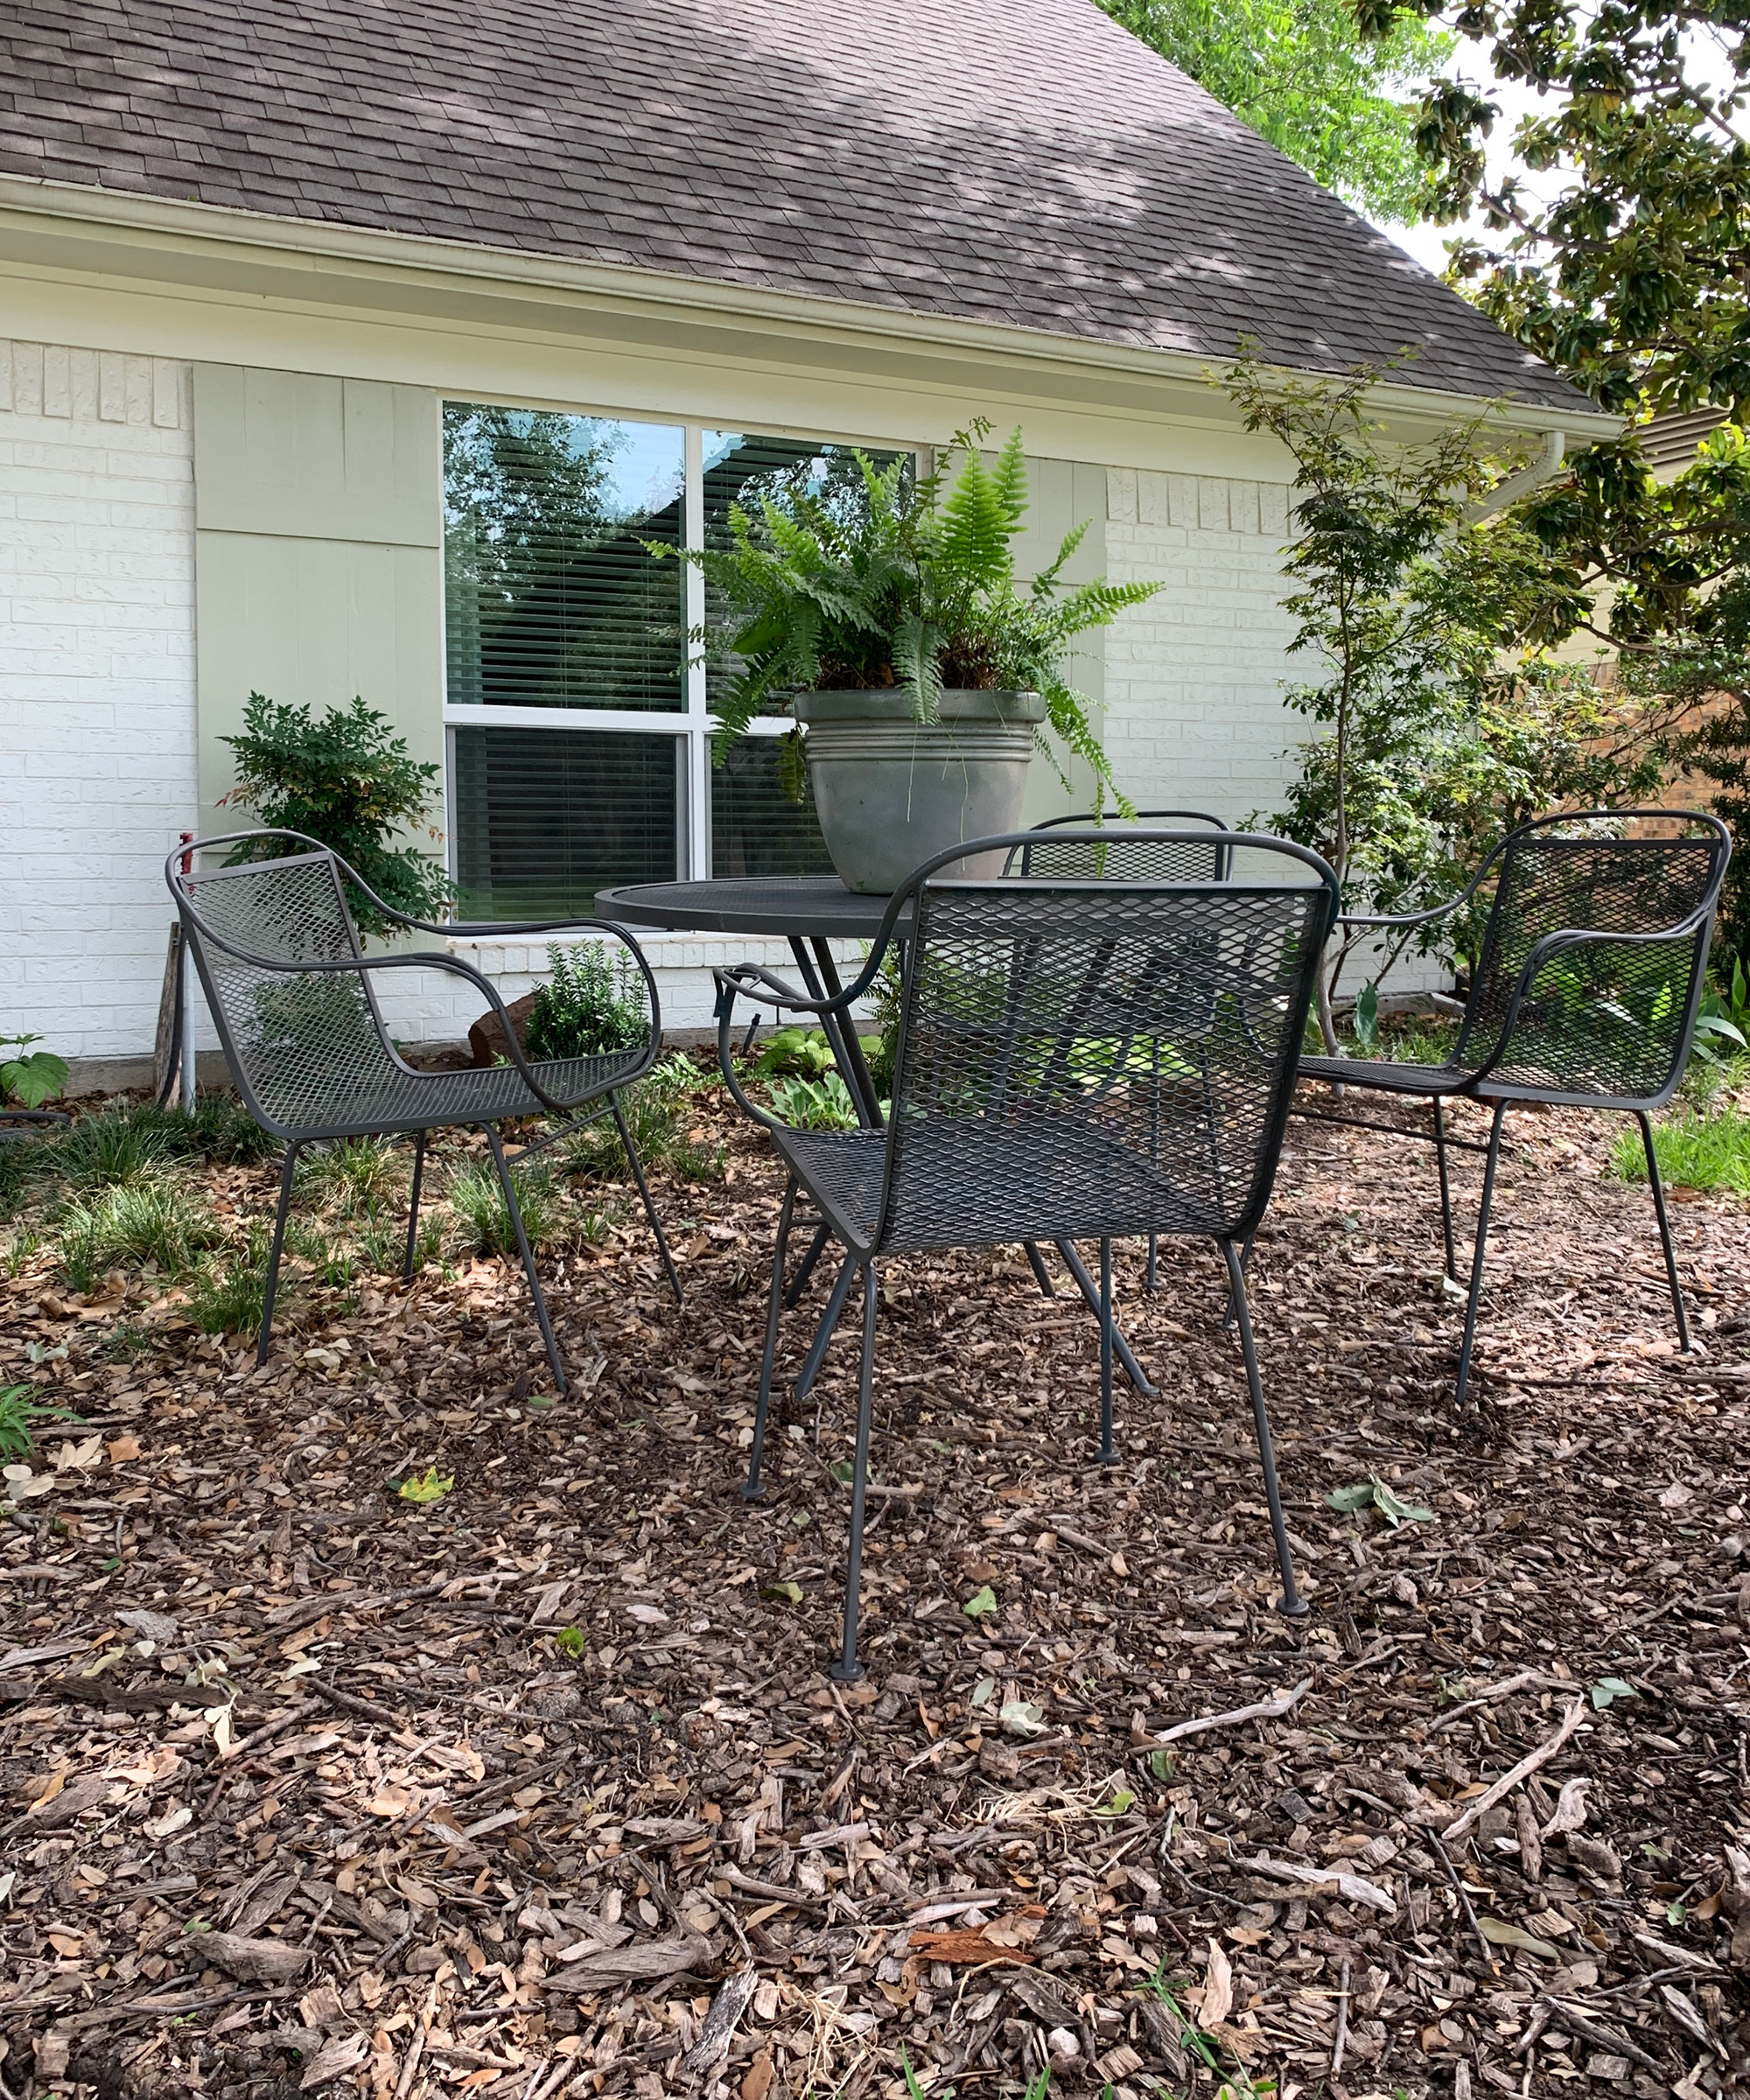
A super simple project sure to finish off a front or even side yard space perfectly.

I'm Cam, the former deputy editor of Real Homes who worked on the site from 2020 to 2023. As a renter myself, sharing a home with two friends (and my cat) in London, I know all too well the challenges that this can pose when it comes to creating your perfect setup. As someone who has always loved everything interior design-related, I cannot rest until a home feels right and I am really passionate about helping others get there too, no matter what their living situation, style, or budget may be. It’s not always the easiest to figure out, but the journey is fun and the results are so worth it.
After interior design, travel, art, and photography are my next big passions. When I’m not writing or editing homes content, I’m usually tapping into other creative outlets, exploring galleries in London or further afield, taking photos, scribbling, or drawing!