How to DIY a hairpin console table using IKEA'S BERGSHULT shelf
Perfect for a hallway and less than £50...
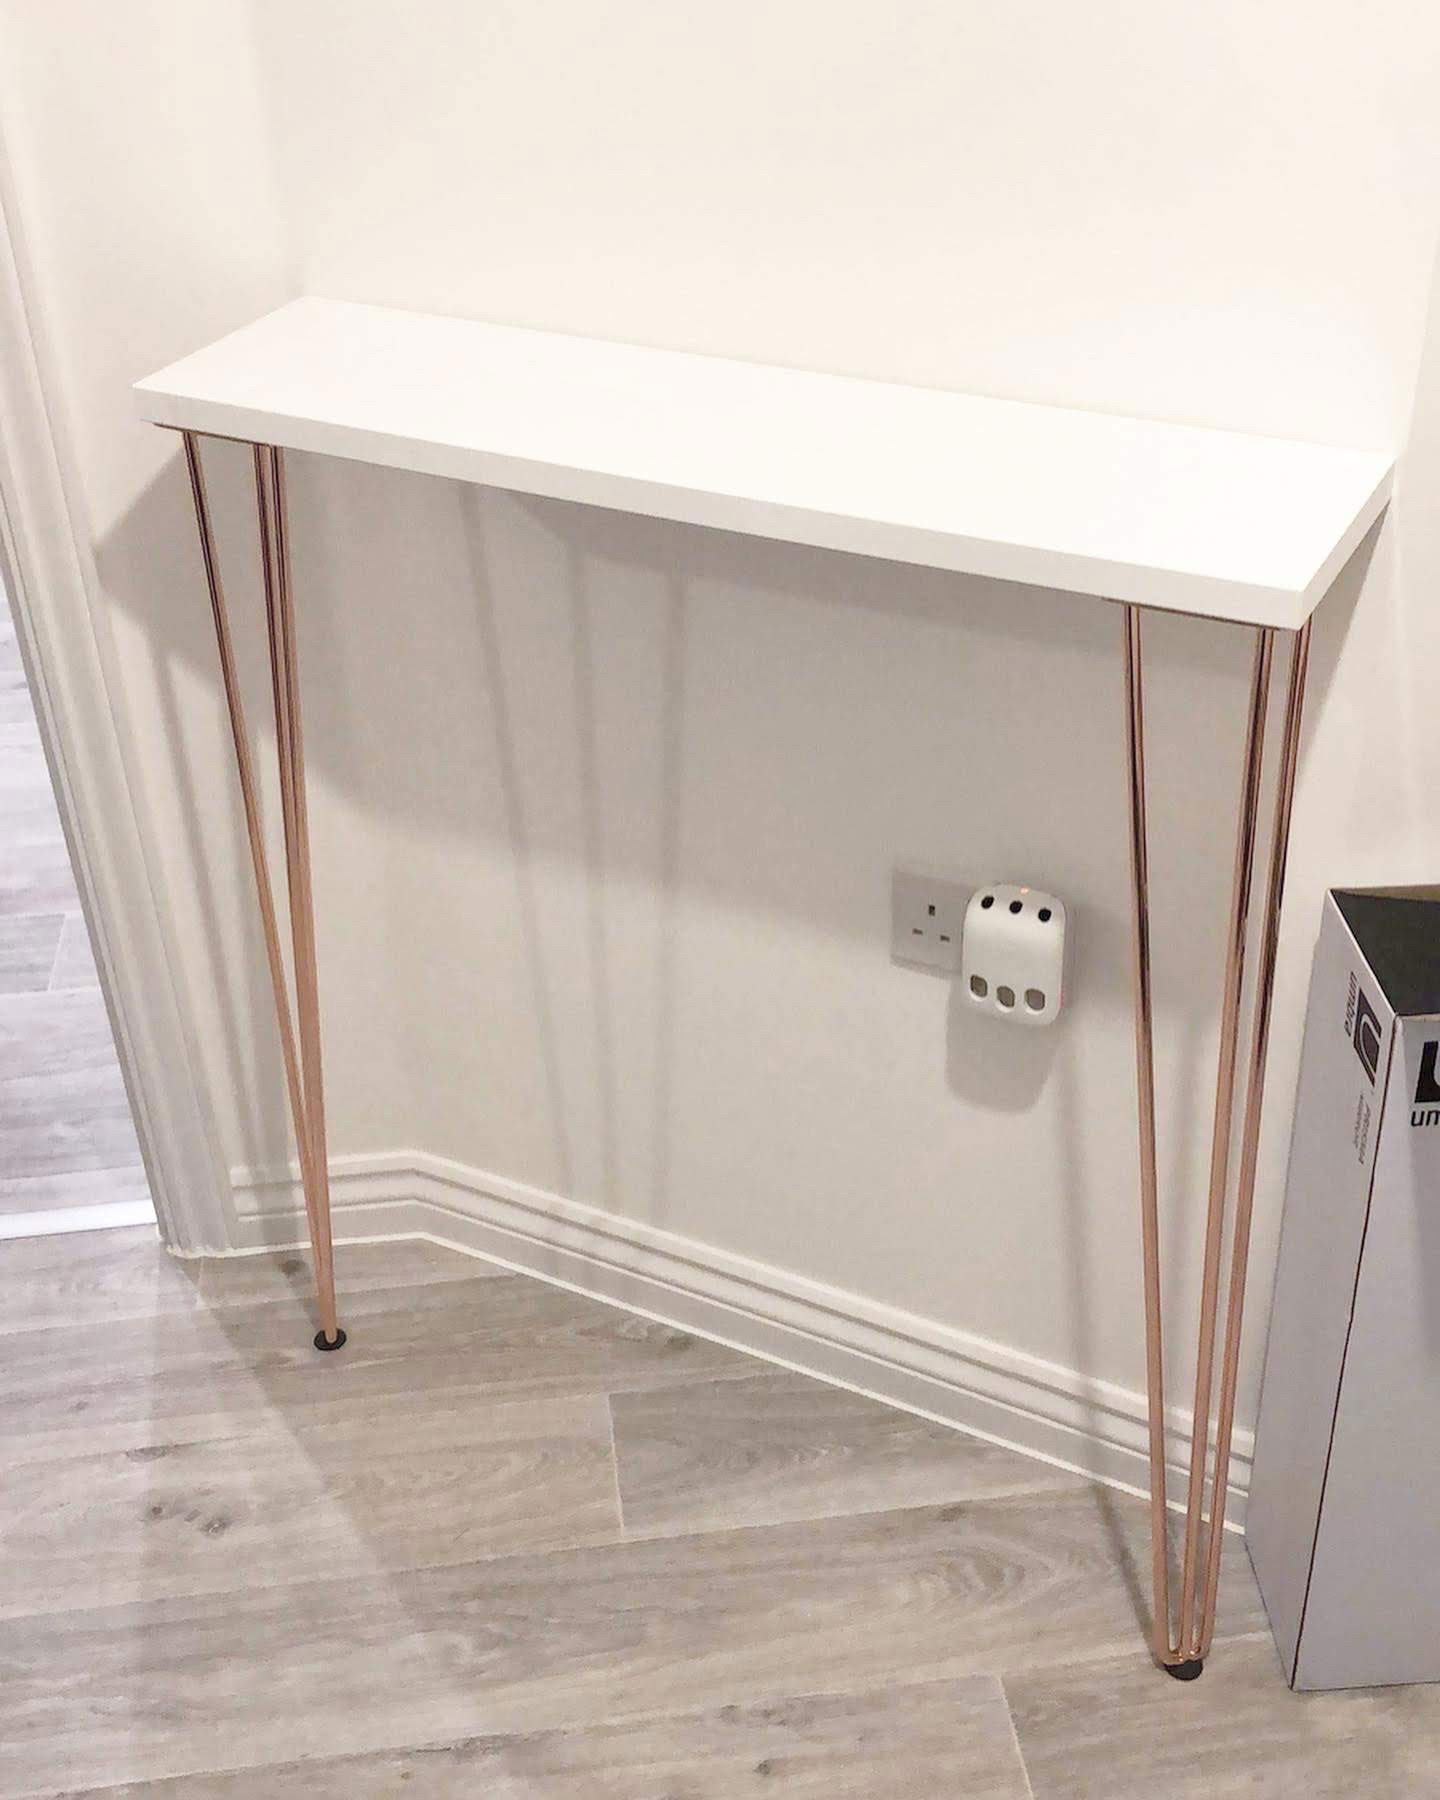
Since making myself a nifty little console table for my hallway in 2018, I’ve seen console tables like this one sell online, pre-made for £80-100. Mine cost me half that and took just 10 minutes to build!
There are three ways you can DIY a really nice console table yourself – using a shelf such as the BERGSHULT shelf from IKEA which is just £9, cutting a piece of 18mm plywood or mdf and painting it, or, using a scaffold board or piece of timber and staining it. All are really simple to do, and require little-to-no DIY ability.
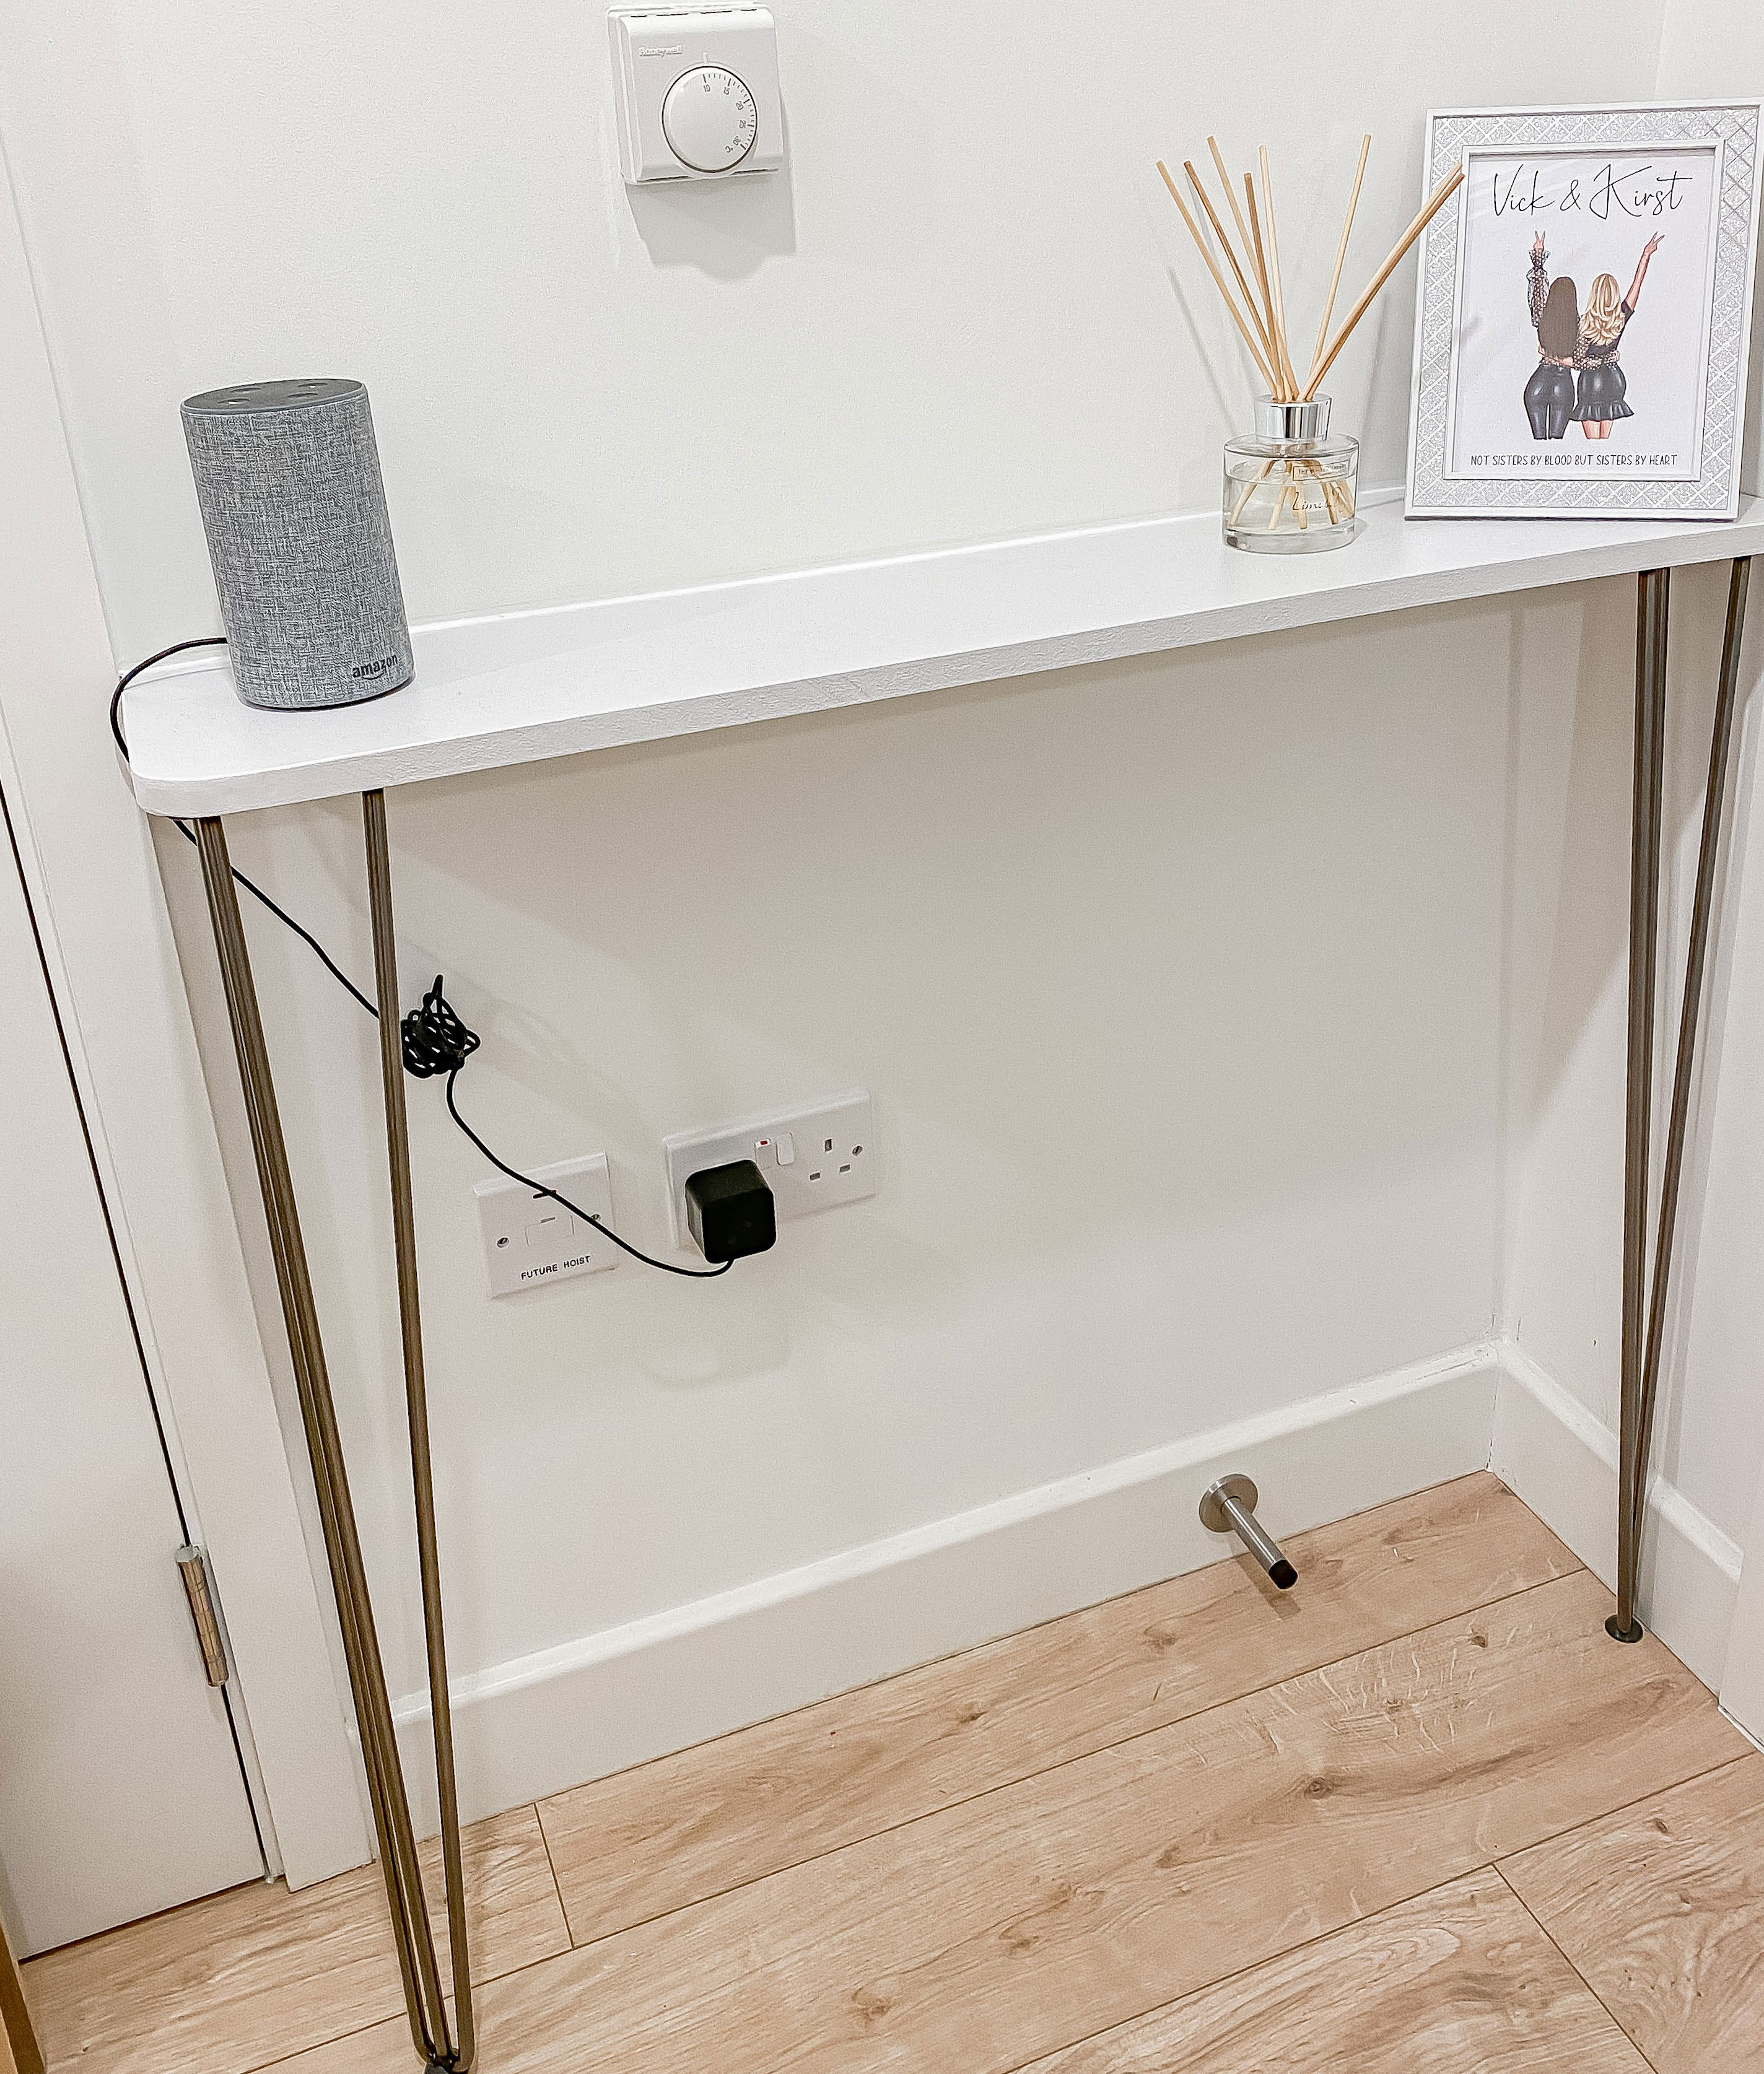
Tools and materials
- Hairpin Legs
- A shelf/ wood of your desired size & thickness
- Wood Primer & Paint / Wood Stain (optional)
- Drill
- No More Nails
- Spirit Level
- Silicone sealant (optional)
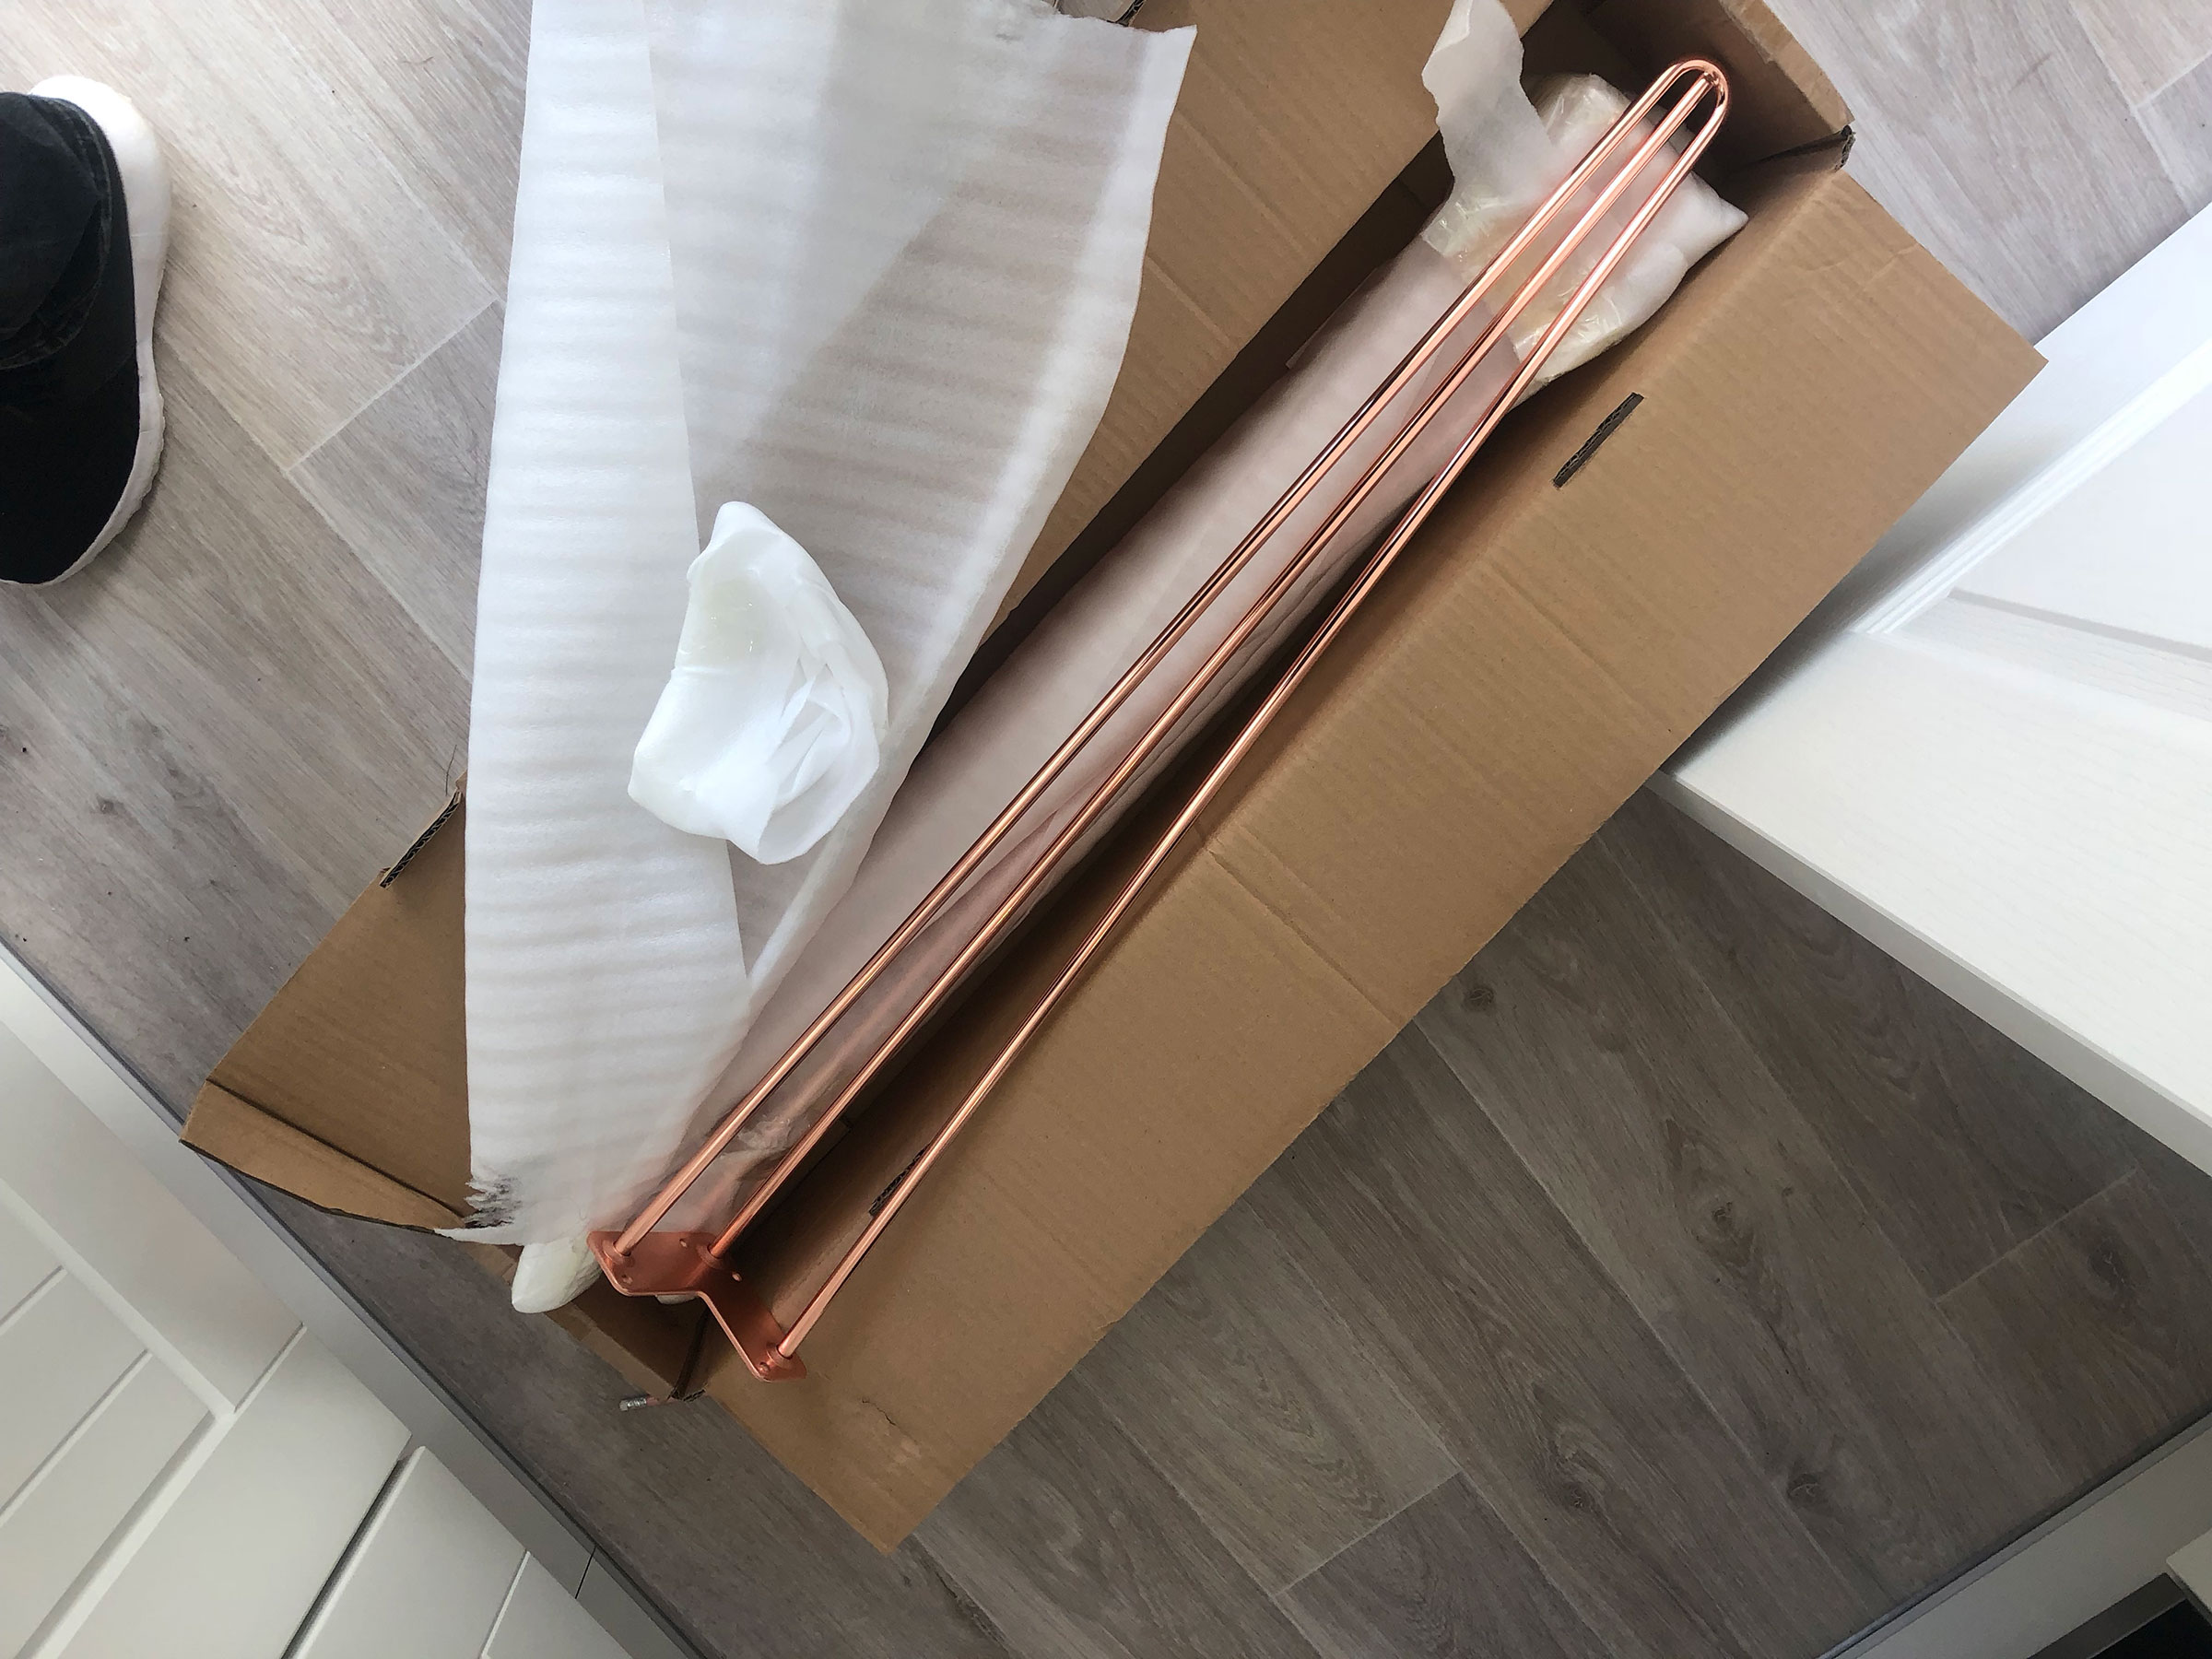
You can get hold of hairpin legs from several retailers online including Amazon and eBay, and come in a number of different colours, finishes and heights, as well as 2 pin and 3 pin styles. All usually come with a rubber foot floor protector and screws to attach it with.
They typically come in sets of 2 or 4. The height you need for a console table is either 71 or 86cm, depending on how high you want it. Mine is at 86cm – about the height of a kitchen counter.
1. Measure up
If you’re using a piece of MDF or ply, you want to measure the space you’re putting the console table and measure out and cut a piece to fit. You’ll want to select an 18mm thick piece of MDF or Ply wood for this. If you have little ones, I’d also recommend rounding the corners.
2. Prime and stain
Prime with mdf /wood primer (I recommend Valspar), and finish with the colour furniture paint of your choice. I recommend using a foam roller or spray paint gun for a perfect finish.
If you’re buying a pre-made shelf, you also want to go for a thick piece, as the screws will need a certain depth as not to go through to the other side. I love the look of a scaffolding board too. They’re super cheap and you can stain them any wood finish you want.
Get small space home decor ideas, celeb inspiration, DIY tips and more, straight to your inbox!
Top tip: My best tip for wood staining, is to use a magic eraser. It doesn’t soak up any stain and leaves a streak-free finish. Pair with some striking, black hairpin legs and you’ve got a gorgeous console table!
3. Screw the legs on
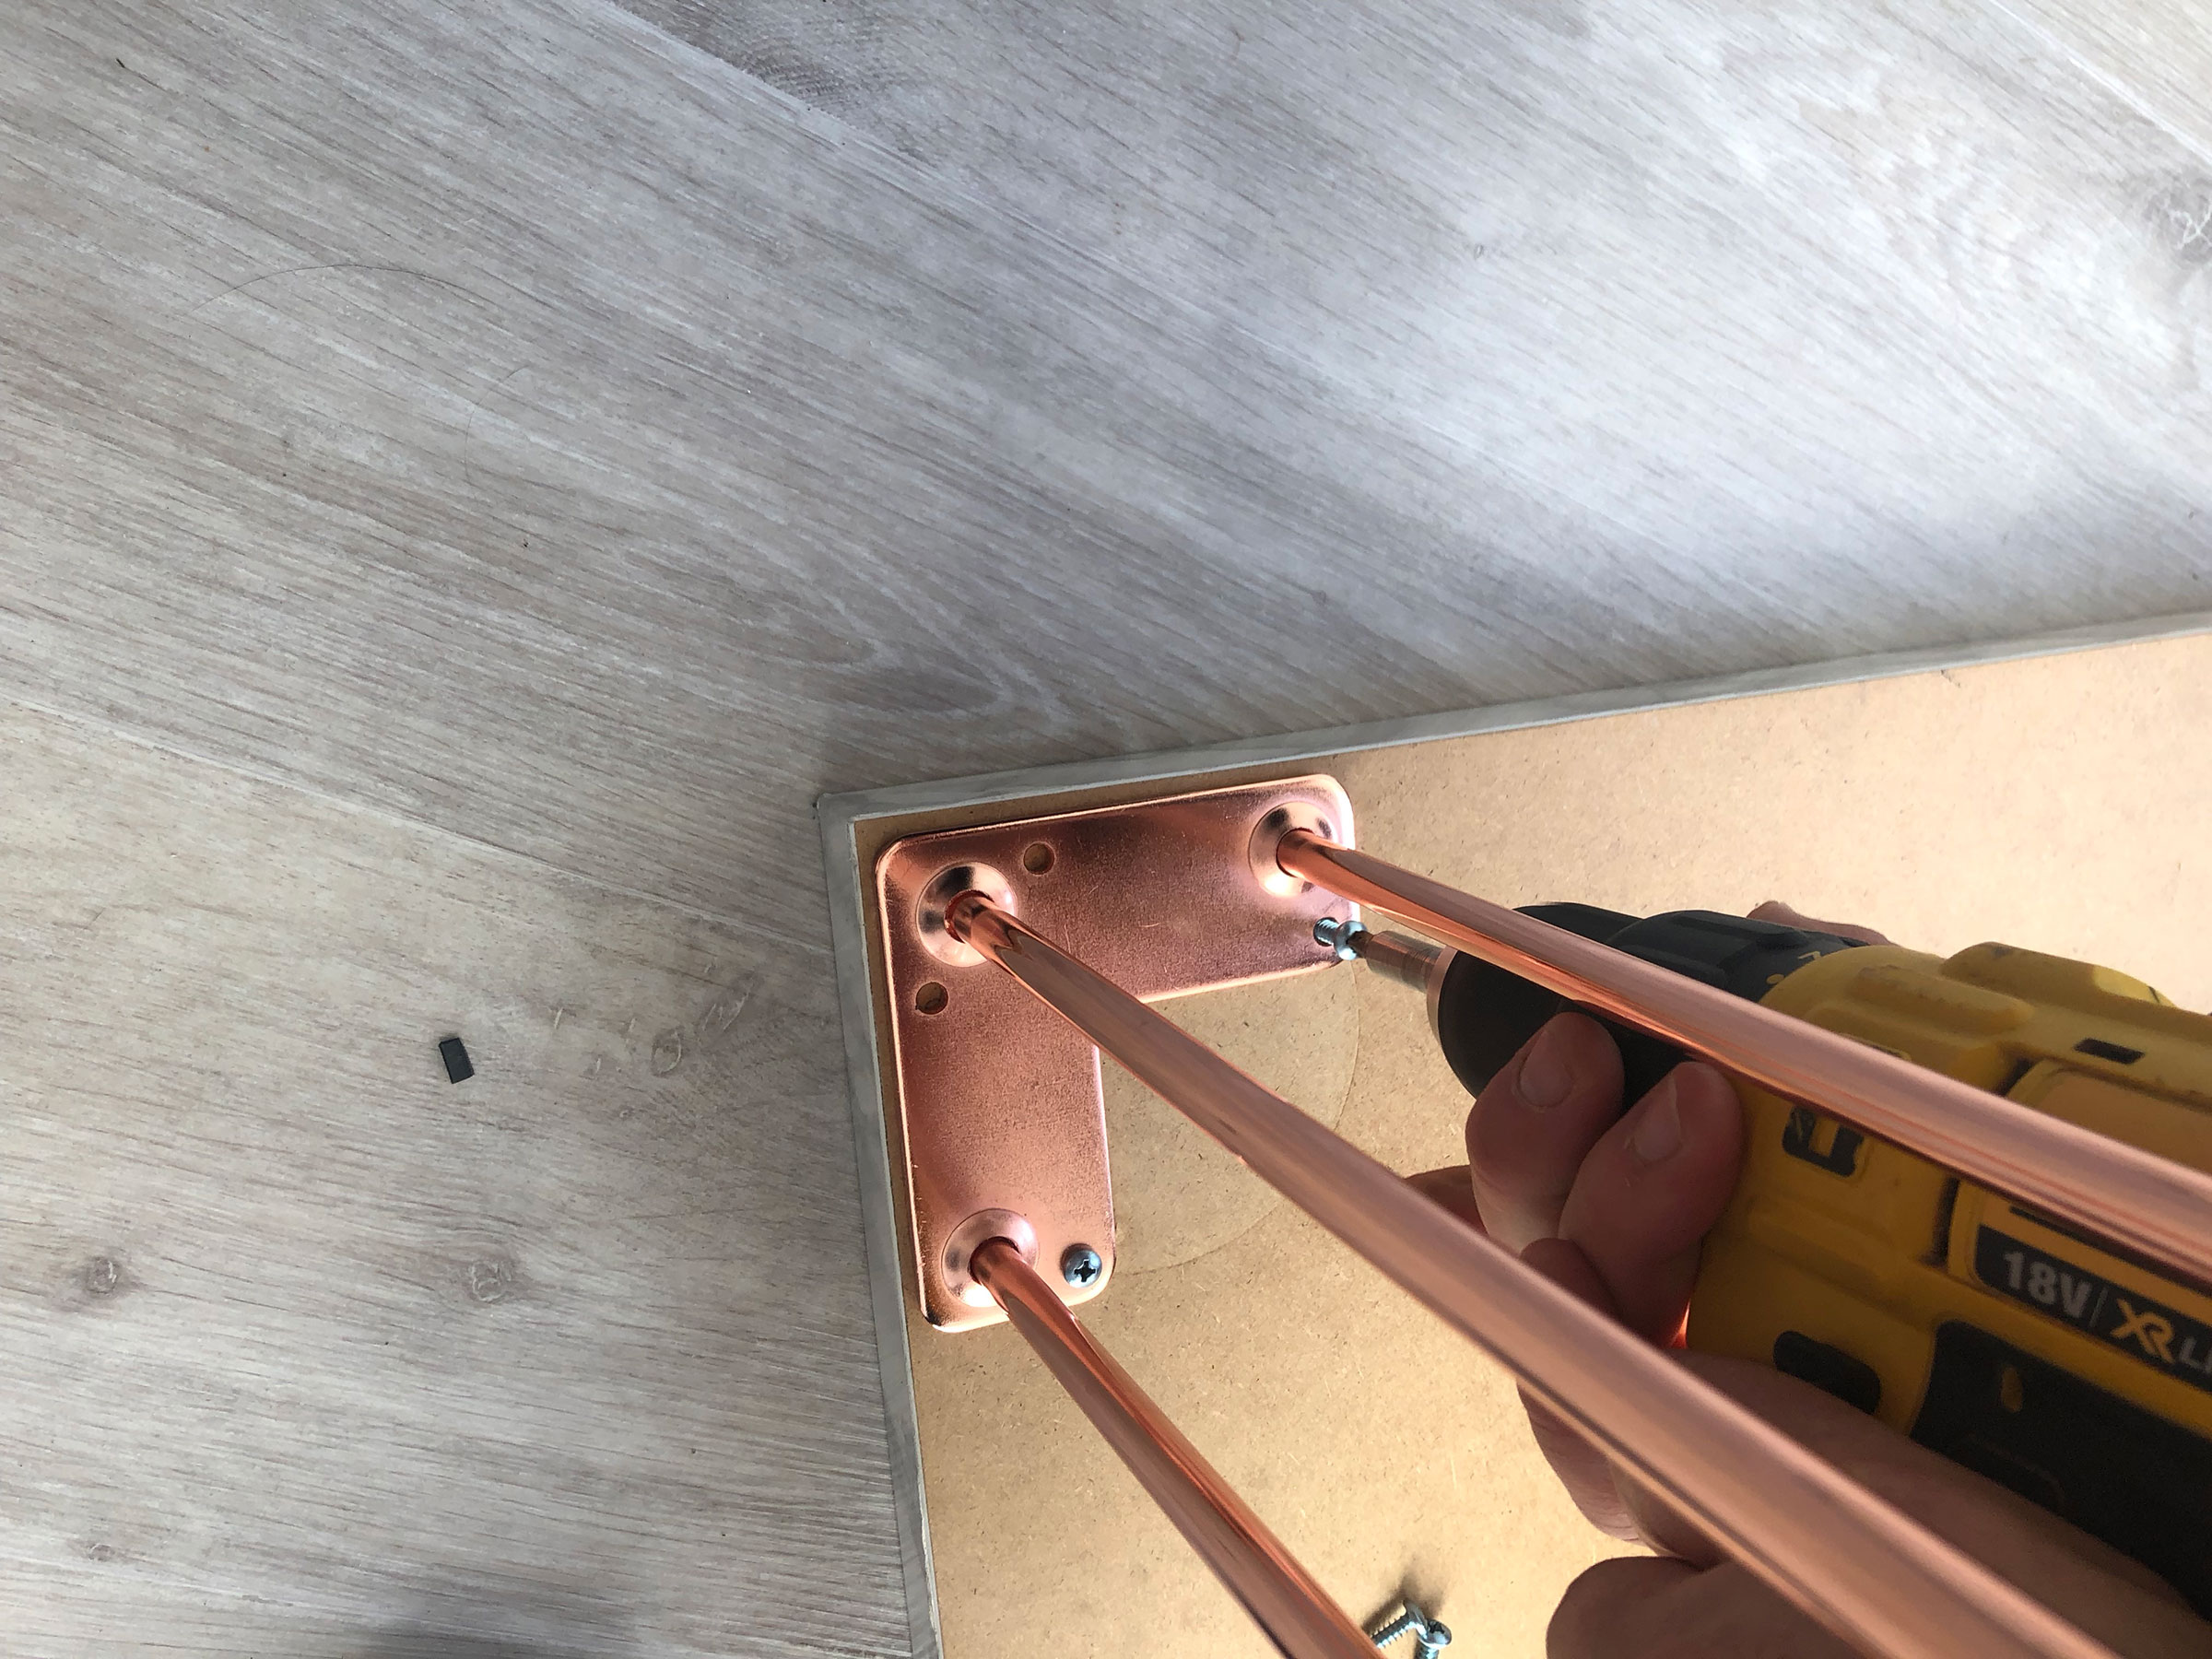
Once you’ve selected the type of table top you’d like, all you need to do is screw the legs on – it’s that easy! Line them up with the two front corners, clamp down if necessary and drive the 4 screws in on a low speed. You can also drill a tiny pilot hole (I’d suggest a 1.5mm bit) just to give the tip of the screw something to bite onto, don’t drill in too far though.
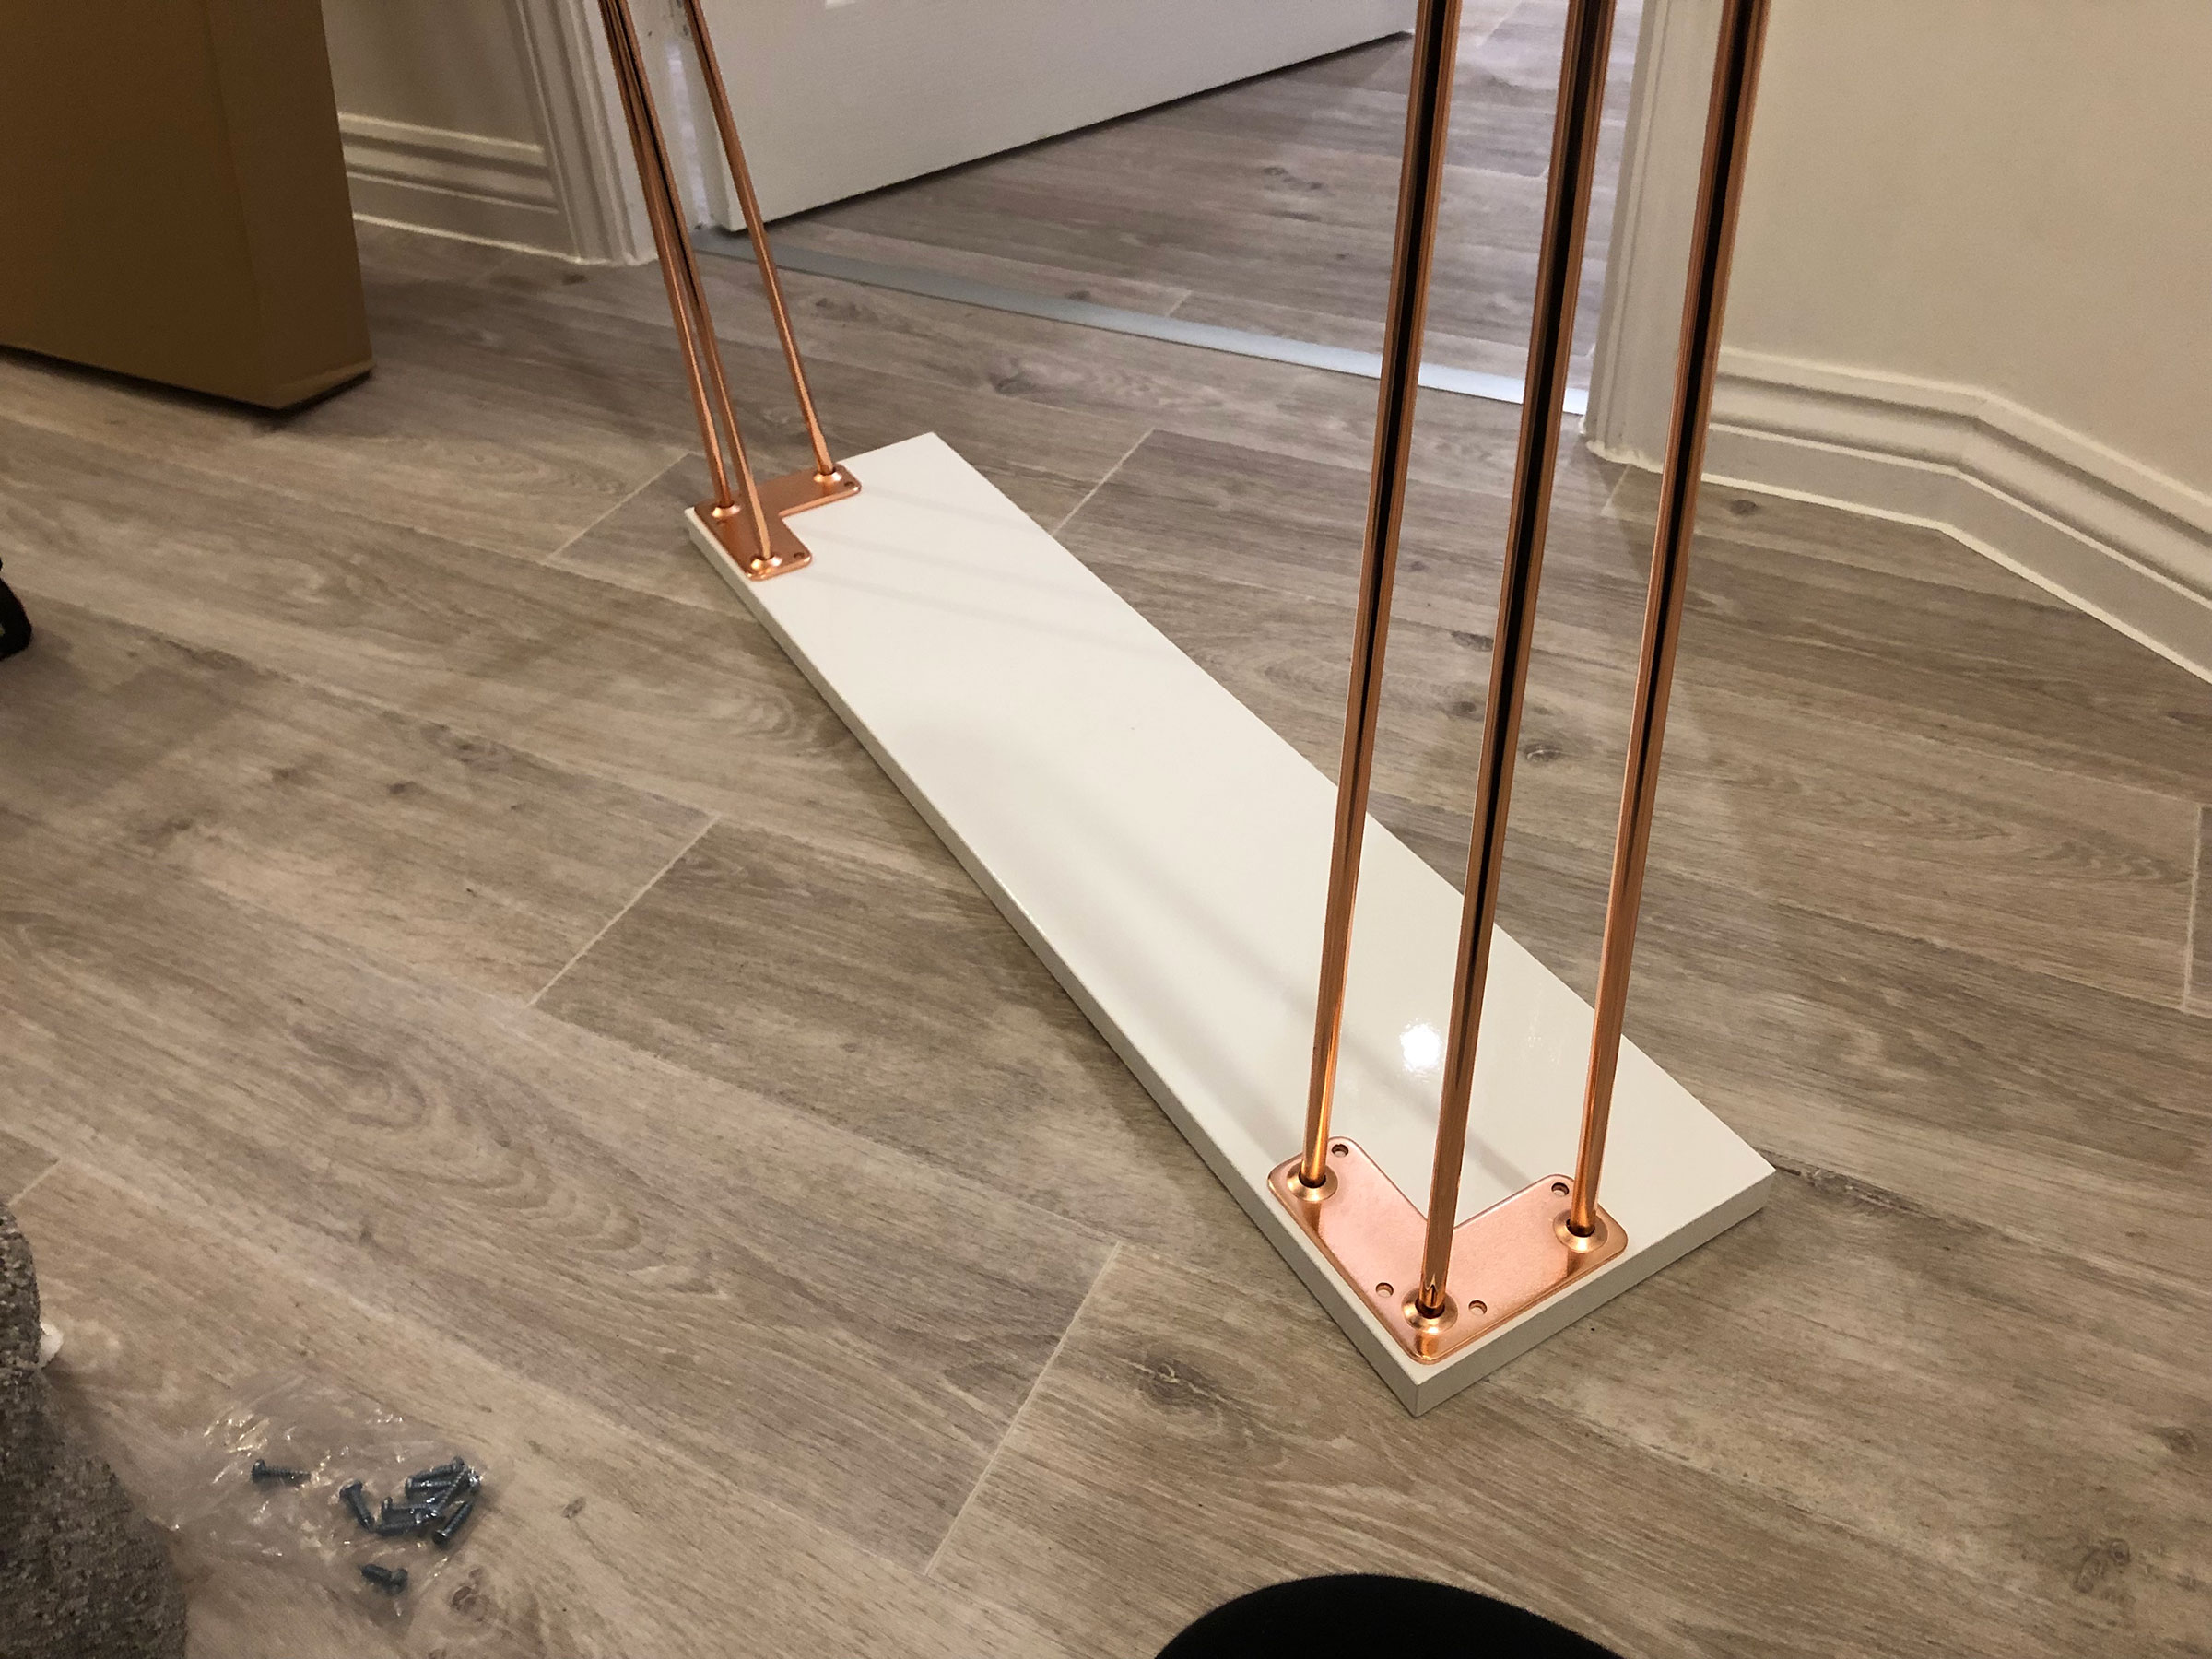
4. Position the table against the wall
Once the legs are on, place in position against the wall. To prevent it from toppling over, you can affix it to a scrap piece of wood screwed or glued to the wall, or glue it directly against the wall and finish it with a neat bead of silicone.
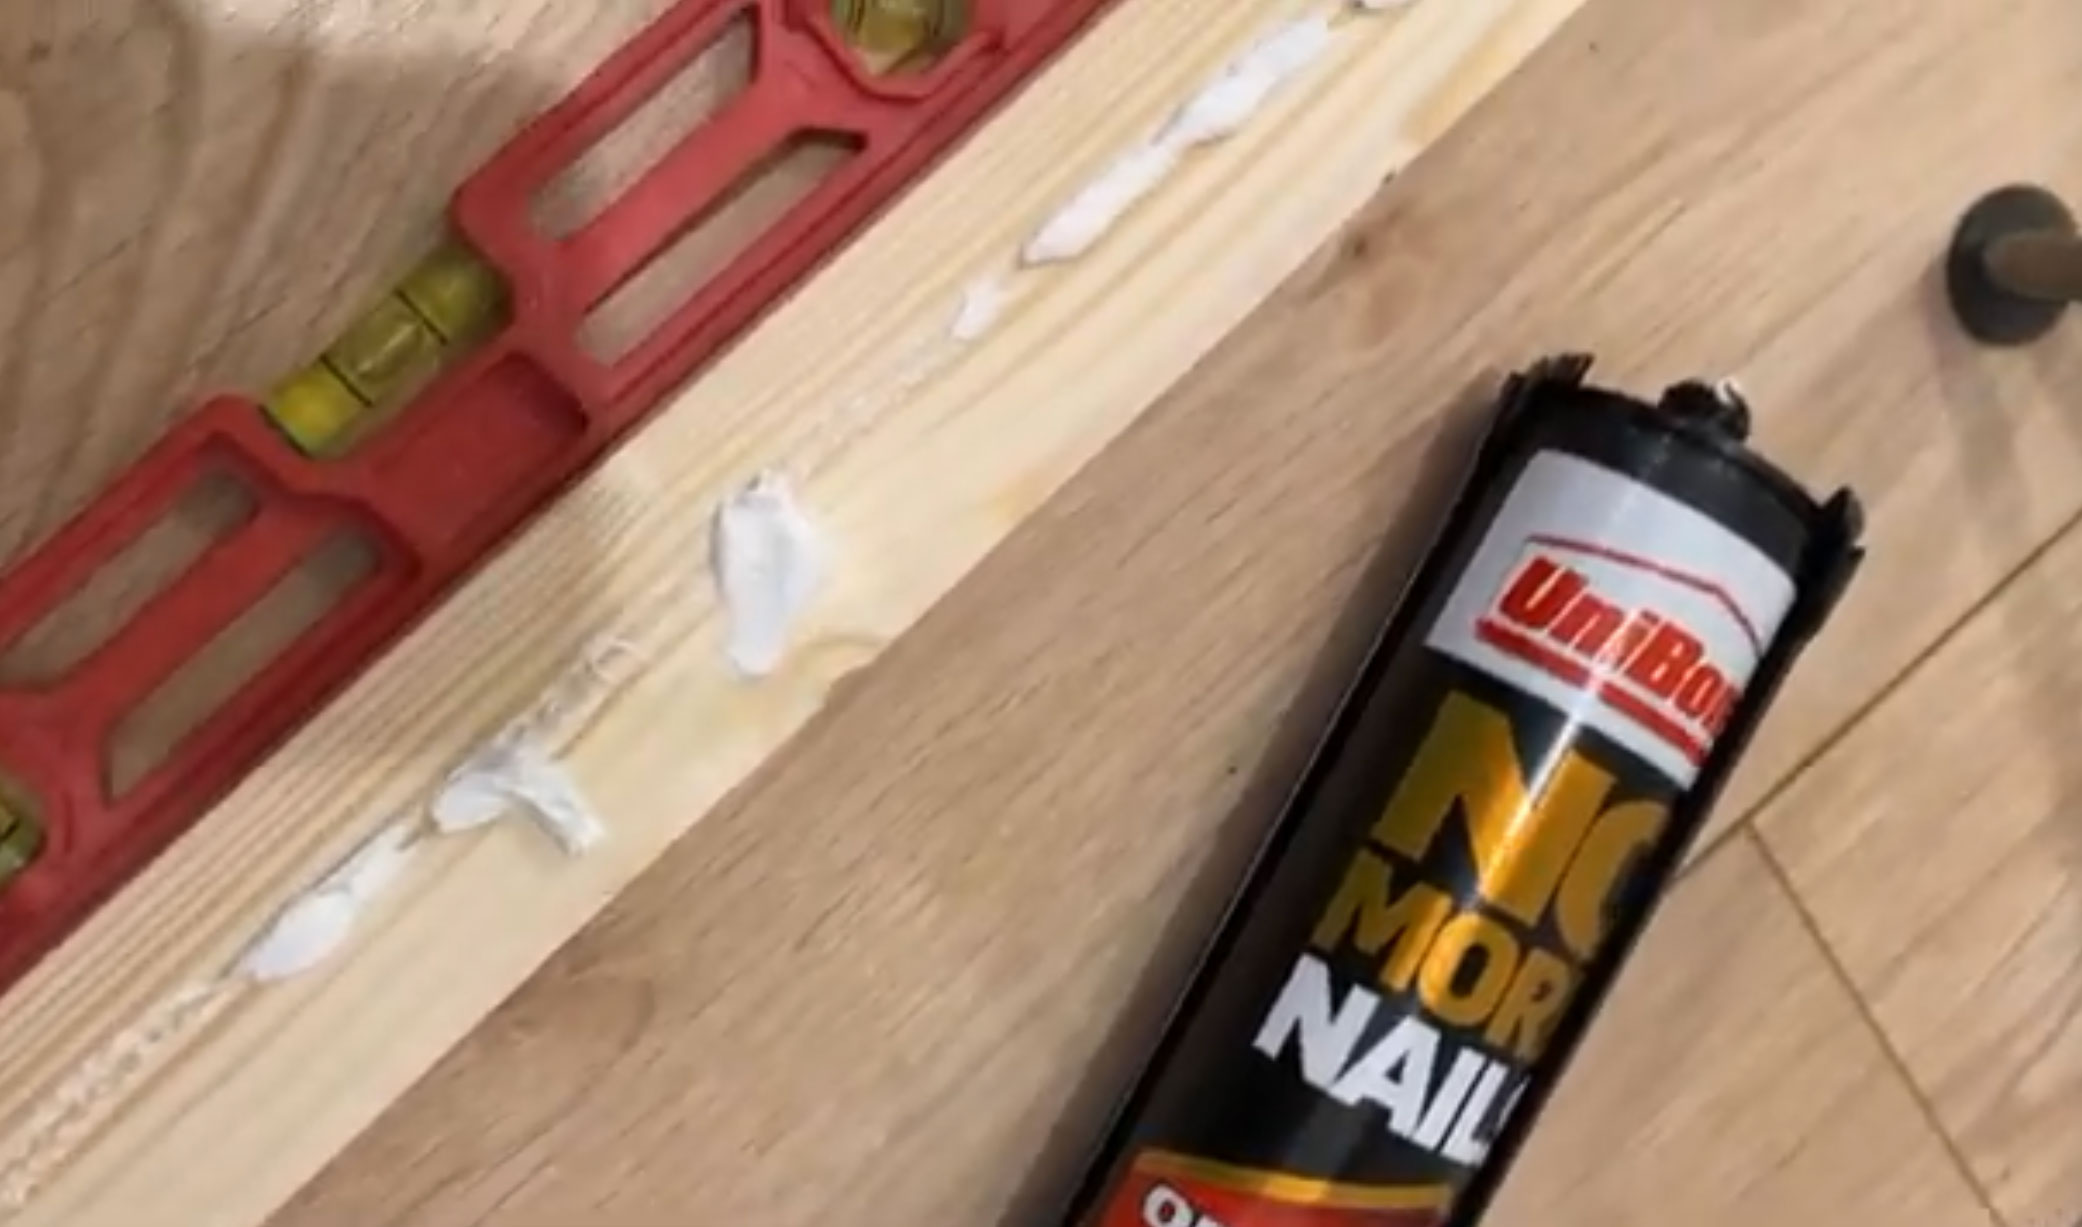
I used a scrap piece of wood for mine and used some No More Nails. I then fixed the strip to the wall, ensuring it was level and at the proper height. You can do this by placing the table against the wall and marking a line underneath to line the strip of wood against. Once 5 minutes has passed and the adjustment time for the adhesive is up, add another bead of glue to the top of the wood and then place the table on top, against the wall. Apply a little bit of pressure to ensure contact between the two surfaces and leave to dry for 1-2 hours before adding any ornaments.
5. Add the final finish
If you want to add silicone to really finish it off, add a thin bead along the wall-table seam and use your finger, dipped in water, or a silicone smoothing tool to smooth it neat. Wipe off the excess and leave to cure overnight.
The results:

Once dry, you’ve got your very own DIY console table! For video walk-throughs, check out my Instagram @_ohabode.
Jasmine Gurney is a DIY pro, inspiring women with power tools via her home improvement blog Oh Abode and on Realhomes.com.